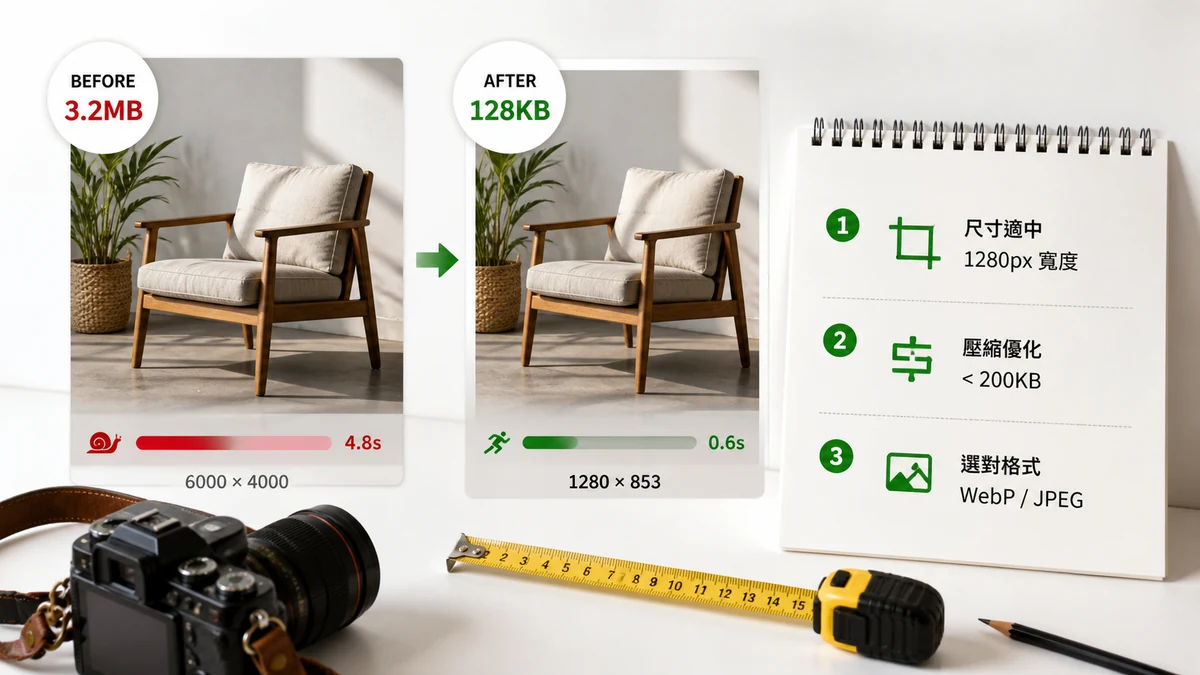
Images are usually the heaviest thing on a page, which makes them the biggest speed lever you control. Get their dimensions and file weight right and pages feel instant. Get them wrong and you fail Core Web Vitals no matter how clean your code is. Here are the targets and the workflow to hit them.
Dimension targets
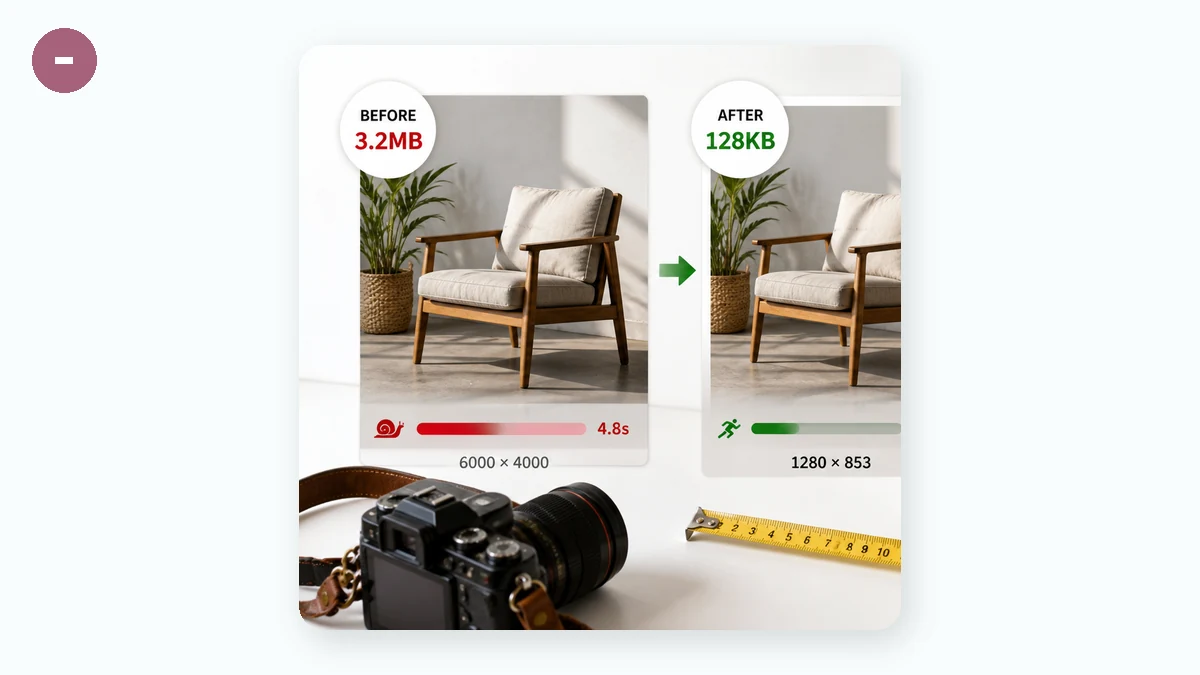
Match the image's pixel size to where it actually appears. Rough guide:
- Full-width hero: 1600–2000 px wide covers most desktop layouts. Going wider rarely helps and costs a lot of bytes.
- In-content photo: your content column width, commonly 800–1200 px.
- Thumbnail / card image: 300–500 px.
- Avatar / icon: 48–200 px at the size it displays.
Serving a 4000px image into an 800px slot means the browser downloads and decodes 25× the pixels it will ever show. That's pure waste — and decoding large images also janks the main thread.
Weight targets
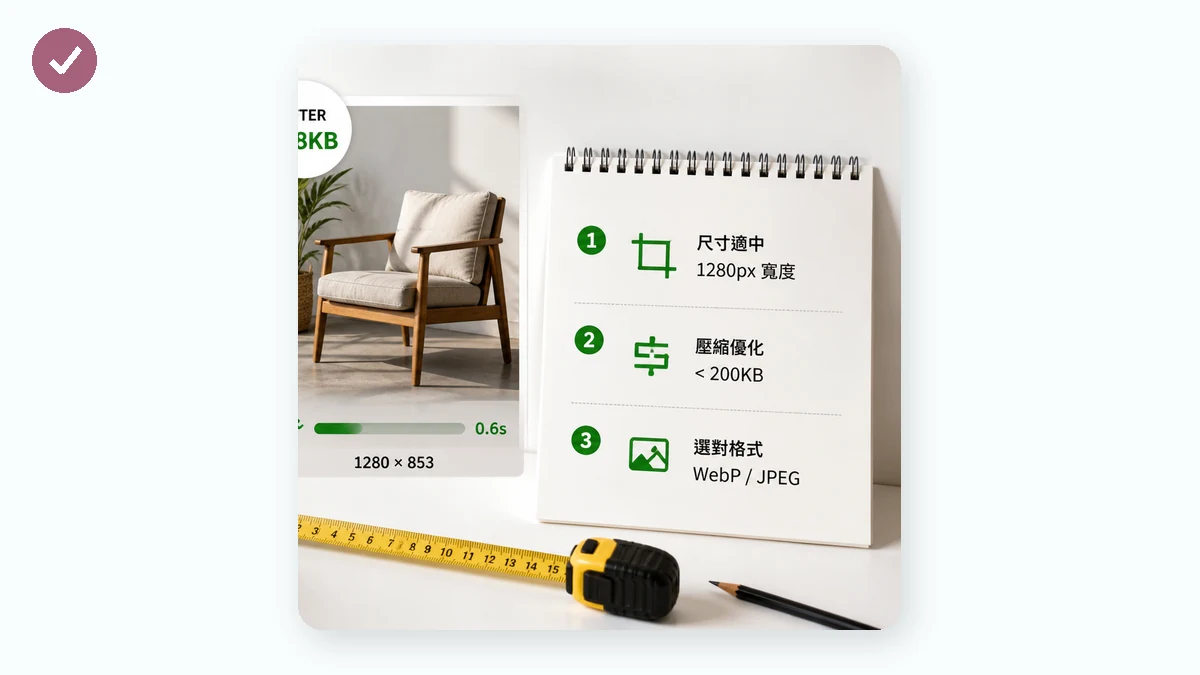
Dimensions set the ceiling; compression sets the actual weight. Aim for:
- Hero image: under 200 KB (ideally 100–150 KB).
- In-content photo: 80–150 KB.
- Thumbnail: 10–30 KB.
- Total images per page: try to stay under ~1 MB for the whole page.
If a single image exceeds ~300 KB, treat it as a bug to investigate.
Why this drives Core Web Vitals
Google's Largest Contentful Paint (LCP) measures how long until the biggest element on screen renders — and on most pages, that biggest element is an image (usually the hero). A heavy, oversized hero directly inflates LCP. A good LCP is under 2.5 seconds; a bloated hero can blow past that on mobile connections all by itself.
Two more image-related wins:
- Set width and height attributes so the browser reserves space — that protects your Cumulative Layout Shift (CLS) score.
- Prioritize the hero (don't lazy-load the LCP image) and lazy-load everything below the fold.
The two-step workflow
Step 1 — resize to real display width. Use Image Resizer to bring each image down to the size it appears at. Aspect-lock on, high-quality downscale. This alone often cuts weight 80–90%.
Step 2 — compress. Feed the resized files to Image Compressor: quality 75–85 for photos (visually lossless), 256-color quantization for PNGs. It never outputs a file bigger than the original, handles batches, and has an optional width cap so you can effectively do both steps at once. For modern browsers, converting photos to WebP squeezes out another 25–35%.
Measure it, don't guess
Once your images are optimized, confirm the page actually got faster. tools.faxianai.com's Page QA audits a live URL through Google PageSpeed Insights and reports the page's image weight so you can spot any file that's still too heavy. One caveat: Page QA needs an internet connection — unlike the image tools, it calls Google's PageSpeed API, so it can't run offline. Use it after you deploy to check your real LCP and image budget.
Private by default
The resize, compress, and convert tools run entirely in your browser with Canvas and WebAssembly — nothing is uploaded, and after your first visit they're cached and work offline. You can prep an entire site's worth of images with no connection, then run Page QA online once the page is live.
Quick recap: right-size the dimensions, compress to weight targets, prioritize the hero for LCP, and verify with Page QA.