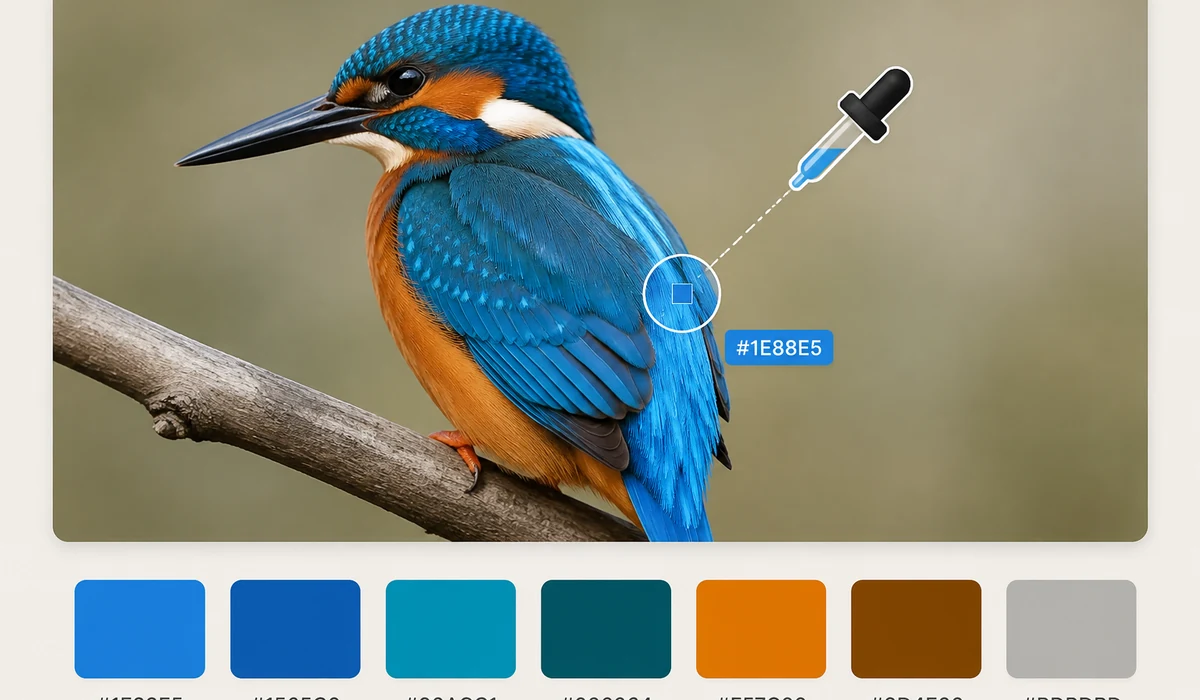
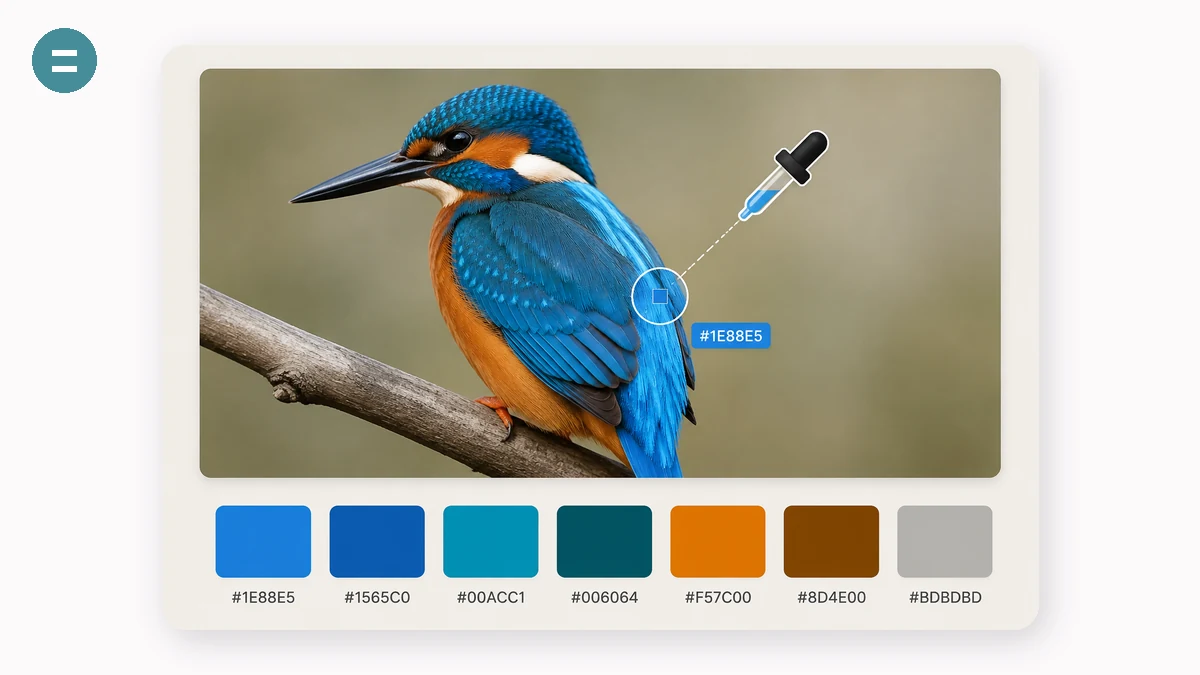
Need the exact colour from a logo, a screenshot, a photo, or a design reference? Load the image, move your cursor over it to preview the colour under a magnifier loupe, and click to save it. Each saved colour shows its HEX, RGB and HSL with one-click copy buttons.
It reads pixels straight from the image in your browser, so the picking is instant and the file is never uploaded — handy for brand colours you'd rather not send to a random site.
How to use
- Add an imageDrop in the picture or screenshot you want colours from.
- Hover and clickThe loupe magnifies the exact pixel; click to save the colour.
- Copy the valueGrab HEX, RGB or HSL for each colour you saved.
Sometimes you need one colour out of an image and nothing else will do — the exact blue in a logo, the grey behind a button in a screenshot, a shade in a photo you want to reuse. Your eye can't read a hex code off a screen, and the colour that looks right is usually a few digits wrong. This picker lets you load an image, move over it with a magnifier loupe that enlarges the pixels under your cursor, and click to save the exact one you want as a swatch — HEX, RGB and HSL all shown together, each with a copy button.
It reads pixels locally in your browser off a canvas: nothing is uploaded, there's no account, and after the first load it works offline. That matters when the image is an unreleased mockup, a client's brand asset, or an internal screenshot. It's a point sampler — each click reads one pixel, which is exactly right for a clean logo or flat UI, and takes a little more care on a noisy photo. If you'd rather have a whole image's dominant colours pulled for you automatically, that's what the separate palette tool is for; this one is for pointing at a specific pixel and taking its value.
What people use it for
Recover a brand's exact colour from an old logo when the spec is gone
Match a button or heading to the colour in a screenshot of a site you like
Pull the primary, accent and text colours off a logo in one pass
Grab a shade from a photo to use as a background or accent
Read the real on-screen colour of a semi-transparent element from a screenshot
Copy a colour as HSL so you can lighten or mute it for a hover or variant state
When you need the exact colour, not a color that's close
You're rebuilding a brand and the only reference is an old logo. You're matching a button to a screenshot of a site you like. You spotted a shade in a photo and want to use it in your own design. In every case the problem is the same: your eye can't read a hex code off a screen. "That teal" is really a dozen slightly different teals, and monitors shift them further. You need the number the pixel actually holds.
That's what this tool does. Load an image, move over it, and a magnifier loupe follows your cursor showing the pixels underneath, blown up so you can land on the precise one you want. Click, and that colour is saved as a swatch. Each swatch lists its HEX, RGB and HSL value with a copy button next to each, so you go straight from a pixel in the image to a code in your clipboard.
The image never leaves your machine. Pixels are read locally in the browser off a canvas — nothing is uploaded, there's no account, and once the page has loaded it keeps working with the network off. That's the point when the "image" is an unreleased mockup, a client's brand asset, or an internal screenshot you shouldn't be handing to a random web tool.
How it works in practice
- The loupe is for precision. Logos and UI have hard edges where the colour changes over a single pixel — anti-aliasing means the pixel next door is a muddy blend. The magnified view lets you see exactly which pixel you're on before you commit, so you pick the flat brand colour and not the edge.
- Every click keeps a swatch. Sampling isn't one-at-a-time-and-gone. Click around the image and each colour stacks up in a list, so you can pull a logo's primary, its accent, and the text colour in one pass and compare them side by side.
- Three formats, one pick. Each swatch shows HEX, RGB and HSL at once. You don't re-sample to change format — the same colour is already sitting there in all three, each with its own copy button.
HEX, RGB, HSL — which to copy
They're three ways of writing the same colour, and the right one depends on where it's going.
- HEX (
#3A7BD5) is the default for the web — CSS, most design tools, brand docs. Compact and universally pasteable. Copy this unless you have a reason not to. - RGB (
rgb(58, 123, 213)) spells out the red, green and blue channels. Useful when a tool wants channel values, when you need an alpha (rgba), or when you're reasoning about how a colour is mixed. - HSL (
hsl(215, 65%, 53%)) describes hue, saturation and lightness. This is the one to reach for when you want to adjust a colour rather than just reuse it — nudge the lightness for a hover state, drop the saturation for a muted variant, keep the hue and build a scale.
One honest limit, and a sibling tool
This is a point sampler: each click reads a single pixel. On a clean logo or flat UI that's exactly what you want. On a noisy photo — grain, gradients, JPEG artefacts — two neighbouring pixels can differ, so pick from a flat area and use the loupe to avoid landing on an outlier. There's no average-of-a-region brush here.
And if you don't want to hand-pick at all, tools.faxianai.com has a separate palette tool that scans a whole image and hands you its dominant colours automatically. The two answer different questions. The palette tool tells you what colours this image is made of; the colour picker lets you point at one specific pixel — this exact spot on the logo, that one button — and take its value. Reach for the palette tool to summarise an image, and this one when you already know the point you want.
Load an image, hover to find the pixel, click to keep it, copy the format you need.
Why tools.faxianai.com
Magnifier loupe
Zooms in so you click the exact pixel.
HEX / RGB / HSL
Every saved colour in three formats.
One-click copy
Copy any value straight to the clipboard.
Private
Pixels are read locally — no upload.