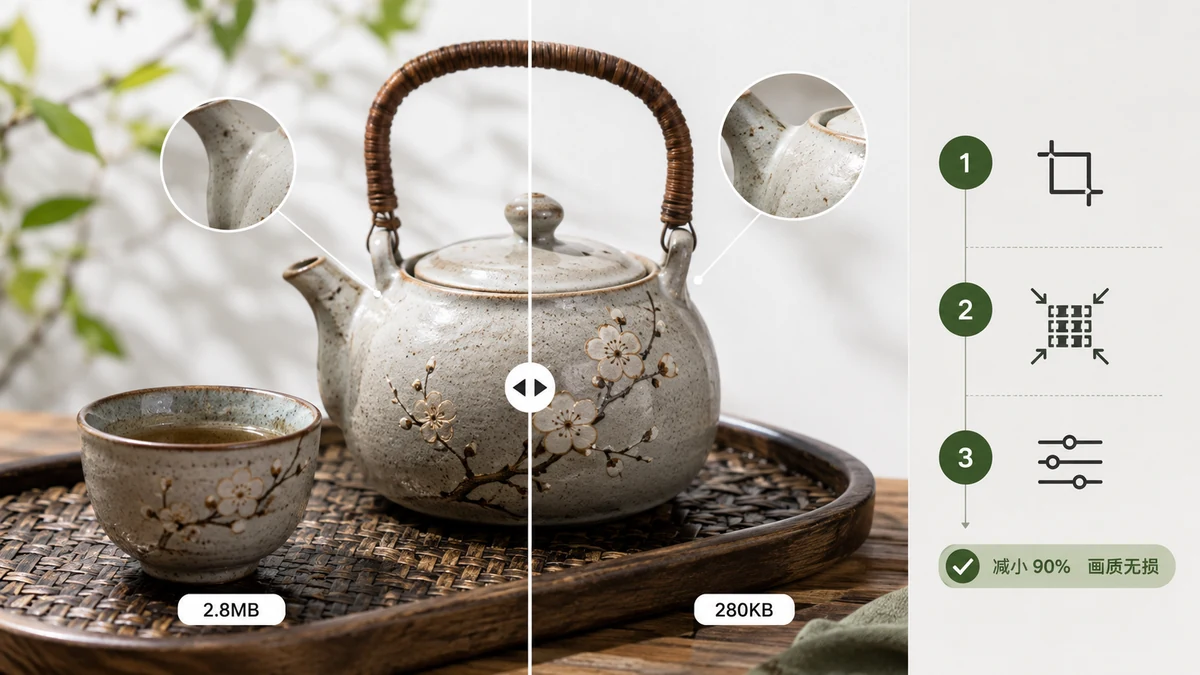
"Without losing quality" usually means one thing in practice: shrink the file so much that nobody can tell you did it. True mathematical lossless compression exists, but it barely dents most photos. The savings people actually want come from visually lossless compression — throwing away data your eyes were never going to notice.
Here's how to do that reliably, and how to check that you got it right.
The one number that decides everything
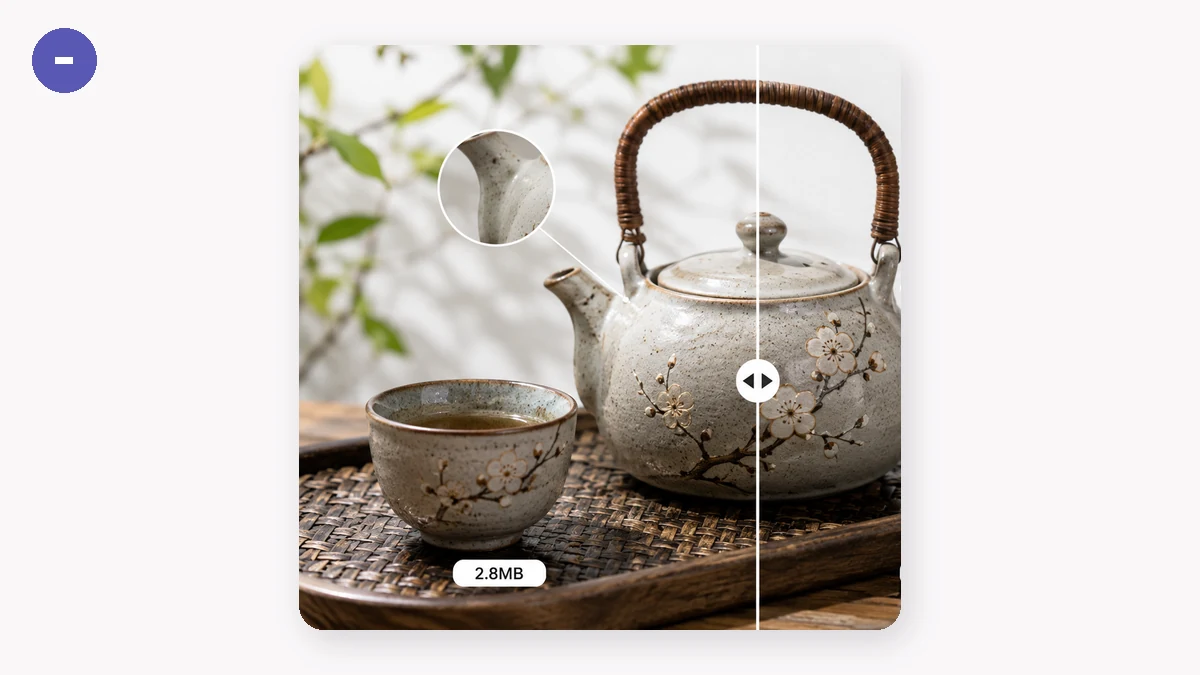
For JPG and WebP, the whole game is the quality slider. Set it too high and the file stays bloated. Set it too low and you get blocky skies and smeared text. The sweet spot for photographs is usually quality 75–85. In that band, a typical JPEG drops 40–70% in size while looking identical at normal viewing distance.
Why does this work? Photos are full of gradients and noise that compress well, and small color shifts in a busy image are invisible. A flat logo with sharp edges is the opposite — that's a job for PNG, which we'll get to.
Start high, then step down until you just start to see artifacts, then step back up one notch. That's your visually lossless point.
PNG is a different animal
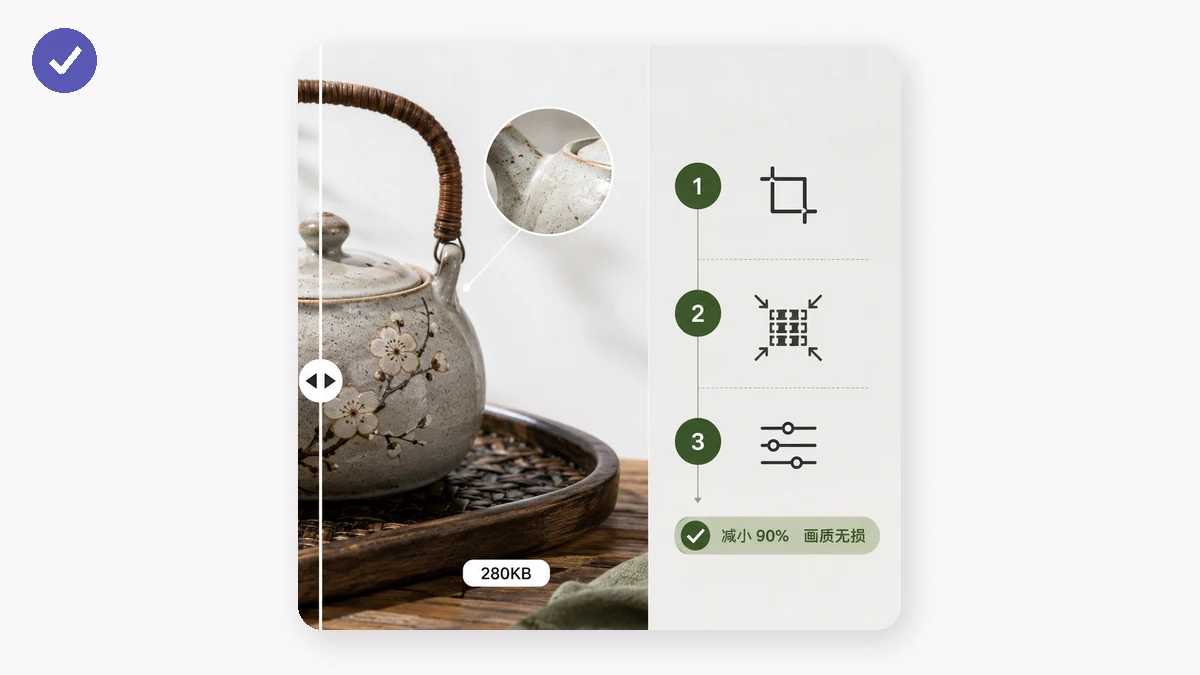
PNG doesn't have a quality slider because it's already lossless. To make a PNG smaller, you reduce how many distinct colors it stores. Most PNGs — screenshots, icons, illustrations — use far fewer colors than the 16 million they're allowed. Quantizing down to a 256-color palette often cuts the file by 60–80% with no visible change, because the original never needed all those colors anyway.
This is the same trick the well-known "tinify"-style tools use. tools.faxianai.com's Image Compressor applies 256-color quantization to PNGs automatically, so you get big savings without hunting for settings. If your PNG is a photograph saved in the wrong format, convert it to JPG or WebP first — that's a much bigger win than any PNG optimization.
Cap the dimensions, too
A 6000-pixel-wide photo displayed in a 1200-pixel column is carrying five times more data than the screen can show. Before you even touch compression, ask whether the image is bigger than it needs to be. The compressor has an optional width cap — set it to the largest size the image will actually appear at, and you compound the savings.
Order of operations that works well:
- Resize to the real display width (or set the width cap).
- Compress with quality 75–85 for photos, or let quantization handle PNGs.
- Compare against the original and eyeball a full-resolution crop.
How to verify you didn't lose anything
Open the compressed file at 100% zoom and look at the parts that matter: faces, text edges, smooth gradients like skies. If those survive, the rest will too. A safety net worth knowing about: a good compressor never hands you a file larger than the original — if compression wouldn't help, it keeps what you started with. tools.faxianai.com works this way, so you can batch a whole folder and trust that nothing gets worse.
Do it locally, keep it private
One more thing that matters if the images aren't yours to leak: every step above runs entirely in your browser. Nothing uploads. tools.faxianai.com uses Canvas and WebAssembly to process files on your own machine, and after your first visit the tool is cached so it works offline. You can compress a batch of client photos on a plane with no signal.
Drop your files in, pick a quality, and download a ZIP of the results:
The short version: use the quality slider for photos, quantization for PNGs, cap oversized dimensions, and check a 100% crop. That's compression nobody can see.