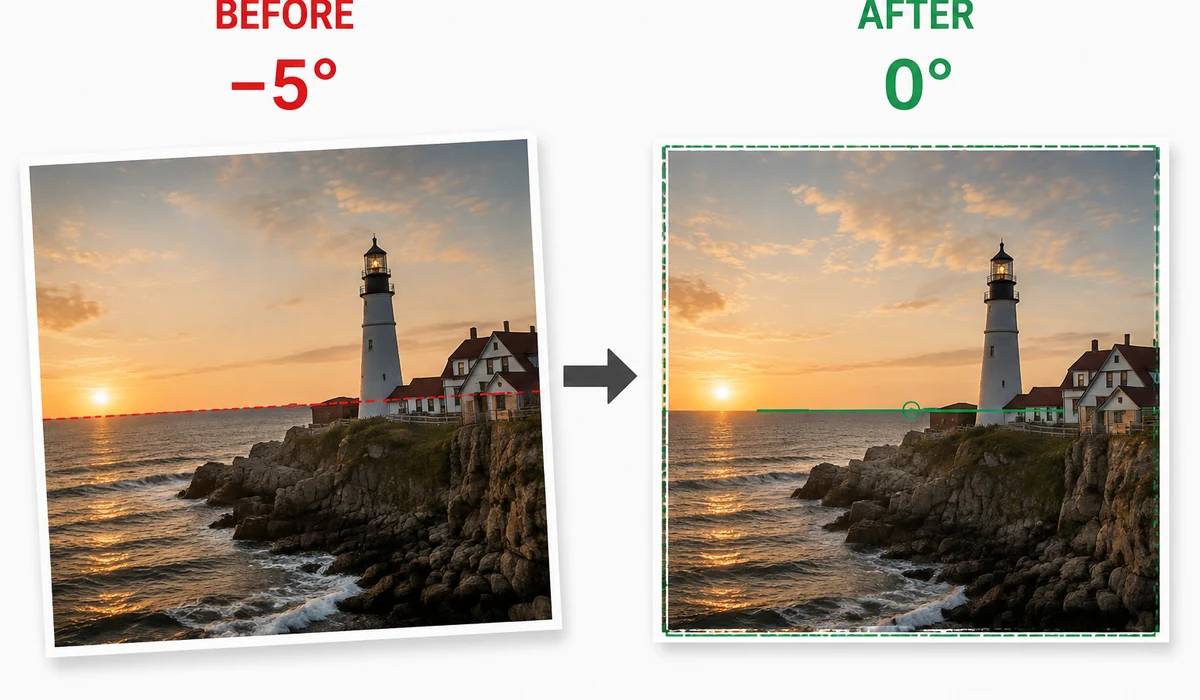
A photo that's tilted two degrees looks broken; a photo that's been leveled looks professional. This tool rotates in 0.1° steps while a rule-of-thirds grid and a center line help you match the horizon, and it automatically crops to the largest clean rectangle so you never see white corners.
It also handles the coarse stuff — 90° steps for photos shot sideways — and exports at full source resolution. All in your browser: the photo is never uploaded.
How to use
- Add a photoAny tilted shot — horizon, building, scanned document.
- Level itDrag the fine-angle slider until the grid lines match the horizon.
- DownloadAuto-cropped, full resolution, no white edges.
One degree off, one photo ruined
Human eyes are merciless about horizons: tilt the sea, the skyline or a building by 1–2 degrees and a photo drops from 'professional' to 'snapshot'. Of all composition fixes, leveling is the easiest and highest-return.
It doesn't take an editor — just precise angle control and a reference grid. A 0.1° slider plus a thirds grid: align the horizon with a line and you're done.
Auto-crop: where the white wedges went
Rotating a rectangle always exposes empty wedges at the corners. Cheap tools leave them or smear a blur fill. The correct fix is the largest inner rectangle at the original aspect ratio, computed in closed form and cropped precisely.
The tool solves it live and shows the resulting size. Small corrections cost little: a 5° fix loses only about 6% of the frame.
Sideways shots and scans
Old photos without orientation data often come in rotated a full 90°. Use the coarse 90° buttons first, then the fine slider — two steps fix any tilt.
Scans are the other big case: book pages, receipts and old prints almost never come out level. Align the text rows with the grid and the scan is straight — more reliable than any auto-deskew.
What people use it for
Landscapes — Sea and skyline leveled in a second.
Architecture — Vertical building edges aligned with the grid.
Scans — Book pages, contracts, old prints — text rows on the lines.
Product photos — Edges parallel to the frame reads as professional.
Why tools.faxianai.com
0.1° precision
Fine slider from −15° to +15°, plus 90° steps.
Grid overlay
Thirds grid and center line to line up the horizon.
Auto-crop
Largest clean rectangle — no white wedges, ever.
Private
Rotation happens on your device only.