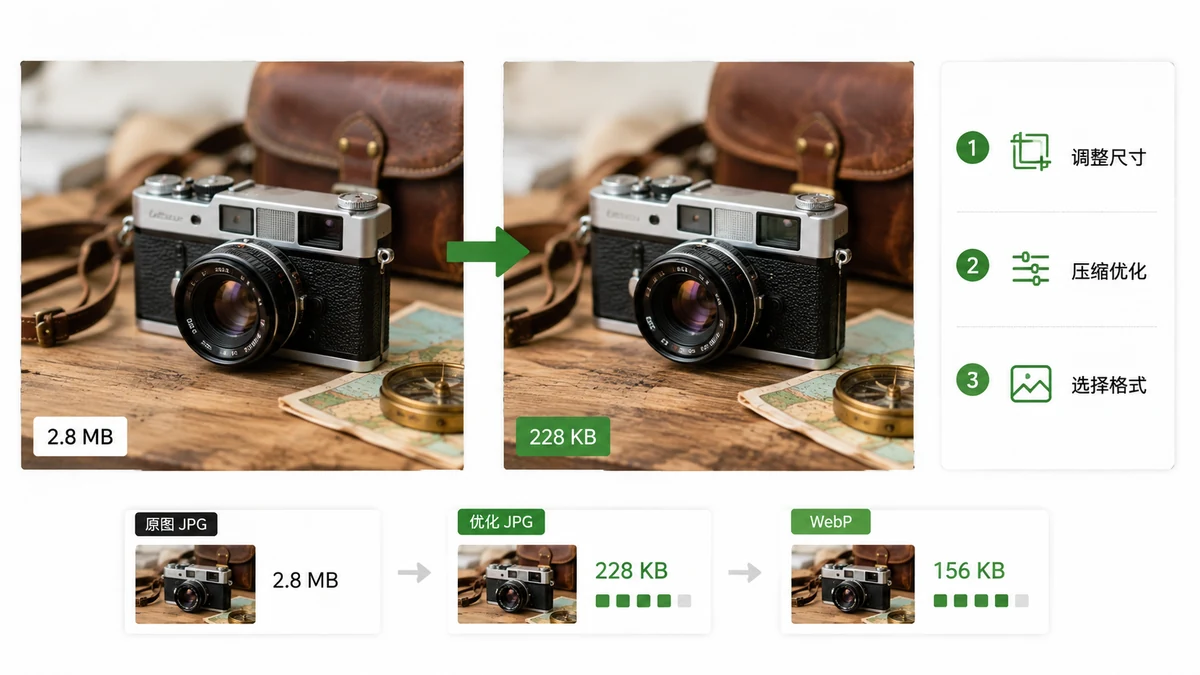
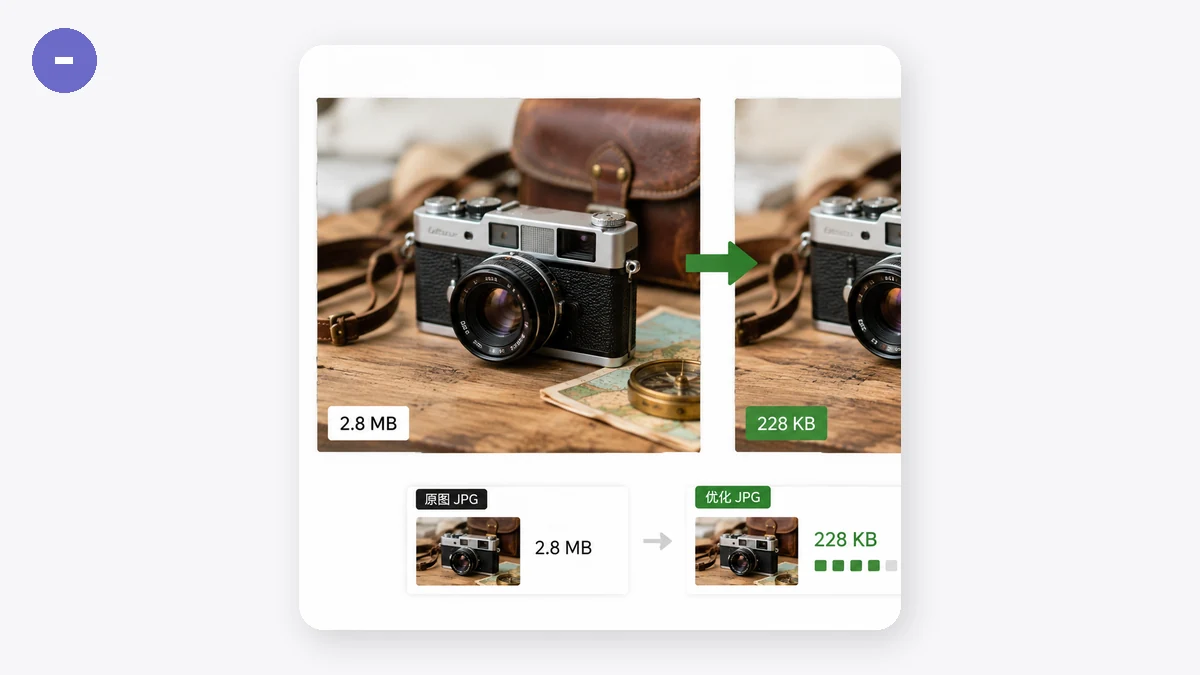
Big images are the number-one reason pages load slowly. The fix is almost always two steps: make the image the right dimensions, then compress what's left. Do both and a 4 MB photo becomes a 150 KB photo that looks identical on screen.
Let's put real numbers on it.
Target sizes to aim for
You don't need to guess. Here are practical weight budgets that keep pages fast:
- Hero / full-width banner: under 200 KB, ideally ~100–150 KB.
- In-article photo: 80–150 KB each.
- Thumbnail / avatar: 10–30 KB.
- Logo or icon (PNG/SVG): under 30 KB; often far less.
And dimensions:
- Full-width hero: 1600–2000 px wide is plenty for most layouts (double it only if you're targeting Retina and can afford the bytes).
- In-column photo: match your content width — often 800–1200 px.
- Thumbnail: the size it actually displays at, e.g. 300–400 px.
If any single image on a page is over ~300 KB, it's usually a mistake worth fixing.
Step 1: Resize to the real display width
This is the step people skip, and it's the biggest lever. A photo straight off a phone is often 4000+ pixels wide. If it displays in an 800-pixel column, you're shipping 25 times more pixels than the screen shows — and pixel count drives file size more than anything.
Use Image Resizer to bring the image down to the width it actually appears at. Resize by pixels or percentage, keep the aspect ratio locked, and let the high-quality downscaler keep edges clean.
Right-sizing alone often cuts file size by 80–90% before you've compressed a single byte.
Step 2: Compress what's left
Now shrink the data inside those correct dimensions.
- Photos (JPG/WebP): set the quality slider to 75–85. That's visually lossless for most images while cutting size hard.
- PNGs (screenshots, graphics): Image Compressor reduces them to a 256-color palette, typically saving 60–80% with no visible change and keeping transparency.
The compressor also caps output at the original size — it never hands back something bigger — and it has an optional width cap, so you can actually do both steps in one pass: set the cap to your target width and compress at once. Batch a whole folder and download it as a ZIP.
Choose the right format while you're at it
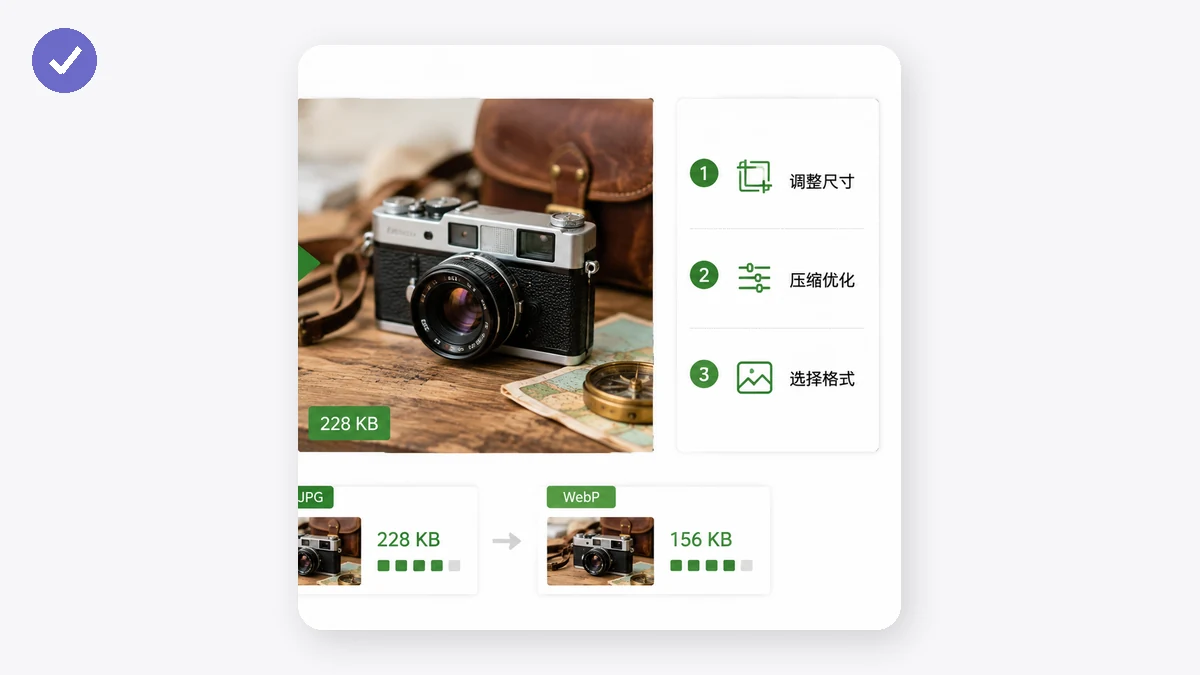
If your images will be served to modern browsers, converting photos to WebP typically beats JPEG by another 25–35% at the same quality. Flat graphics stay as PNG (or WebP). Don't save photographs as PNG — that's the classic bloat mistake, easily a 5–10× penalty.
A realistic workflow
For a blog post with five photos:
- Resize each to your column width (say 1200 px).
- Compress at quality 80, or convert to WebP.
- Confirm each lands under ~150 KB.
- Check a 100% crop of one image to be sure quality held.
Five photos that started at 20 MB total will land around 600 KB — a page that loads in a blink instead of a stall.
Private and offline
Everything above runs entirely in your browser using Canvas and WebAssembly. No image is uploaded to a server, and after your first visit the tools are cached and work offline. You can optimize a whole post's worth of images with no connection and nothing leaving your machine.