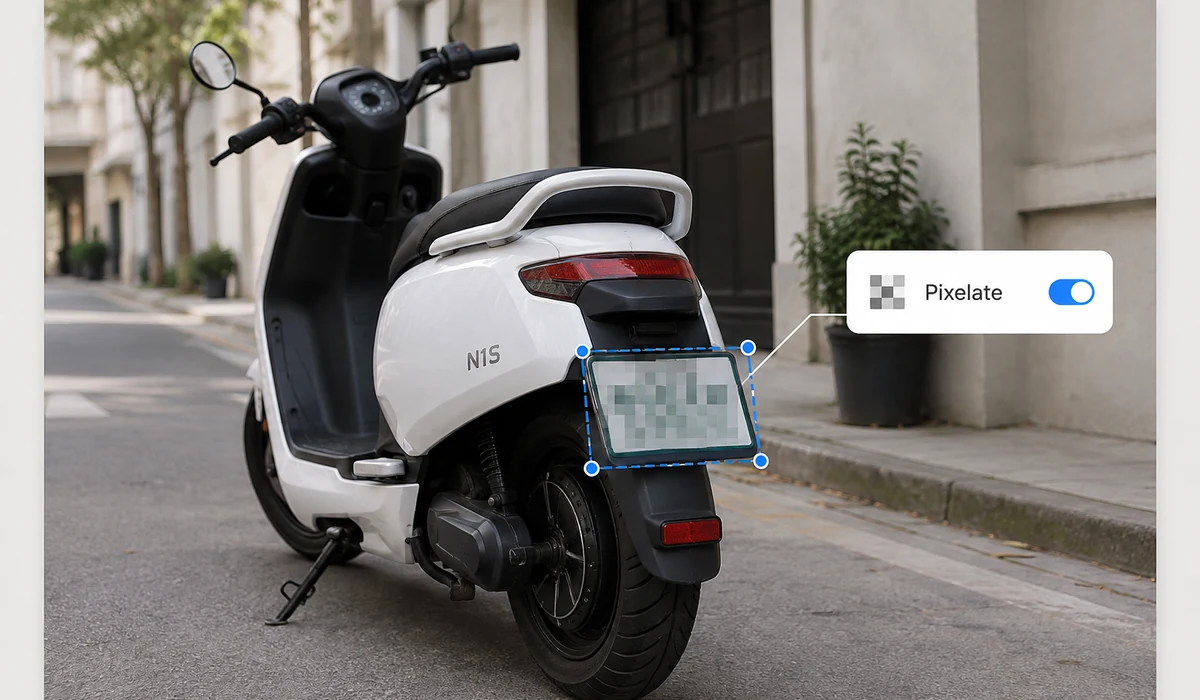
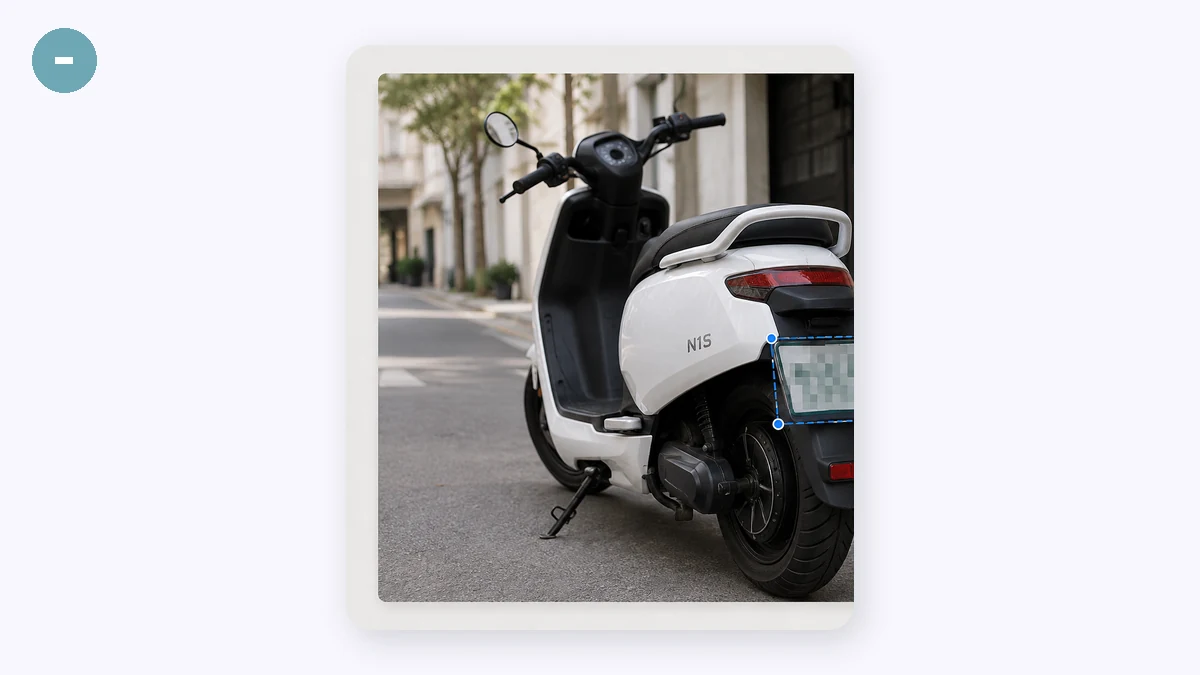
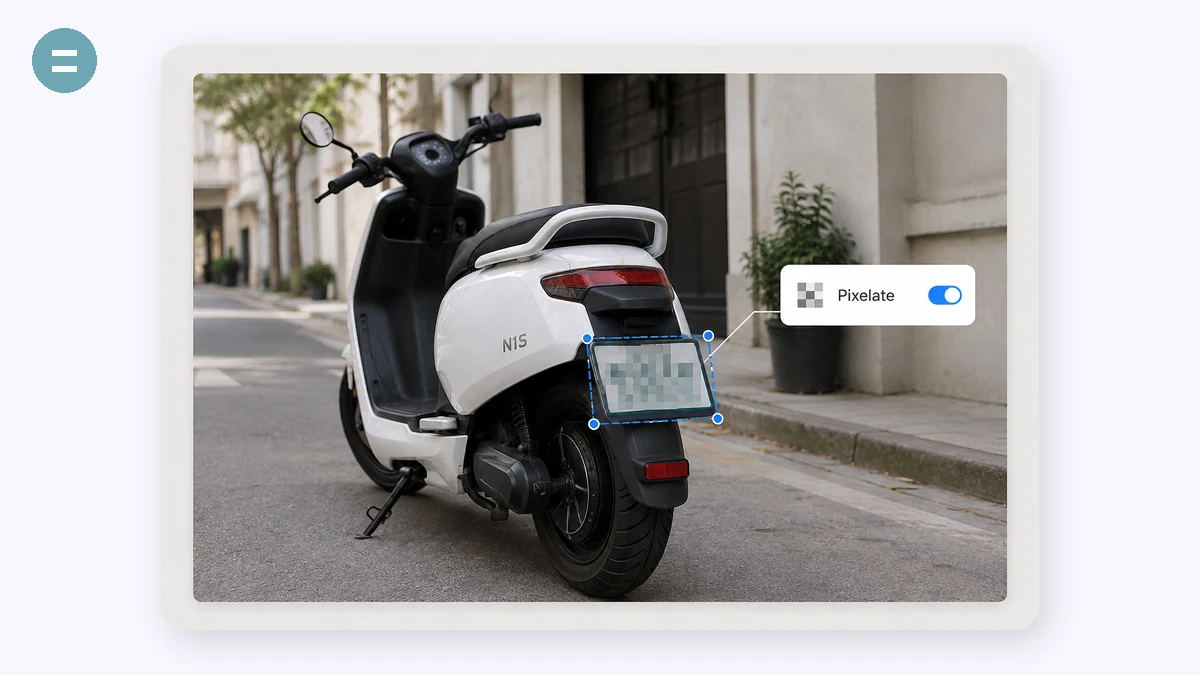
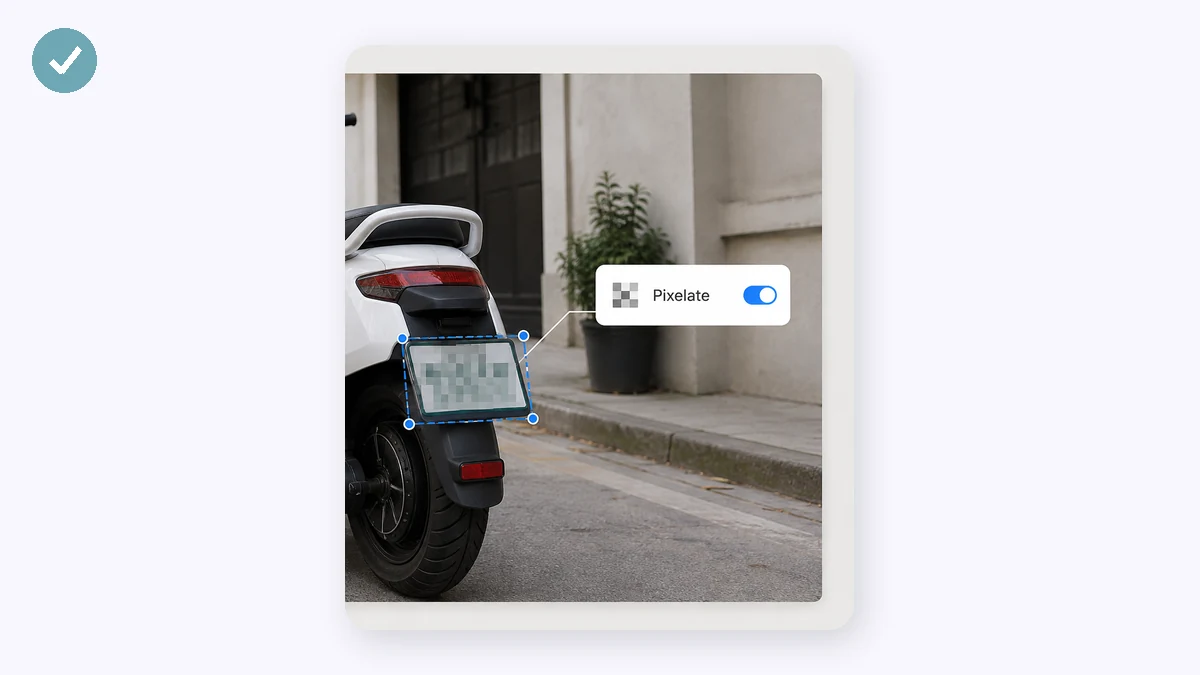
Before you post a screenshot or photo, you often need to hide something: a face, a licence plate, an address, an order number, a name in a chat. Drag a rectangle over each thing you want gone and it's instantly pixelated, blurred, or covered with a black box. Add as many boxes as you need.
The whole point is privacy, so it would defeat the purpose to upload your image — it doesn't. Everything happens in your browser, and pixelation actually destroys the underlying pixels (unlike a blur that clever tools can sometimes reverse).
How to use
- Add an imageDrop in the screenshot or photo.
- Drag over what to hideChoose Pixelate, Blur or Black box, then drag a rectangle over each sensitive area.
- DownloadSave the censored PNG. Undo removes the last box if you overshoot.
Cover anything sensitive with a dragged box
Drag a rectangle over the part of the image you want to hide — a face, a licence plate, a home address, an email, an order number — and it disappears under a pixelate block, a blur, or a solid black box, at a strength you control. Add as many boxes as the picture needs, mix pixelate and black in the same image, and undo the last one if you place it wrong. When it looks clean, export a PNG.
The whole job runs on your own device using the browser's canvas. Nothing is uploaded, there's no account, and it keeps working offline once the page has loaded. That's the point: when you're hiding sensitive information, the un-hidden original should never leave your machine, and here it never does.
Pixelate and black box are safe; blur can leak
Pixelation averages each block down to a single flat colour, so at a coarse enough size the detail isn't hidden, it's destroyed. A black box paints solid over the region with nothing left underneath. Both are genuinely irreversible in the exported file.
Blur is the one to treat with caution. It smears pixels rather than deleting them, and that's partly reversible — software can sharpen a light blur back toward the original, and text and small faces recover best. Use blur to de-emphasise something unimportant. For a card number, a password, an address, or a face that truly must stay hidden, use coarse pixelation or a black box instead.
What people use it for
Hide a face before posting — Cover a bystander, a child in the background, or your own face with a box before a photo goes on social media.
Redact a screenshot — Black out names, emails, order numbers, and addresses in a chat or order confirmation before you share it.
Cover a licence plate — Pixelate the plate on a car photo for a marketplace listing or an insurance claim.
Blank out an address on a package — Hide the shipping label on a delivery photo so you can post the parcel without leaking where you live.
Clean up a document photo — Cover an ID number, signature, or account detail on a scanned form before emailing it on.
Protect bystanders in event photos — Pixelate faces of people who didn't consent before a group or event photo goes public.
The one detail you need gone before you hit post
You're about to share a screenshot of a delivery confirmation, a photo of a package, a chat thread, a form you filled in. The image is fine except for one thing: a face, a licence plate, a home address, an order number, an email, a name in the corner. You don't want to crop it out — the crop would ruin the framing, or the thing you need to hide sits right in the middle. You just want that one region covered, cleanly, and then you want to move on.
This tool does exactly that and nothing more. You drag a rectangle over the part you want to hide, and it disappears under a pixelate block, a blur, or a solid black box, at whatever strength you set. Need to cover three things? Drag three rectangles. Got the box in the wrong spot? Undo removes the last one. When it looks right, export a PNG. The whole job takes a few seconds, and every one of those seconds happens on your own device.
Pixelate, blur, or black box — and which to trust
The three modes look similar but they are not equally safe, and it's worth being honest about that.
- Pixelate genuinely destroys the pixels underneath. It averages each block down to a single colour, so the detail isn't hidden, it's gone. There's nothing left in the file to recover.
- Black box is the strongest and simplest: it paints solid over the region. Nothing of the original survives.
- Blur is the one to be careful with. A light blur looks obscured, but it's a reversible mathematical operation — the original information is smeared, not deleted, and there are tools that can partially sharpen it back, especially on text and small faces. Blur is fine for softening something unimportant. It is the wrong choice for anything that actually matters.
The rule of thumb: for a face you'd rather people didn't stare at, blur is fine. For a card number, an address, a password, a plate you're legally on the hook for — use pixelate at a coarse strength, or just drop a black box on it. Don't trust a blur with data that would hurt you if it leaked.
Why "private" has to mean local
Here's the part that makes most online censoring tools quietly absurd. You're trying to hide sensitive information in an image — and the tool asks you to upload that exact image, uncensored, to its server first. The unredacted original, the one with the address and the face still perfectly visible, travels across the internet and lands on someone else's disk before any hiding happens. You've handed over the very thing you were trying to protect.
This tool never uploads anything. It runs entirely in your browser tab using the canvas your device already has. The image is opened, drawn, and edited locally; the pixelation and the black box are baked into the exported PNG on your own machine. Load the page once and you can pull the network cable — it keeps working offline, because there was never a server in the loop. Nothing to intercept, nothing logged, nothing sitting in a cache.
What it does and doesn't do
Be clear on the scope so it fits your job. You place the regions by hand: you drag rectangles, you decide where they go. There's no automatic face or licence-plate detection scanning the image for you, and the regions are rectangles, not free-form shapes or lassos. For the overwhelming majority of real tasks — one screenshot, a handful of things to cover — hand-placing a few boxes is faster than any automatic tool and you know precisely what got hidden, because you drew every box yourself.
It works with touch, too, so you can drag boxes with a finger on a phone right after taking the photo. Add as many regions as you need, mix pixelate and black box in the same image, undo your way back if you overshoot, and export when it's clean. Then post the thing without the second-guessing.
Why tools.faxianai.com
Pixelate, blur, or block
Three ways to hide, at any strength.
Drag any area
Cover as many spots as you need.
Undo
Step back one box at a time.
Truly private
The image is never uploaded — the reason this tool exists.