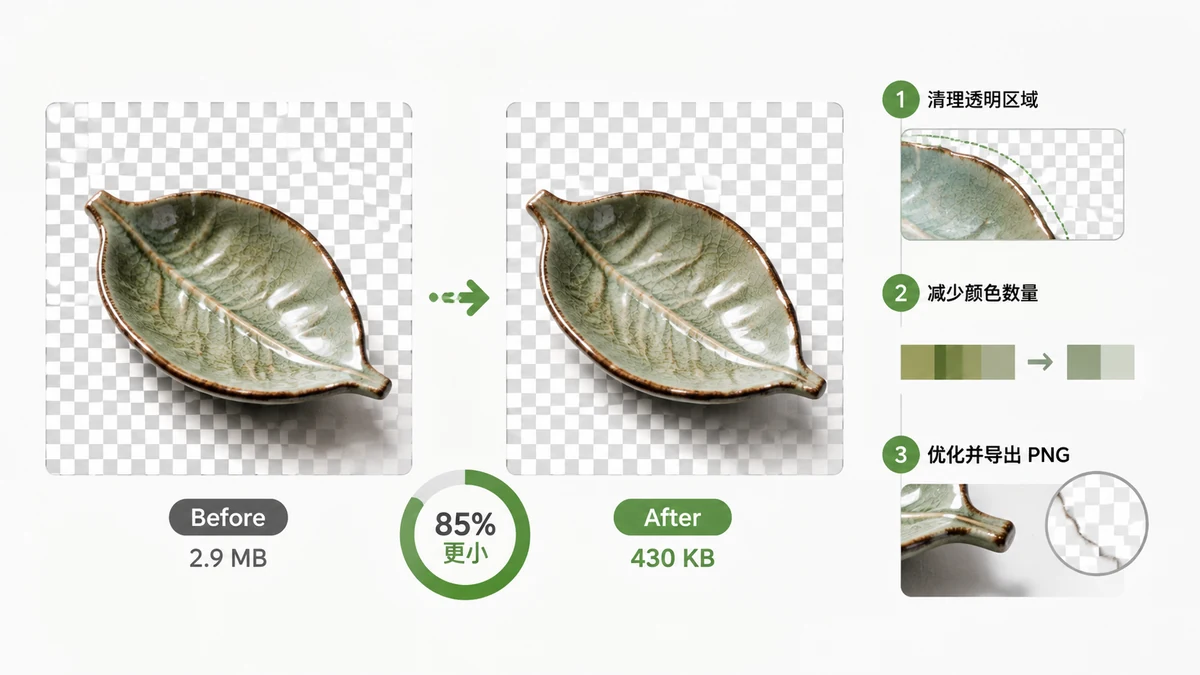
PNGs get a bad reputation for being enormous, and it's deserved — a single icon can somehow weigh more than a full photograph. The good news is that most of that bloat is wasted, and you can strip it out while keeping the crisp edges and the transparent background you needed PNG for in the first place.
Why PNGs are so big
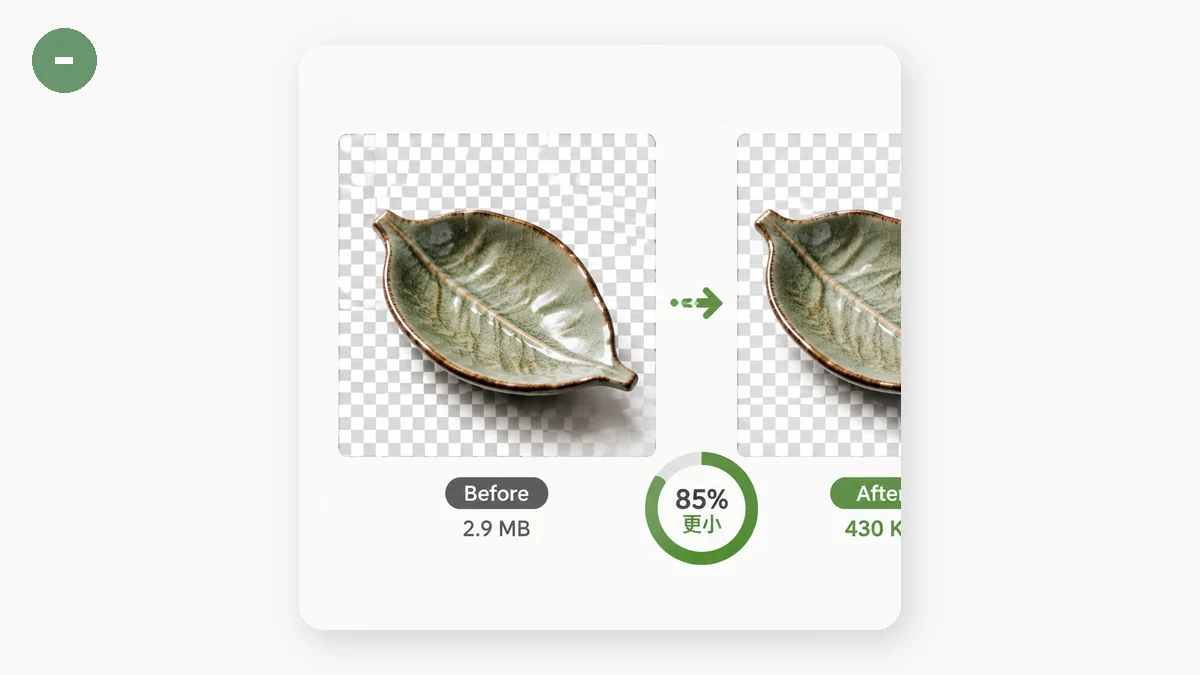
PNG is a lossless format. Unlike JPEG, it doesn't throw anything away — it stores every pixel exactly. That's perfect for sharp logos, icons, and UI screenshots, but it means the file has to describe a lot of data honestly.
The real killer is color depth. A standard PNG can store up to 16 million colors (24-bit), plus a full transparency channel. But your logo probably uses a dozen colors. Your icon set, maybe fifty. All that unused color capacity still costs bytes to keep available. You're paying for a 16-million-color canvas to paint a picture that needs twenty.
There's a second trap: people save photographs as PNG. A photo genuinely does use millions of colors and subtle gradients, so PNG can't compress it well — the file ends up five to ten times larger than the same photo as JPEG or WebP. If your "PNG problem" is actually a photo, the fix is to convert it, not compress it.
Quantization: the fix that keeps transparency
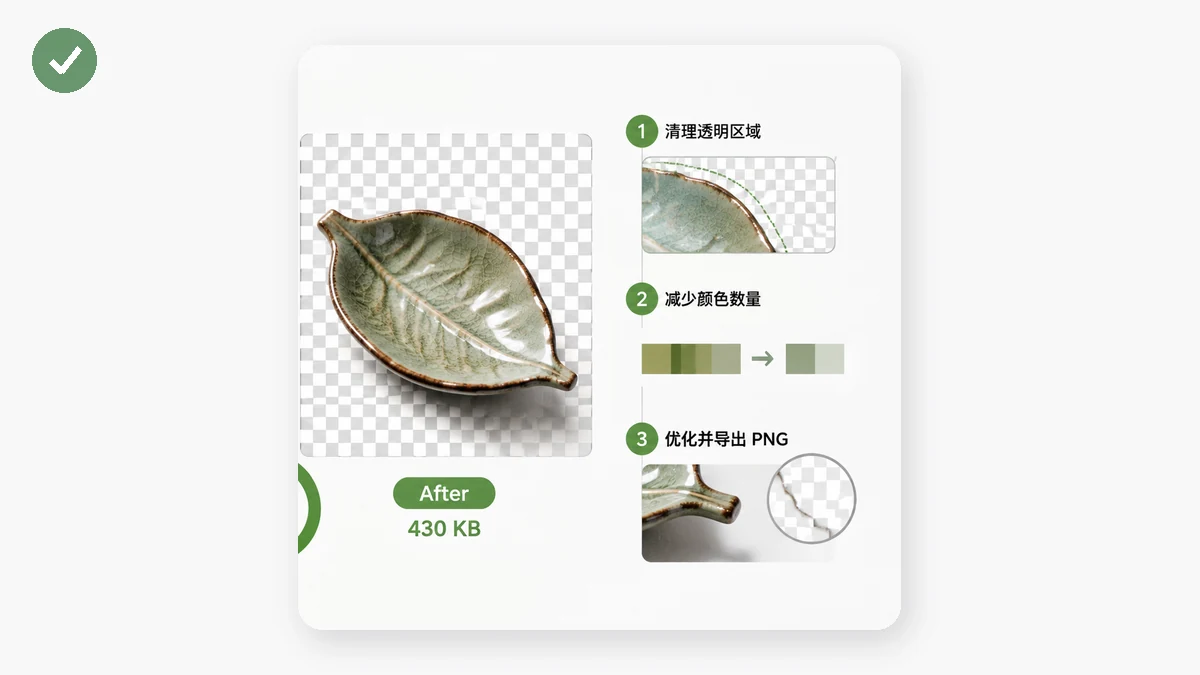
For real PNGs — flat color, sharp edges, transparency — the winning move is color quantization. Instead of storing millions of possible colors, the image is reduced to a carefully chosen 256-color palette. Because your image never used more than a fraction of that anyway, the result looks identical while the file drops 60–80%.
The part people worry about: does this destroy the transparent background? No. Quantization reduces the color palette, but the transparency (alpha) channel is preserved. Your logo still drops cleanly onto any background — no white box, no gray fringe. This is the same technique the well-known "tinify"-style PNG optimizers use, and it's why they can shrink transparent PNGs so dramatically.
tools.faxianai.com's Image Compressor applies 256-color quantization to PNGs automatically. You don't pick a quality number — there's no quality slider for a lossless format — you just drop the file in and get a much smaller PNG with transparency intact.
Quick checklist for transparent PNGs
- Confirm it's really a graphic, not a photo. Logos, icons, illustrations, and UI shots → compress as PNG. Photographs → convert to WebP (which also supports transparency) or JPEG (which doesn't).
- Trim oversized dimensions. A 2000px icon shown at 200px is 100× the pixels it needs. Cap the width first — the compressor has an optional width cap.
- Quantize. Let the 256-color reduction do the heavy lifting. Transparency survives.
- Verify the edges. Open at 100% and check the alpha edges against a busy background to confirm they're clean.
Batch it, keep it private
If you've got a whole icon set or a folder of exported graphics, you don't have to go one by one. The compressor handles batches and returns a ZIP, and it never outputs a file larger than the original — so a folder of already-tight PNGs won't accidentally grow.
Everything runs entirely in your browser with Canvas and WebAssembly. Your PNGs are never uploaded anywhere, and after your first visit the tool is cached and works offline. Compress a client's brand assets on a train with no signal and nothing leaves your laptop.
The takeaway: PNGs are big because they hoard color capacity you don't use. Quantize to 256 colors, keep the transparency, and watch the file shrink without a visible change.