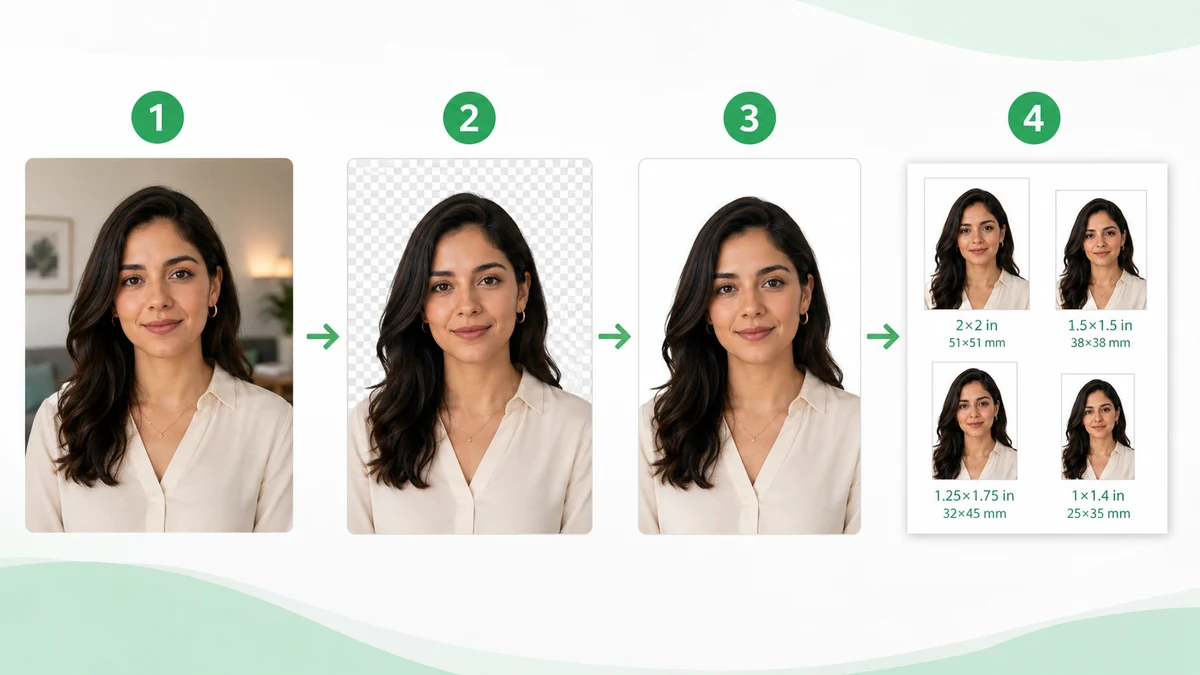
Driving to a studio and paying studio prices for a 1-inch photo makes no sense in 2026. An ID photo has exactly three requirements — precise dimensions, a clean background, a proper pose — and a browser handles the first two more accurately than a technician. Here's the whole workflow.
Step 1: Know your size
| Use | Spec | mm | Pixels @300 DPI |
|---|---|---|---|
| Resumes, badges | 1-inch | 25×35 | 295×413 |
| Most visas, social cards | 35×45 | 35×45 | 413×531 |
| Certificates | 2-inch | 35×49 | 413×579 |
| Chinese passport | — | 33×48 | 390×567 |
| US passport/visa | 2×2" | 51×51 | 600×600 |
| Japan visa | — | 45×45 | 531×531 |
No need to memorize — the ID Photo Maker has them all as presets. When unsure, pick 35×45mm: it's the most widely accepted size in the world.
Step 2: Shoot a "raw" photo with your phone
No equipment needed, three rules:
- Find an evenly lit wall. Any colour works — the background gets replaced anyway. What matters is even light.
- Stand at least half a metre from it. Standing against the wall casts a hard shadow; distance softens it and the AI cut comes out cleaner.
- Camera at eye level, rear camera plus timer, or ask someone. Front-facing wide lenses distort faces at close range.
Pose rules vary by authority; the safe universal set: face straight on, eyes open, mouth naturally closed, brows and ears visible, no tinted glasses.
Step 3: Replace the background — AI, in your browser
Drop the photo into the ID Photo Maker, pick the spec, drag and zoom until the head sits right (a little space above the hair; chin around two-thirds down), then click white, blue or red.
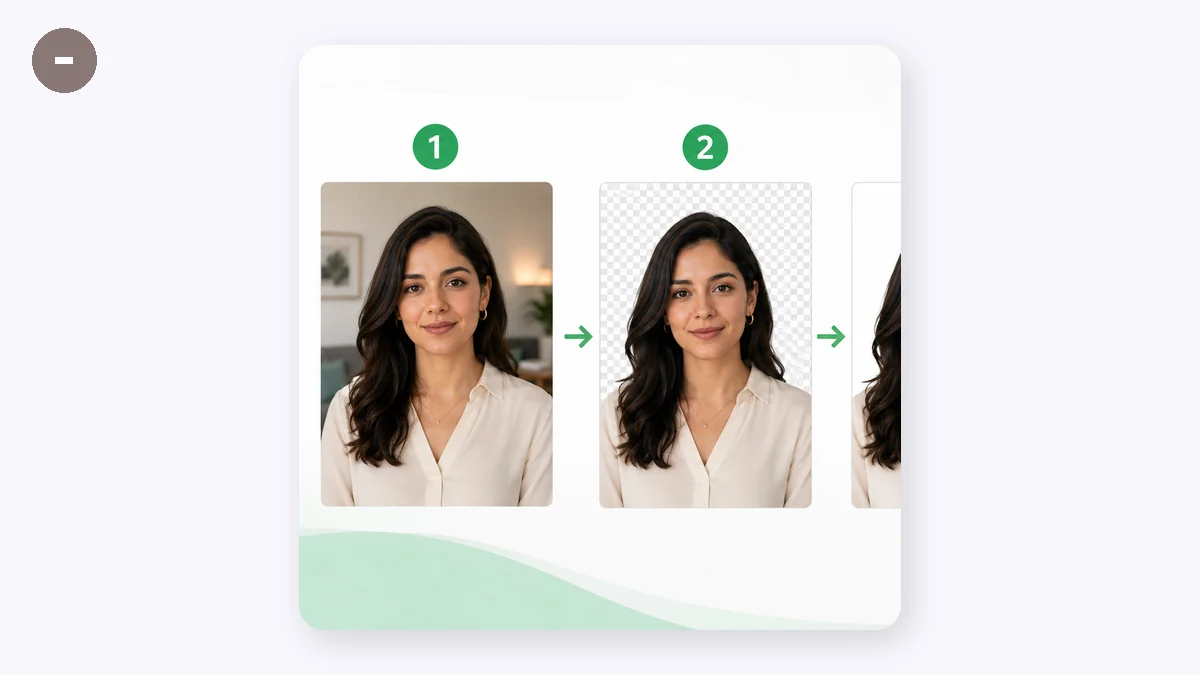
What happens underneath: a segmentation model (u2netp) runs via WebAssembly inside your browser, lifts the subject off the original background and composites it over the standard colour. The photo is never uploaded — and for an image tied to your legal identity, that matters more than the money. If you just want the transparent cut-out, use the AI Background Remover.
Industry-standard colours: white #FFFFFF, blue #438EDB, red #D8332A.
A side note: if what you really need is a professional headshot — for a resume or LinkedIn — an AI generator like PixPix turns one selfie into a full set of studio-grade shots in business attire; then come back here and cut it to ID specs. Two birds, one photo.
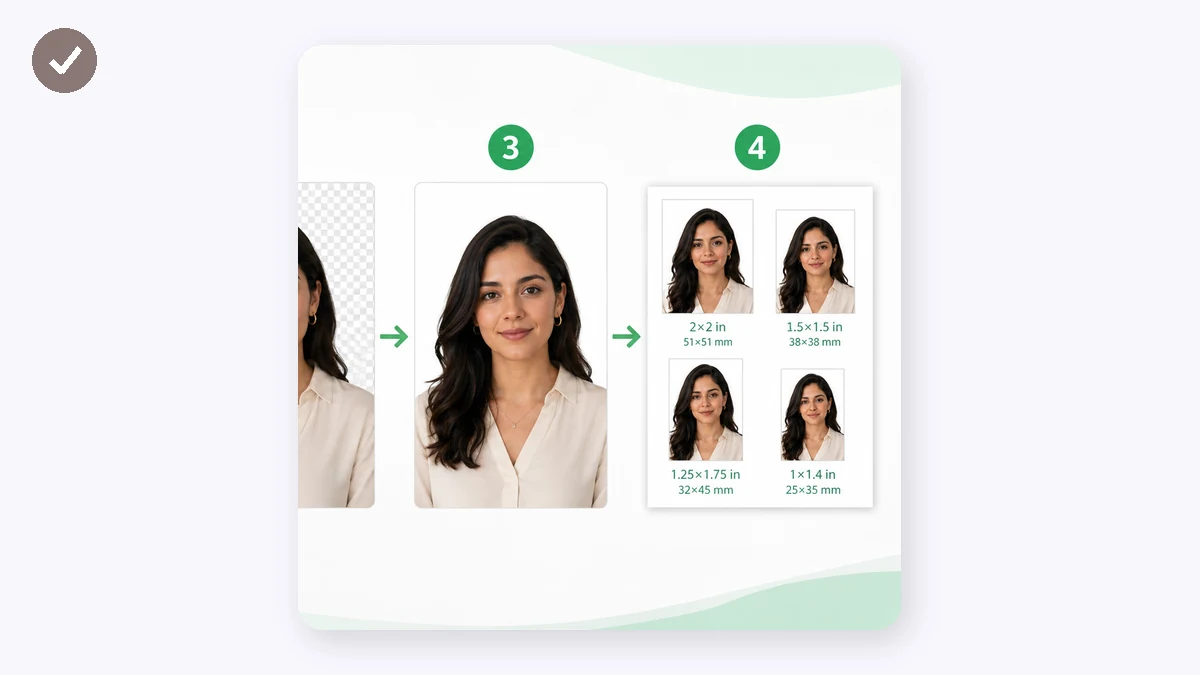
Step 4: The print-sheet trick
Labs charge ID-photo prices for ID photos — but a plain 4×6" print costs pennies. So:
- Click "Print sheet 4×6"" — eight 1-inch photos tiled with dashed cutting guides;
- Order it as an ordinary 4×6" print, online or at a kiosk;
- Cut along the lines.
With a home printer, an A4 sheet yields a dozen at once. One rule: print at 100% scale. Never let the printer "fit to page", or the millimetres drift.
When you still need the official channel
Some authorities require an official capture receipt or a stamped studio photo — check before submitting. For everything else — resumes, registrations, the vast majority of visas — a home-made photo is fully compliant.
Do it once and you'll see: between five minutes and studio prices stands nothing but the right tool.