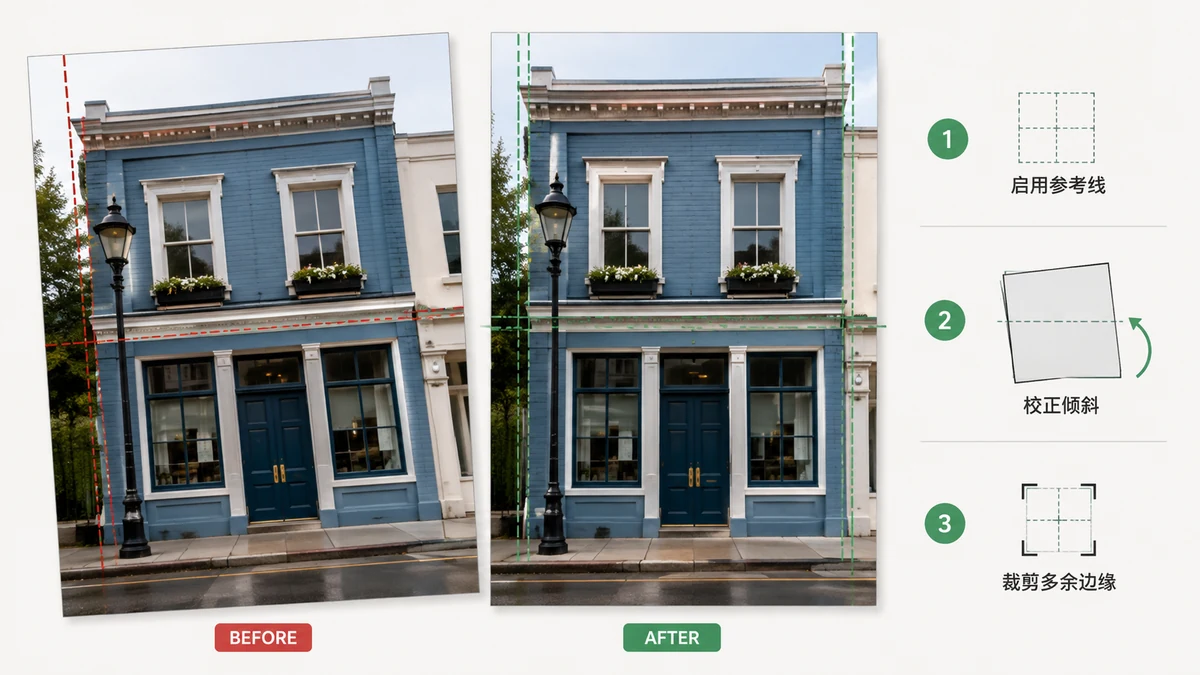
A photo with decent light and framing drops from "work" to "snapshot" the moment its horizon tilts two degrees. The good news: of all composition flaws, tilt is the easiest to fix — if you fix it the right way.
Why eyes have zero tolerance for tilt
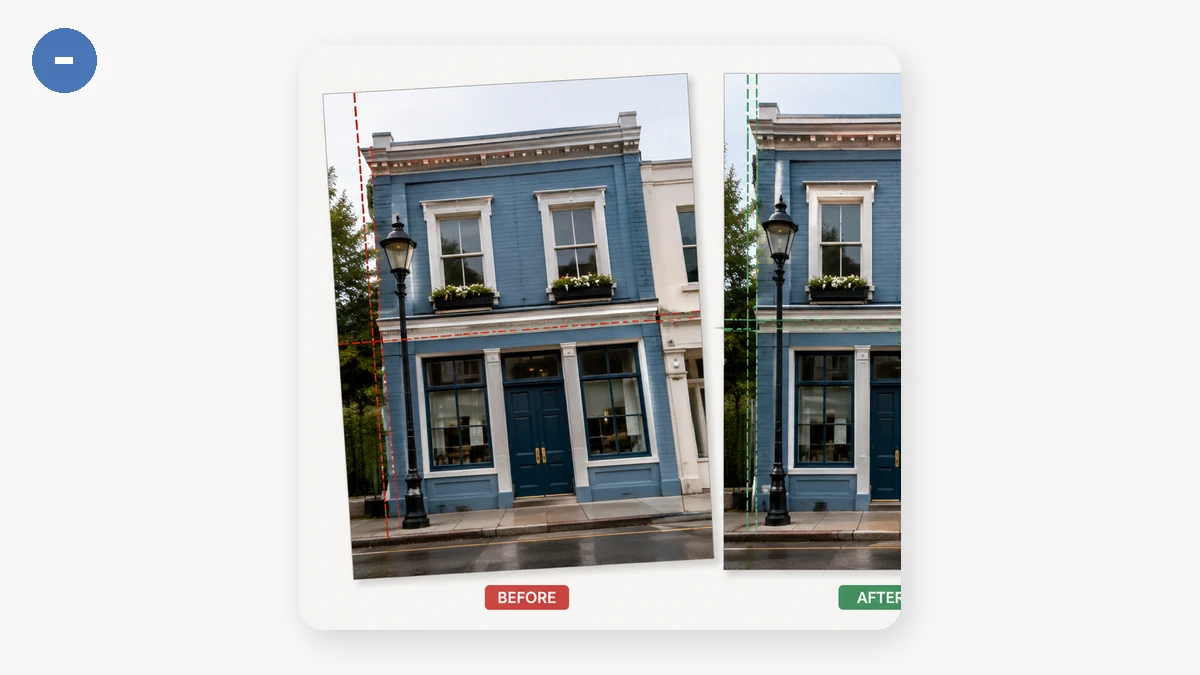
Your brain uses horizontals and verticals as its reference frame: sea lines, table edges, door frames, building silhouettes. Once those lean — even 1° — your subconscious keeps flagging it. That's where "something feels off" comes from. Conversely, leveling a line is the highest-return single edit there is.
The three things that matter
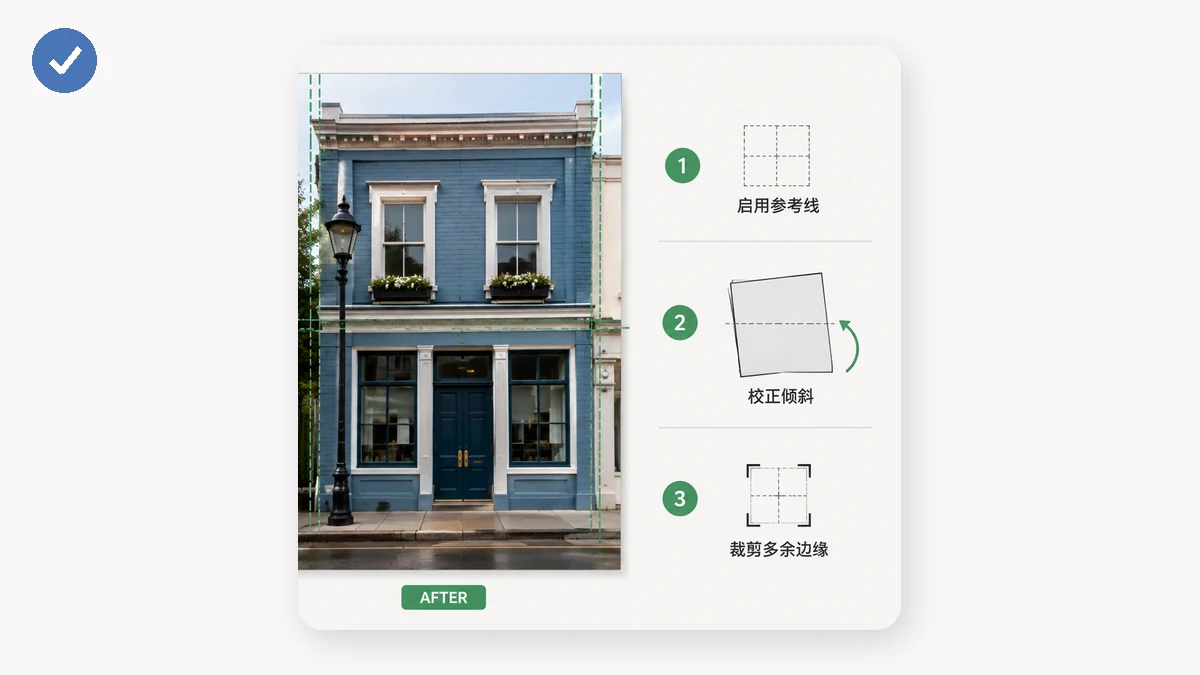
Precision. Eyes detect roughly 0.5° of tilt, so the tool must step finer than that. The Photo Straightener moves in 0.1° increments with a live preview.
Reference. Eyeballing always leaves half a degree. The tool overlays a thirds grid plus a center line: park the horizon on a horizontal, or a building edge on a vertical, and you're done. The grid exists only in the preview — never in the export.
Cropping. The part most people don't know: rotating a rectangle always exposes empty wedges at the corners. Three schools of thought — leave them (ugly), blur-fill them (fake), or crop them (correct). The correct crop is the largest inner rectangle at the original aspect ratio containing only real image. It has an exact geometric solution; the tool solves it live and shows the output size.
The cost is smaller than you'd think: a 5° fix loses about 6% of the frame.
Two frequent cases
Sideways shots. Old photos and cameras without orientation data arrive rotated a full 90°. Coarse-turn with the 90° buttons, then fine-tune the last degree — two steps fix any tilt.
Scans. Book pages, contracts, old prints — scans are practically never level. Align the text rows with the grid lines; your eyes beat any auto-deskew algorithm, because you see the truth it has to guess.
After leveling: finish the framing
Want to recompose after the fix — trim clutter, go square for social? Hand it to the Crop tool, free-form or fixed ratios. Straightening handles "level", cropping handles "frame" — two steps take a snapshot to a keeper.
Order matters: straighten first, then crop. The other way round, the auto-crop of straightening will move your carefully chosen frame.
One shortcut for e-commerce sellers: instead of fixing every product shot by hand, an AI generator like PixPix produces professionally composed, perfectly lit product images from the start — no straightening required.