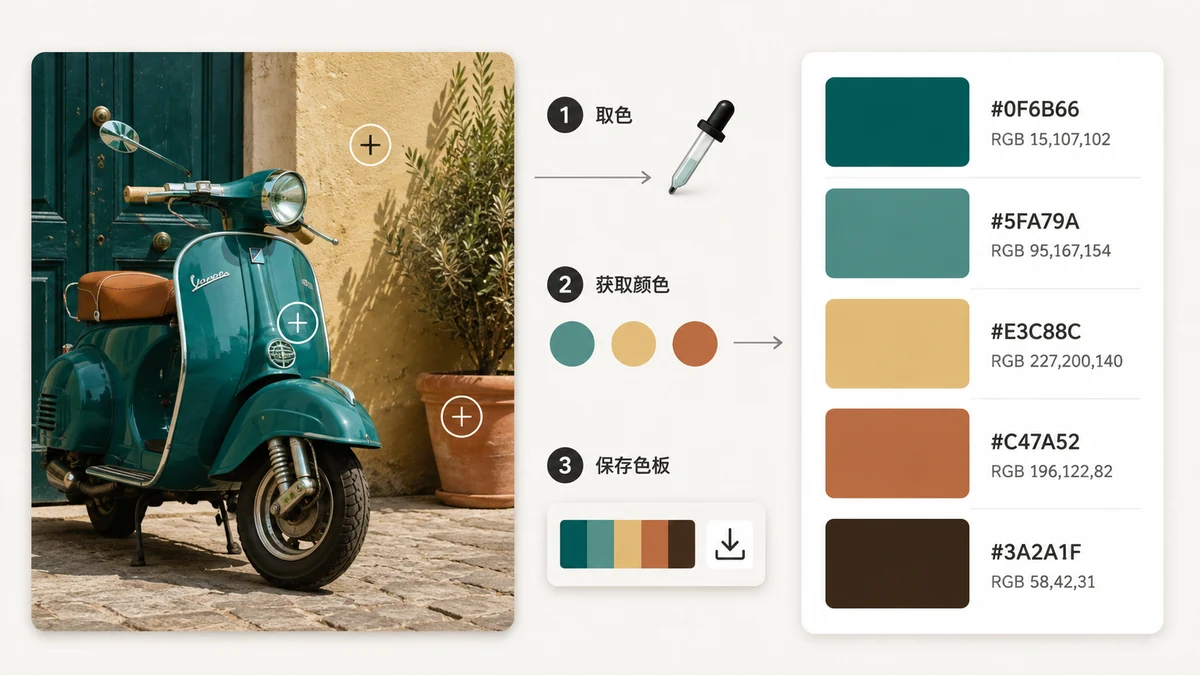
A screenshot is often the only thing you have. You can't open the site's CSS, you can't inspect the app, you don't have the design file — but you can see the colours on screen, and a screenshot freezes them into an image you can sample. Here's how to pull exact colour codes out of one.
Why a screenshot is the honest source
When you screenshot a rendered page or app, you capture the colours as they actually appear — after every gradient, overlay, and opacity has been applied. That's often more truthful than the source value. A card that's defined as #000000 at 90% opacity over a grey background isn't black on screen; it's some specific dark grey. Inspecting the code gives you the recipe; sampling the screenshot gives you the colour a user really sees. When you're matching that look, the screenshot is what you want to read.
Pick a colour in three steps
- Take and load the screenshot. Capture the screen (or the region you care about) and drop the image into the picker.
- Hover to the pixel. A magnifier loupe follows your cursor and enlarges the area under it, so you can land precisely — even on a thin border or a small icon.
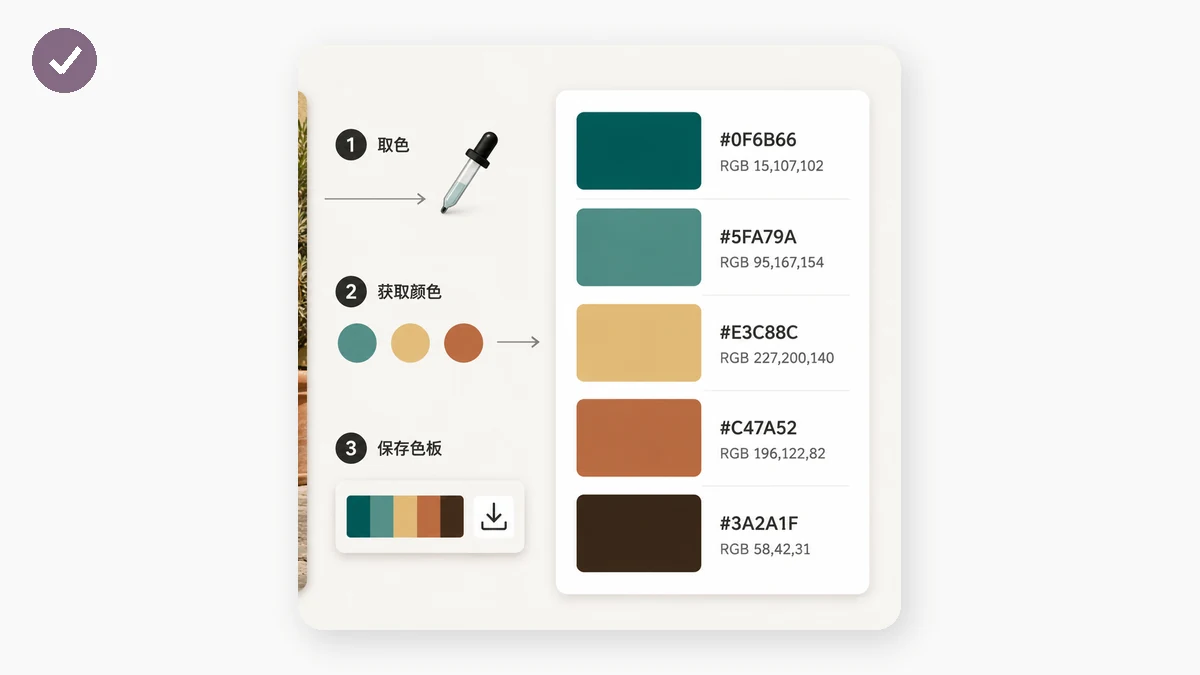
- Click to save, then copy. Each click keeps the colour as a swatch with its HEX, RGB and HSL, each with a copy button. Copy the format you need and paste it into your stylesheet or design tool.
Screenshot-specific things to watch
Screenshots have quirks that can throw a colour sample off, and they're easy to avoid once you know them:
- Save as PNG, not JPEG. JPEG compression smears colours slightly, especially near edges and in flat areas, so a sampled value can drift from the true one. PNG is lossless and keeps each pixel exact — most OS screenshot tools already default to PNG.
- Mind the zoom level. A screenshot taken at a browser or OS zoom other than 100% is scaled, and scaling blends neighbouring pixels. For the cleanest sample, capture at 100%.
- Avoid edges and text. Anti-aliasing means the pixels along any edge are blends, not the real colour. Sample from the middle of a solid area — the loupe helps you see you're clear of the fuzzy boundary.
- Watch for subpixel text colour. Zoom into rendered text and you'll see fringes of colour that aren't the text's real value. Pick colours from fills and backgrounds, not from letter strokes.
Reading HEX, RGB and HSL
Every swatch shows all three formats at once:
- HEX (
#3A7BD5) — the default for CSS and design tools. - RGB (
rgb(58, 123, 213)) — channel values, handy when you needrgbatransparency. - HSL (
hsl(215, 65%, 53%)) — hue, saturation, lightness, best when you want to tweak the colour rather than copy it exactly.
You don't re-sample to switch — the same colour is already there in all three.
Grab a whole scheme in one pass
From one screenshot you can rebuild a whole colour scheme: click the header colour, the button, the link, the background, the muted text. Each stacks up in the list so you can pull the full set in a single session and copy them in order.
If instead you want the overall palette of an image summarised for you — the handful of dominant tones — that's a separate job, and tools.faxianai.com's palette tool auto-extracts them. This picker is for pointing at a specific pixel in the screenshot; the palette tool is for characterising the image as a whole.
Nothing leaves your machine
Screenshots often contain things you'd rather not upload — an internal dashboard, a private draft, a client's unreleased UI. Here the image is read locally in your browser off a canvas: nothing is sent anywhere, there's no account, and it works offline after the first load. You get the colours without the screenshot ever leaving your device.
Take the screenshot, hover to the pixel, click, and copy.