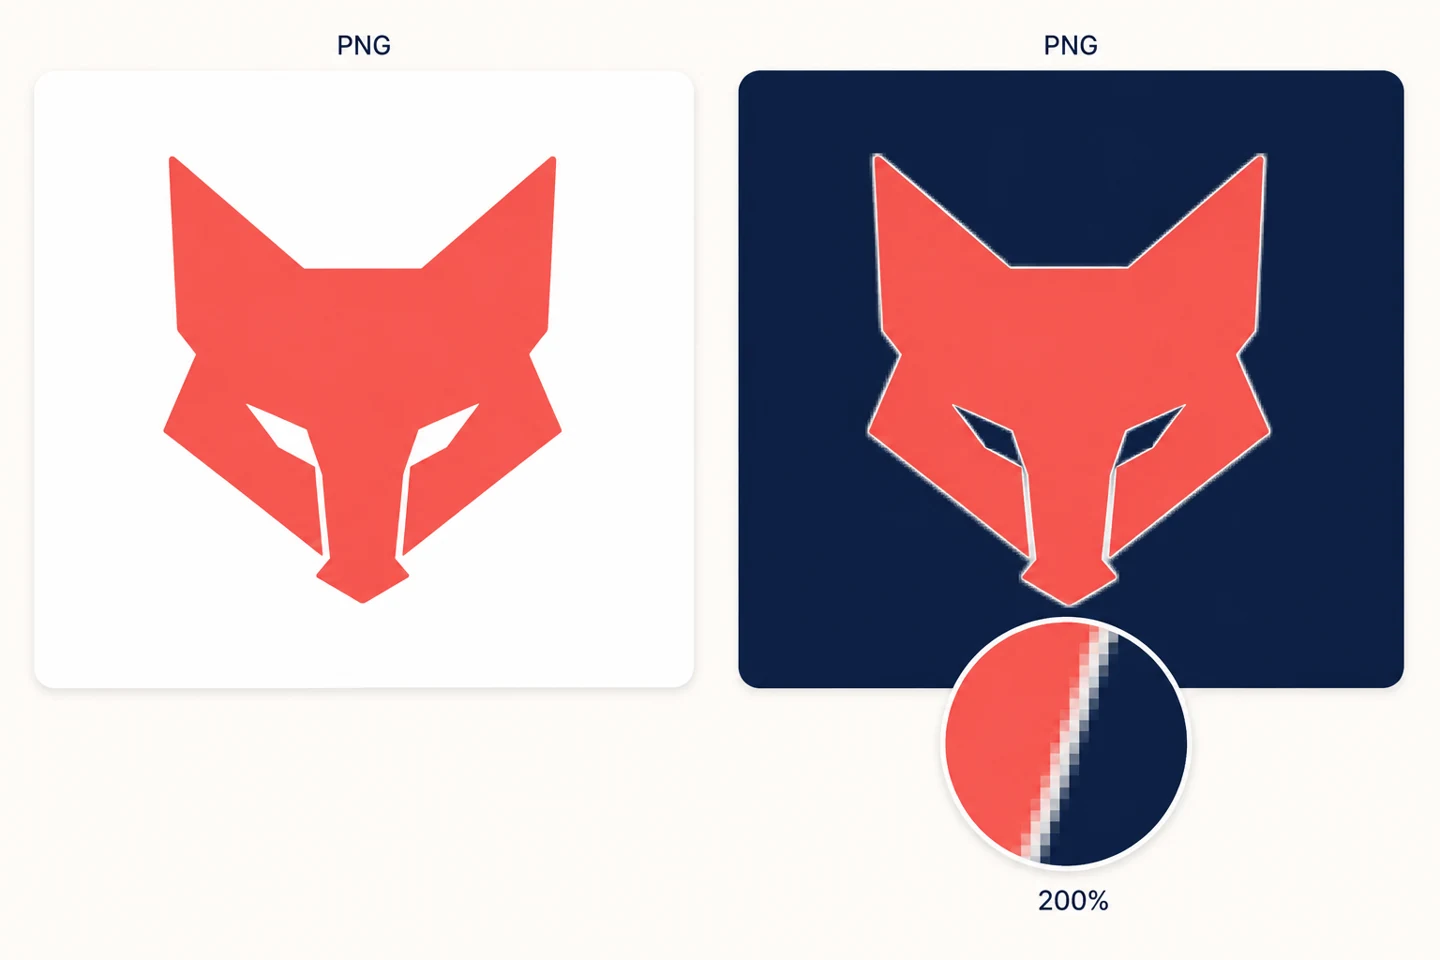
Compare the same PNG on light and dark backgrounds
Place the same PNG on white and dark backgrounds at the same size. A solid white rectangle behind the logo usually means a white background remains in the file. A thin pale outline calls for an edge inspection. A checkerboard is not proof of transparency: composite the image over a solid color. If the squares remain, they are part of the image rather than the viewer’s transparency grid.
Why transparent edges can still look white
Cutouts retain some partially transparent pixels to keep edges from looking jagged. If those pixels contain color from the original white background, they appear pale against a dark one. Converting the file to another PNG does not automatically remove that contamination. Sharpening can make the outline harsher.
If you have the design source, export from it
Open the SVG or design file, check for a white background layer and export a transparent PNG at the required size. Do not put the logo on a white JPEG and then try to cut it out again. For larger output, return to the source rather than enlarging a small image that already has a fringe.
If you only have an image, compare a fresh cutout
Use the largest uncompressed source available in Remove Background, then compare the export on light and dark backgrounds. Check small lettering, holes and thin strokes for accidental removal. This automatic tool cannot guarantee clean edges for every logo. Persistent fringes need an editor with edge-color cleanup or mask refinement, or a transparent original from the designer.
Use JPEG only for a fixed background
JPEG has no transparency. This site's PNG-to-JPG tool fills transparent areas with white. That suits a finished white-background image, not a logo that must sit on a dark page. If a dark-background JPEG is required, composite that background in a layer-capable editor before export. Keep the transparent PNG for future use.

Inspect at the actual size and location
Place the final file in its real header, poster or cover. Check it at normal size, then enlarge it to examine edges. Pay attention to holes inside letters and the thinnest strokes. Passing a check in a white-background viewer is not enough: a dark page will reveal the remaining fringe.