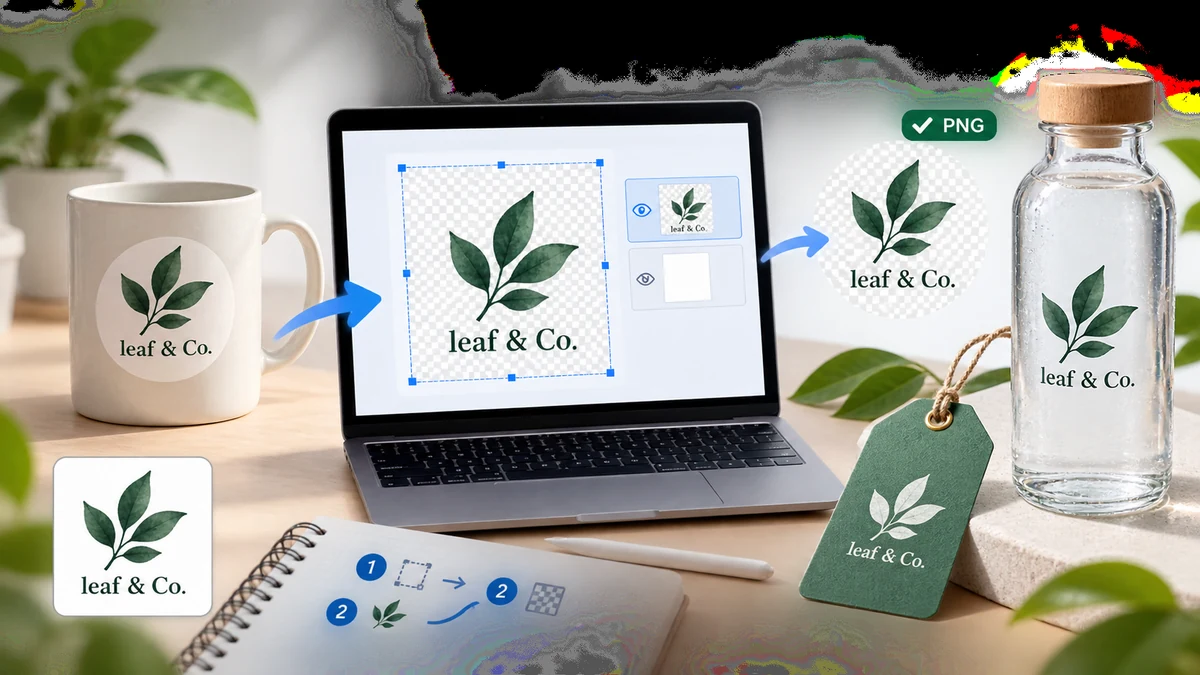
A logo trapped in a white box is almost useless. The moment you drop it onto a colored header, a dark slide, or a printed flyer, that white rectangle shows up like a sticker and ruins the whole look. What you want is a transparent logo, meaning just the mark itself, with nothing behind it, so it sits cleanly on any background you place it on.
If all you have is a JPG or a screenshot of your logo with a solid or busy background, you can get a clean transparent PNG in about a minute, right in your browser.
The quick version
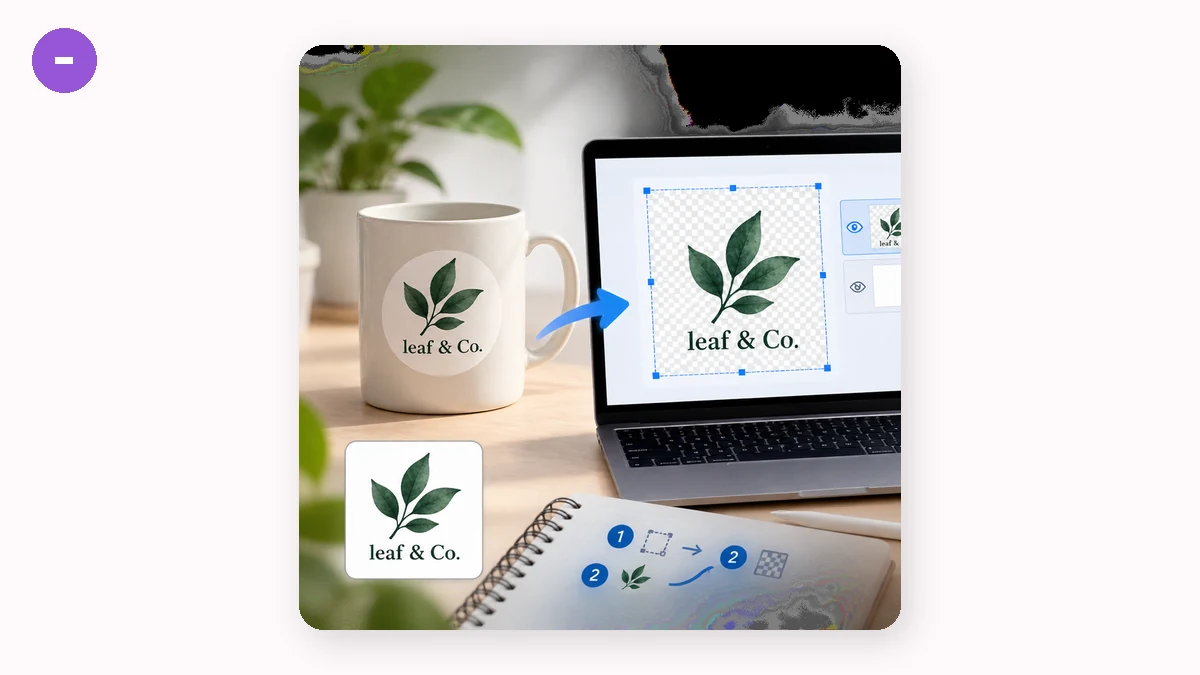
- Open the Background Remover.
- Drop in your logo image.
- Choose transparent PNG as the output.
- Download.
The tool runs a segmentation model that identifies the logo as the subject and deletes everything around it. A white, gray, or even a photographic background gets replaced with true transparency, which shows as a checkerboard in the preview and as "nothing" when you place the file.
When automatic removal is the right tool, and when it isn't
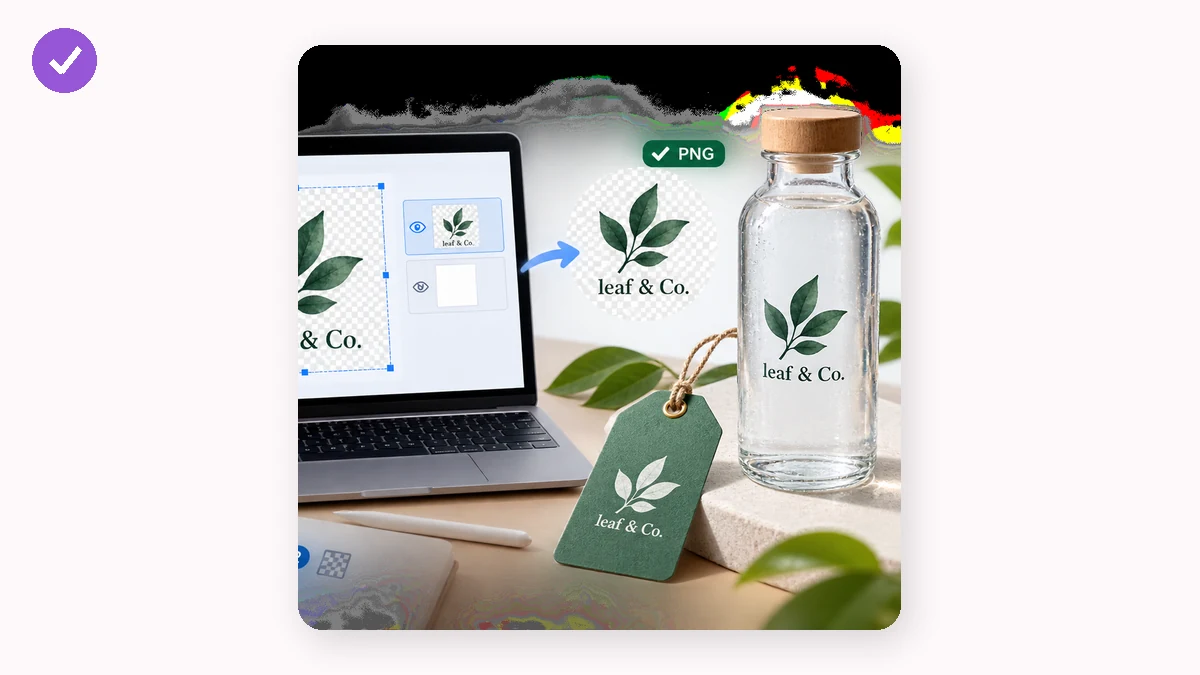
Background removal shines when your logo has a distinct edge against its background, for example a colored emblem on white, or a wordmark screenshotted off a slide. The model separates the mark from the backing and you're done.
There are two cases where you should reach for something else:
- You have the original vector file (SVG, AI, EPS). Then you already have infinite quality and can export a transparent PNG at any size directly. Reserve background removal for when the vector is lost and a raster image is all that survives.
- Your logo contains large white areas that are part of the design. A model looking for "the subject" may not know that the white inside a letter "O" or a white icon on a colored badge is meant to stay. Check the result and, if an interior area went transparent by mistake, touch it up in an editor.
Getting the cleanest possible cut
A few things make the difference between a crisp logo and a rough one:
- Start from the highest resolution you have. A tiny 100-pixel favicon blown up will have soft, jagged edges no matter what. A large source keeps the mark's corners and curves sharp.
- Avoid pre-compressed screenshots when you can. Heavy JPG compression smears halos of off-color pixels around edges, and those halos can survive the cut as a faint fringe. A PNG source or a clean export is kinder to the edges.
- Use the high-quality model for detailed marks. The 43MB silueta model traces intricate logos more cleanly than the fast 4MB one. For a simple bold shape, the fast model is plenty.
After the cut, zoom to 100% and check the edges. If you see a thin colored halo left over from the old background, most editors can shrink the mask by a pixel or two to remove it.
What to do with your transparent logo
Once it's a transparent PNG, the logo drops onto anything: a website header, a dark presentation, a product mockup, an email signature, merch. Because there's no background box, it adapts to whatever's behind it.
Two follow-ups are common. If you need browser and app icons, feed the transparent logo into the Favicon Generator to produce a full ICO and PNG icon set. If you plan to overlay the logo on photos as a brand mark, the Watermark tool can tile or corner-place it for you.
Privacy and offline
Your logo may be brand-new or unreleased, and tools.faxianai.com keeps it on your device the entire time. Everything runs locally with WebAssembly and Canvas, so there's no upload and no account to create. The tools are a PWA that works offline after your first visit; background removal downloads its model once (4MB fast or 43MB high-quality), then runs with no connection at all. You can prepare a transparent logo on a flight and have it ready before you land.