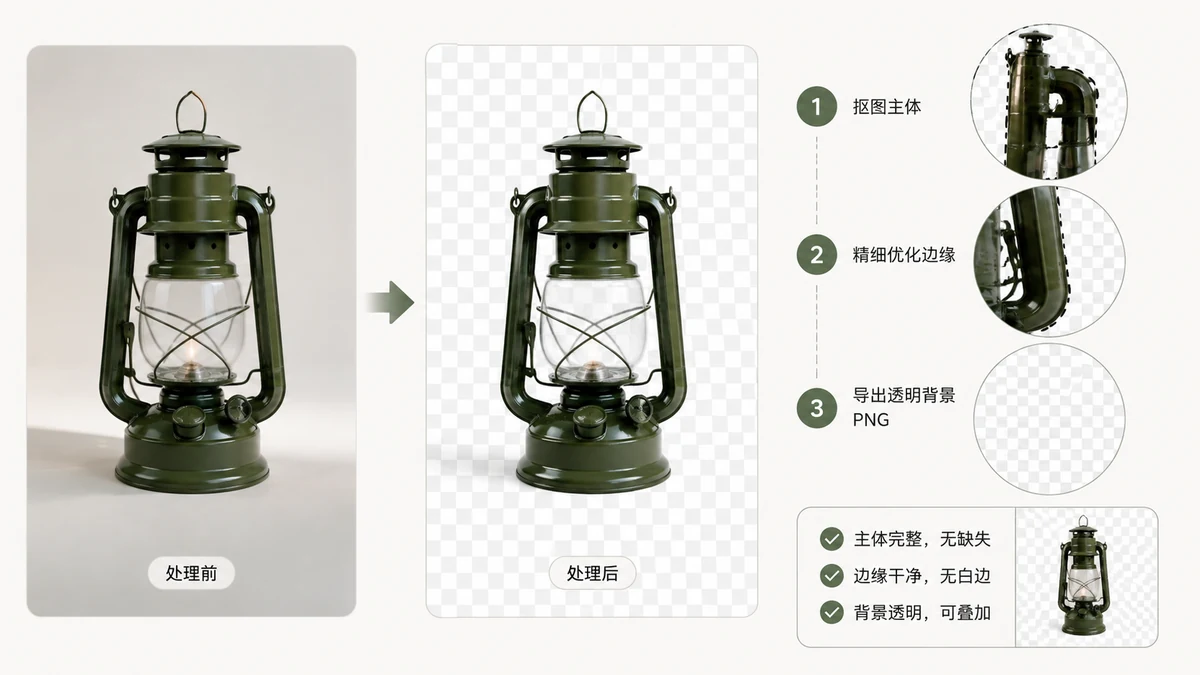
A "transparent background" sounds simple — the part behind your subject is just... gone. Under the hood it's a specific technical feature, and understanding it saves you from the classic frustration: you cut out a logo, save it, and the background comes back as a solid white block. Here's what transparency really is and how to keep it through every step.
What transparency actually is: the alpha channel
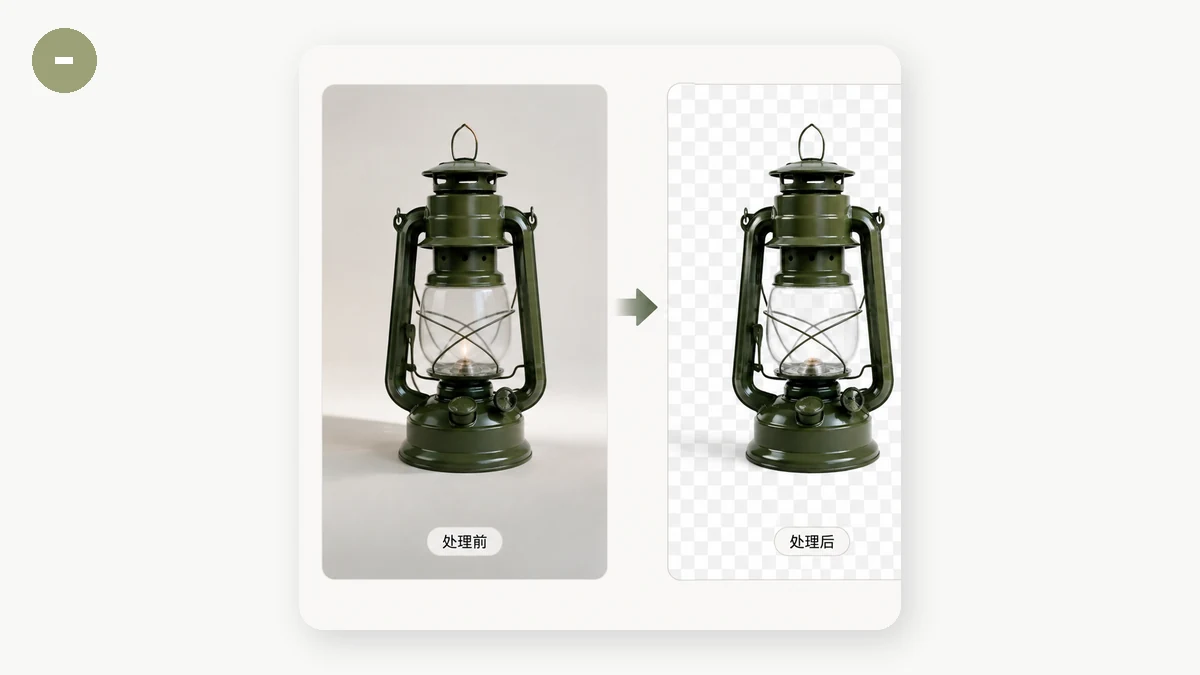
A normal image stores three numbers per pixel: how much red, green, and blue. A transparent image stores a fourth: alpha, which records how opaque that pixel is. Alpha runs from fully transparent to fully opaque, with every level in between for soft, feathered edges.
That fourth channel is why transparency behaves the way it does:
- PNG supports alpha, which is why it's the go-to format for logos, icons, stickers, and cutouts.
- WebP also supports alpha, and usually at a smaller file size than PNG.
- JPEG does not support alpha at all. A JPEG has no fourth channel, so it physically cannot store transparency.
That last point is the single most common cause of "my transparent background disappeared."
The white-background trap
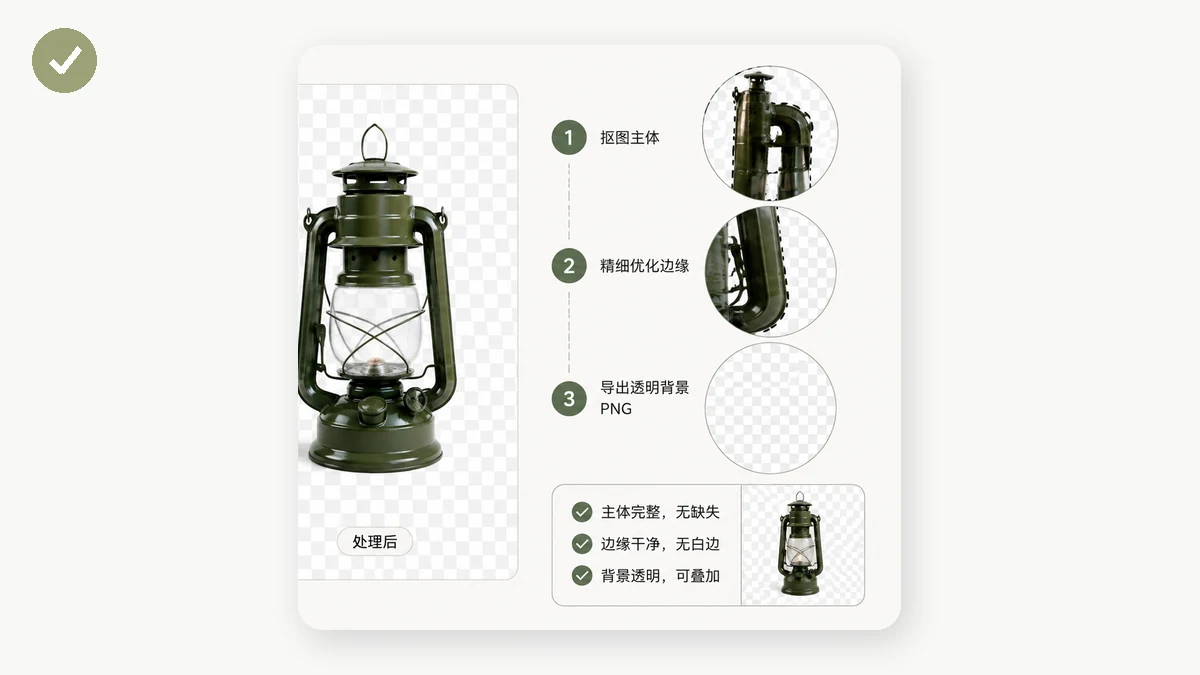
Here's the scenario that trips everyone up. You remove the background from a product photo, get a clean cutout, then export it — and the transparency turns into solid white. Almost always, the cause is the format. You saved as JPEG.
Since JPEG can't hold an alpha channel, the encoder has to do something with the see-through pixels. It fills them with a background color, and the default is white. The transparency wasn't lost in editing; it was destroyed at the moment of export by choosing a format that can't represent it.
The fix is a habit: anything with transparency must be saved as PNG or WebP, never JPEG. If a tool only offers JPEG output, it will flatten your transparency every time.
Creating transparency: removing a background
Most transparent images start life as an ordinary photo. To get the see-through background, you erase the pixels around your subject and set their alpha to zero. Doing this cleanly by hand is tedious; a background remover does it automatically by detecting the subject and cutting everything else.
The output must be a format that keeps alpha — PNG or WebP. Background Remover on tools.faxianai.com produces a true transparent PNG, and it runs on your device (after a one-time model download), so the photo never gets uploaded. That matters for product shots, signatures, and personal images you'd rather not send to a server.
Keeping transparency through a conversion
Say you have a transparent PNG that's a bit heavy and you want a smaller WebP. This is safe — both formats support alpha, so the transparency survives. The reverse trap is converting to JPEG, which will flatten it.
A quick rule of thumb when converting:
- PNG → WebP: transparency preserved, file usually smaller. Good move.
- PNG → JPEG: transparency destroyed, replaced with a solid color. Only do this if you actually want a flat background.
- WebP → PNG: transparency preserved, file usually larger. Fine for compatibility.
A converter that understands alpha lets you shrink a transparent image without flattening it. Image Converter keeps the alpha channel intact on any format that supports it, and like everything else on the site, it works in your browser with no upload.
Quick checklist for clean transparency
- Removing a background? Export as PNG or WebP, never JPEG.
- Need a smaller transparent file? Convert PNG to WebP — alpha is preserved.
- Seeing an unexpected white box? You almost certainly saved as JPEG; redo it as PNG.
- Placing a transparent image on a dark site? Check the edges — soft alpha edges blended for a white background can show a faint halo. Re-cut against the color you'll actually use if it matters.
Transparency is just that fourth number per pixel. Once you know which formats keep it and which throw it away, the white-background surprise stops happening — and your cutouts stay clean wherever you put them.