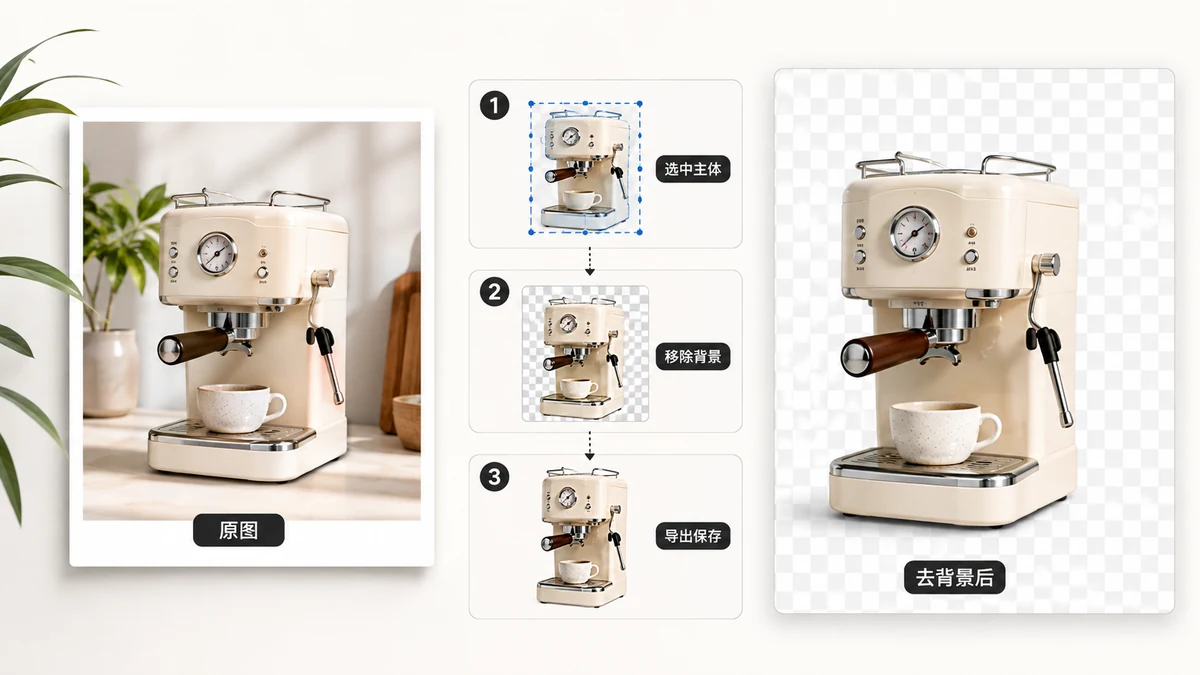
The fastest way to remove a background from a photo is to let an AI model find the subject for you, then export a transparent PNG. No lasso tool, no tracing by hand, no monthly subscription. Drop the image in, wait a second or two, and the background is gone.
Below is exactly how that works, when it's flawless, and the one case where you'll want to touch things up.
The short version
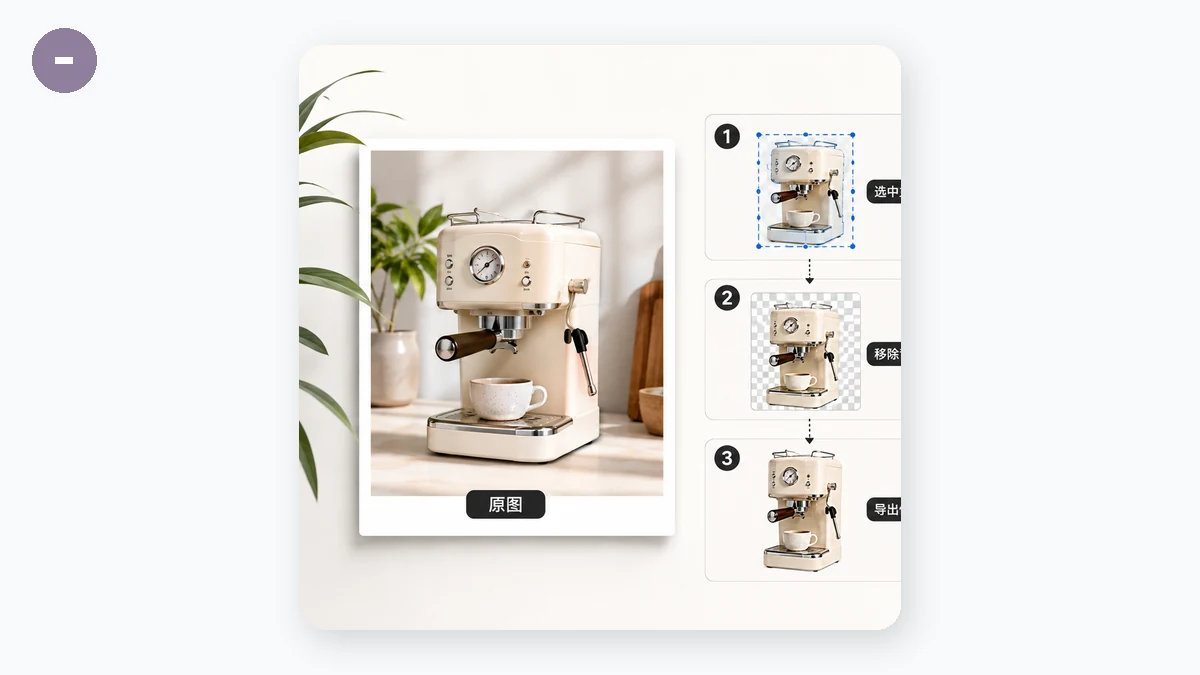
- Open the Background Remover.
- Drag your photo onto the page (or click to browse).
- The AI detects the subject and erases everything else.
- Download a transparent PNG — or swap in a white or custom background.
That's the whole loop. On a clear subject — a person, a product, a pet, a single object against a busy scene — it's genuinely one step.
Why "in the browser" changes the math
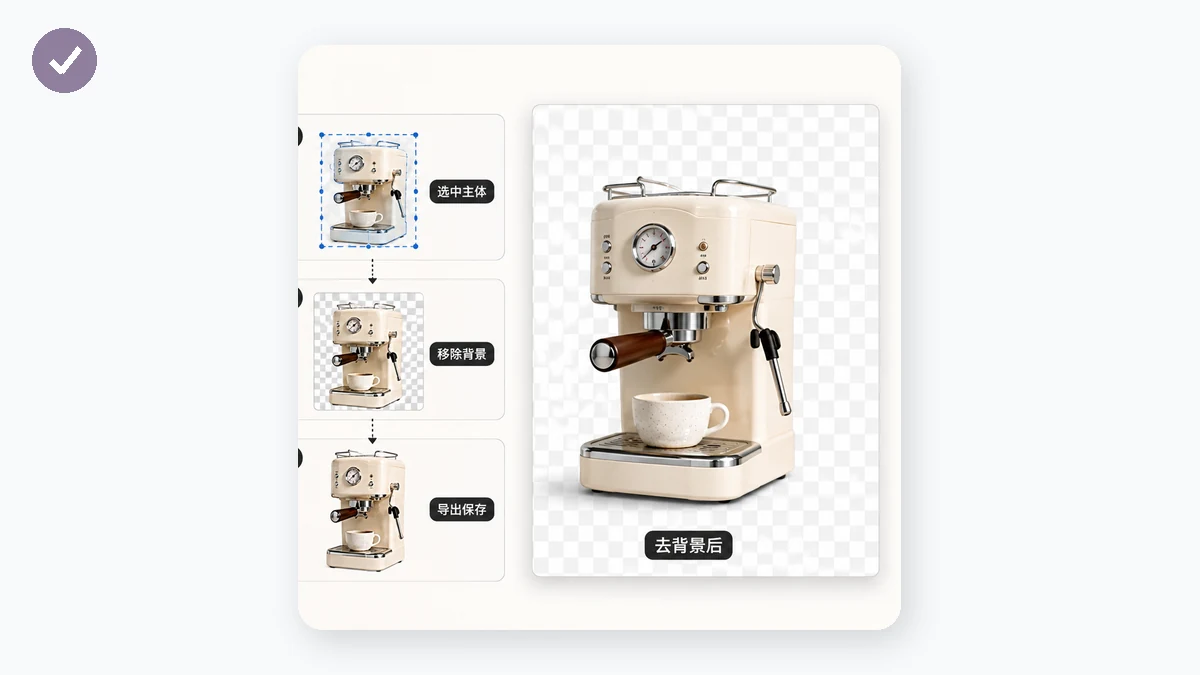
Most background removers work by uploading your image to a server, processing it there, and sending the result back. That means your photo sits on someone else's computer, there's usually a daily limit, and a big image takes longer because it has to travel both ways.
tools.faxianai.com runs the model on your own machine using WebAssembly. Your picture never leaves the browser — there's no upload, no server queue, no cap on how many you process. The trade-off is that the AI model has to load into your browser the first time you use the tool. Once it's cached, the tool works with no internet connection at all.
You pick which model to download:
| Model | Size | Best for |
|---|---|---|
| Fast (u2netp) | 4 MB | Quick cutouts, drafts, batches of many images |
| High-quality (silueta) | 43 MB | Cleaner edges, hair, final artwork |
Grab the 4 MB model if you just need something quick. Switch to the 43 MB one when edge quality matters — it traces fine details more carefully.
Transparent, white, or a color of your choice
A transparent PNG is the flexible default: drop it onto any background later, layer it in a design, or hand it to a marketplace that wants cutouts. But you don't have to stop there. The tool can fill the removed area with:
- White — the standard for product listings on Amazon, eBay, Etsy and most e-commerce catalogs.
- A custom color — match a brand palette or a slide deck.
Export the PNG and you're done. If you need it on a photographic backdrop, keep the transparent version and composite it in a collage or design tool.
Doing a whole batch at once
If you've got a folder of product shots, you don't need to run them one at a time. The Background Remover handles batch processing — load the set, let it work through them, and download the results together. Because everything runs locally, ten images or a hundred, there's no per-image server charge slowing you down.
Where it shines, and where to touch up
Be realistic about what AI cutouts do well:
- Clear subjects — a person, a bottle, a shoe, a chair against a contrasting background. These come out clean.
- Defined edges — anything with a crisp outline traces beautifully.
The classic hard case is very fine hair — flyaway strands against a similar-toned background. The high-quality model handles most of it, but wisps sometimes need a quick manual touch-up afterward. That's not a flaw unique to this tool; it's the genuinely hard part of the problem, and even expensive software struggles with it. For 90% of real photos you'll never notice.
A few practical tips
- Start from the biggest original you have. More pixels give the model more to work with, and the edge comes out cleaner.
- Good contrast helps. A subject that stands out from its background traces more accurately than one that blends in.
- Pick white output for listings. Marketplaces reject transparent PNGs; they want the subject on solid white.
- Keep a transparent copy anyway. It's the version you can reuse anywhere.
Removing a background used to mean either paying for a subscription or spending ten minutes with a pen tool. Now it's a drag, a short wait, and a download — free, private, and offline after the first run.