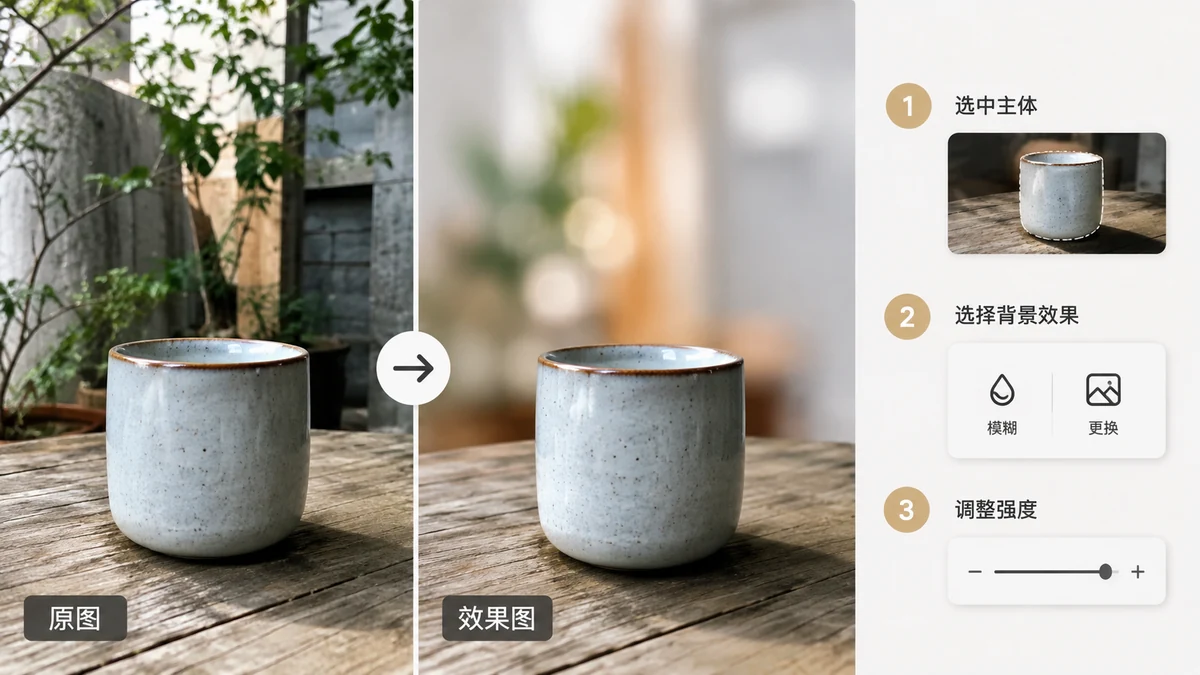
Your photo is good, but the background is doing it no favors: a cluttered room behind a portrait, a distracting street behind a product, a plain wall where you wanted a soft blur. The fix is the same in every case. You separate the subject from its surroundings first, and then you decide what goes behind it: a clean color, a new scene, or a blurred version of the original.
The separation step is the whole game, and you can do it in your browser without uploading the photo.
Step one: cut the subject out
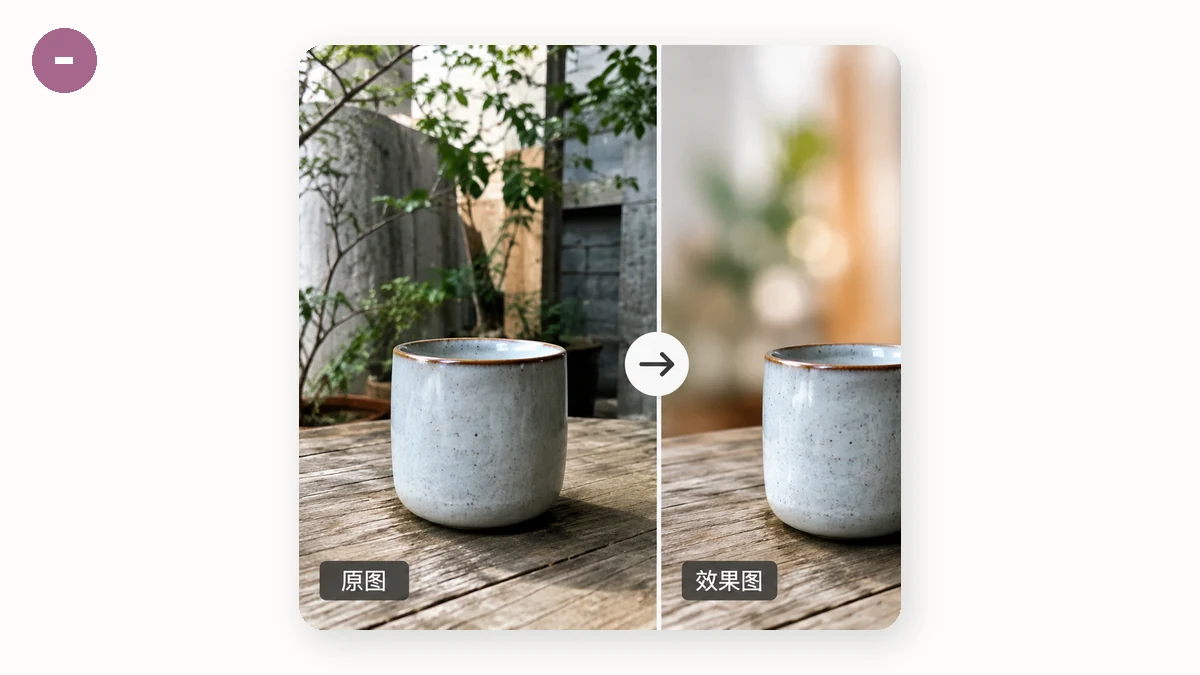
Everything starts with a clean cutout.
- Open the Background Remover.
- Drop in your photo.
- Choose transparent PNG as the output, so the subject stands alone on its own layer.
- Download.
A segmentation model finds the subject and deletes the background, leaving the person or product floating on transparency. That transparent PNG is your building block. Whatever you want behind the subject, you'll now place under this layer.
Step two: pick the new background
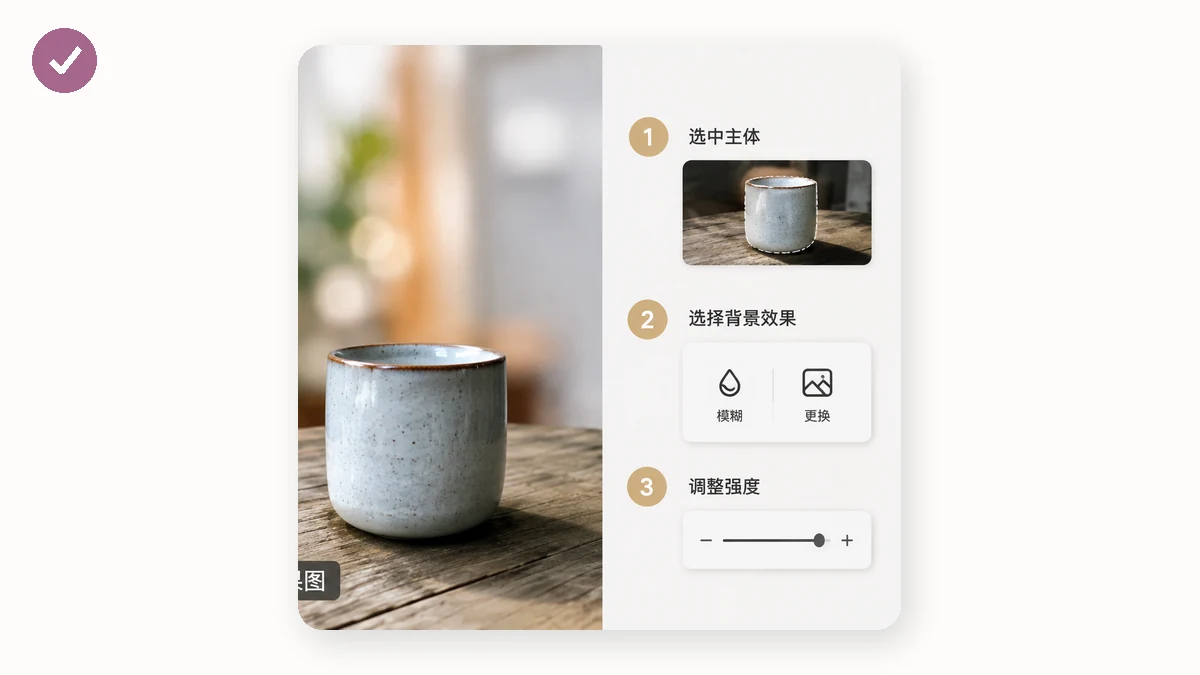
Once the subject is on its own, you have three common directions.
Solid color. For a clean, formal look (ID-style portraits, catalog products, profile pictures), the Background Remover can output straight to white or a custom color, no second step needed. Choose the color and download; the subject lands on a flat, even background.
A new scene. Want your subject on a beach, a studio gradient, or a branded backdrop? Take the transparent PNG into any image editor, drop your chosen background image on a layer beneath it, and line things up. Because the subject is already isolated, this is just stacking two layers rather than masking by hand.
A blurred version of the original. This is the classic "portrait mode" look, and it keeps the scene's context while pushing it out of focus so the subject pops. To do it, make two copies of your original photo. Blur one copy heavily; that's your new background. Then paste the transparent cutout on top, perfectly aligned. The sharp subject sits in front of its own softened surroundings, which looks natural because the colors and lighting already match.
Blur, don't just delete, when you want realism
Swapping to a solid color reads as intentional and clean. Blurring reads as "this is where the photo was actually taken." If your goal is a believable portrait rather than a studio look, the blur route usually wins, because it preserves the real light and color of the scene. The trick is aligning the sharp cutout exactly over the blurred base so no ghost edge shows. Since both come from the same photo, alignment is trivial: keep them at the same size and position.
Getting a clean edge, which makes or breaks the swap
A background change is only as convincing as the cutout edge. A few pointers:
- Use the high-quality model for people. The 43MB silueta model handles hair edges better than the fast 4MB one. For a hard-edged product, the fast model is fine.
- Mind fine detail. Flyaway hair and fur are the hardest cases for any segmenter. If a few strands go missing, a quick edge touch-up in an editor restores them.
- Match the light. When compositing onto a new scene, pick a background whose light direction and warmth roughly match the subject, or the paste-in will look fake no matter how clean the edge is. (The blur route sidesteps this entirely, since the background is the original.)
Why in-browser matters here
Portraits and product shots are exactly the images you don't want on a stranger's server. On tools.faxianai.com the photo never leaves your device; everything runs locally with WebAssembly and Canvas, with no upload and no account. The tools are a PWA that works offline after the first visit, and background removal downloads its model once (4MB fast or 43MB high-quality) before running fully offline. Cut a subject, swap a background, and finish the whole edit without sending a single pixel anywhere.