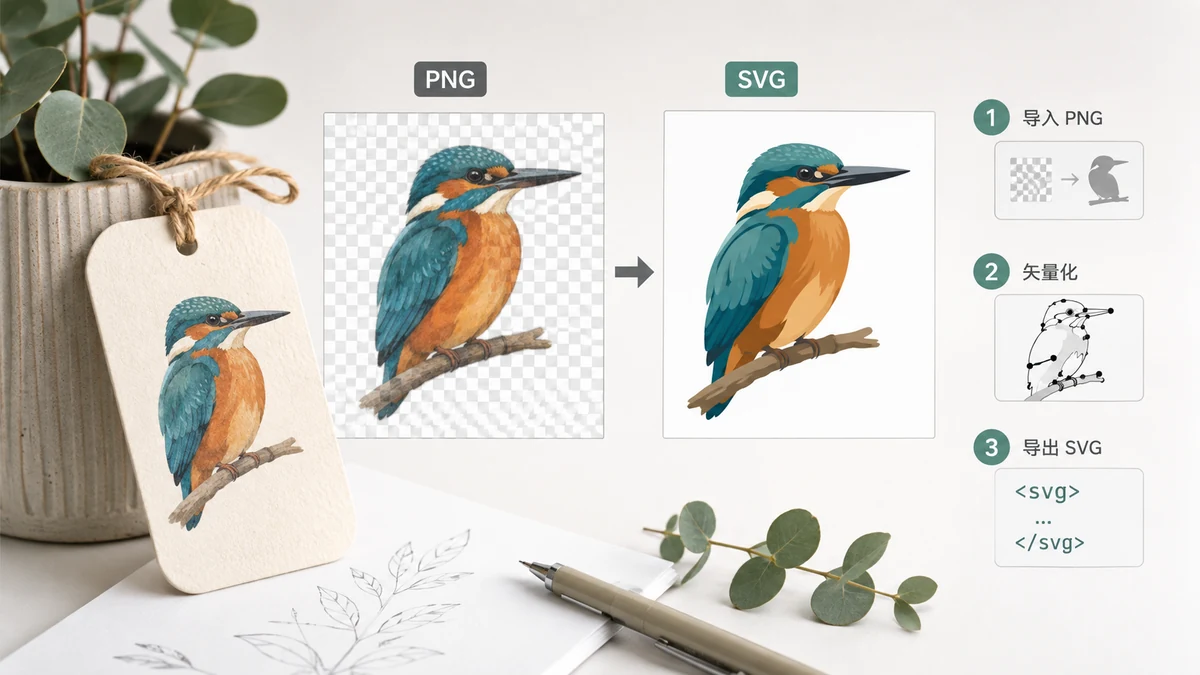
You have your logo as a PNG. It looks fine in the header of your site, then someone asks for it big — a banner, a print job, a t-shirt — and blown up it turns soft and jagged. That's the ceiling of a raster file: it's a fixed grid of pixels, and there's no extra detail to find when you enlarge it. An SVG doesn't have that ceiling. It stores the logo as shapes and paths, so it redraws sharp whether it's 32 pixels wide or two metres.
Getting a PNG logo into SVG form means tracing it — reading the pixels and drawing vector paths that follow the edges. For a flat logo that's exactly the right tool, and it's quick.
Why a logo traces well
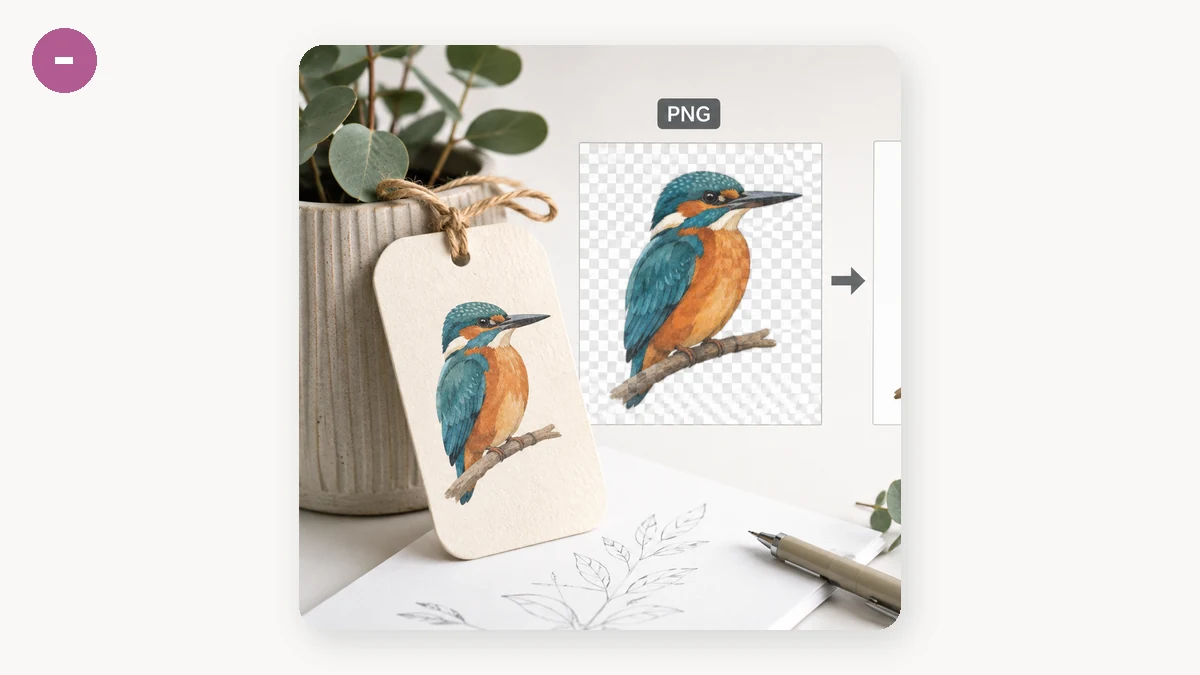
A good logo is the ideal input for tracing. It usually has a small number of solid colours, clean boundaries between them, and no soft gradients or photographic texture. A tracer reads that kind of image cleanly: it finds each block of colour, draws a tight path around it, and produces an SVG with just a handful of shapes. Small file, crisp edges, fully editable afterward.
Icons, simple illustrations, line art, and hand lettering fall into the same happy category for the same reason — flat colour and definite edges.
The step-by-step
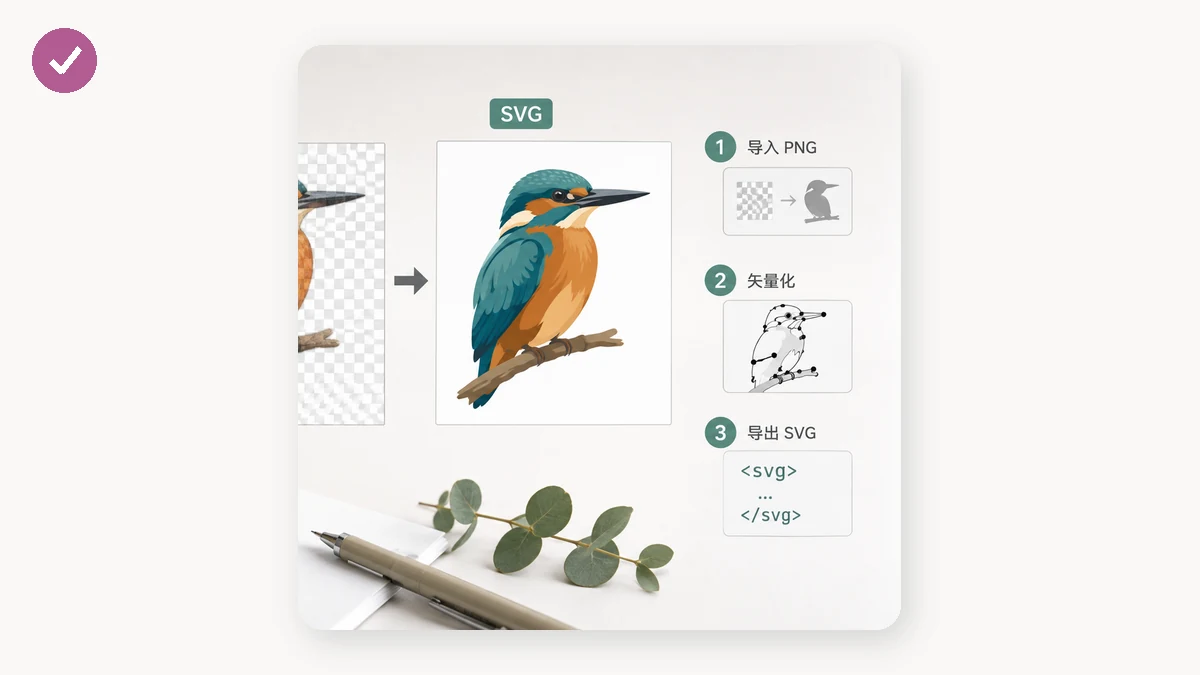
- Start with the cleanest PNG you have. A higher-resolution, sharp source traces better than a tiny fuzzy one. If your logo has a transparent background, keep it — the trace can preserve that.
- Pick a preset that matches the logo. For a two- or three-colour mark, Flat / logo keeps the colour count low and the shapes simple. For a more detailed illustration, Detailed allows more paths. For pure line art or a silhouette, Black & white reduces it to two tones.
- Check the before/after preview. Compare the trace against the original. If edges look lumpy, or the tool invented extra colours, try a different preset — fewer colours usually gives a cleaner, smaller result.
- Download the SVG and open it in a vector editor to fine-tune if needed.
Because this runs entirely in your browser, the logo you drop in is never uploaded — it's read from a canvas on your own machine, there's no account, and it works offline once the page has loaded.
Clean up and recolour after tracing
The output is a normal SVG made of named paths and fills, so you're not locked into whatever the trace produced. Open it in Illustrator, Inkscape, or Figma and you can change a whole region's colour by editing one fill, set your exact brand hex, delete a stray shape the tracer picked up, or nudge a path. This is the real reward: the logo stops being a fixed picture and becomes an editable object at any size.
Where it won't help: photos
Be honest about the input. This traces shapes, not photographs. If you feed it a photo — a headshot, a product shot, scenery — it will still produce an SVG, but a terrible one: thousands of subtle colours get approximated by stacked blobs, the file balloons far past the original JPG, and it looks smeared. For anything continuous-tone, keep it as a raster format and compress it instead. And this isn't an AI that redraws your logo into something new — if the source PNG is blurry or noisy, the trace inherits that. A clean, flat, few-colour logo gives a clean SVG; that's the sweet spot.