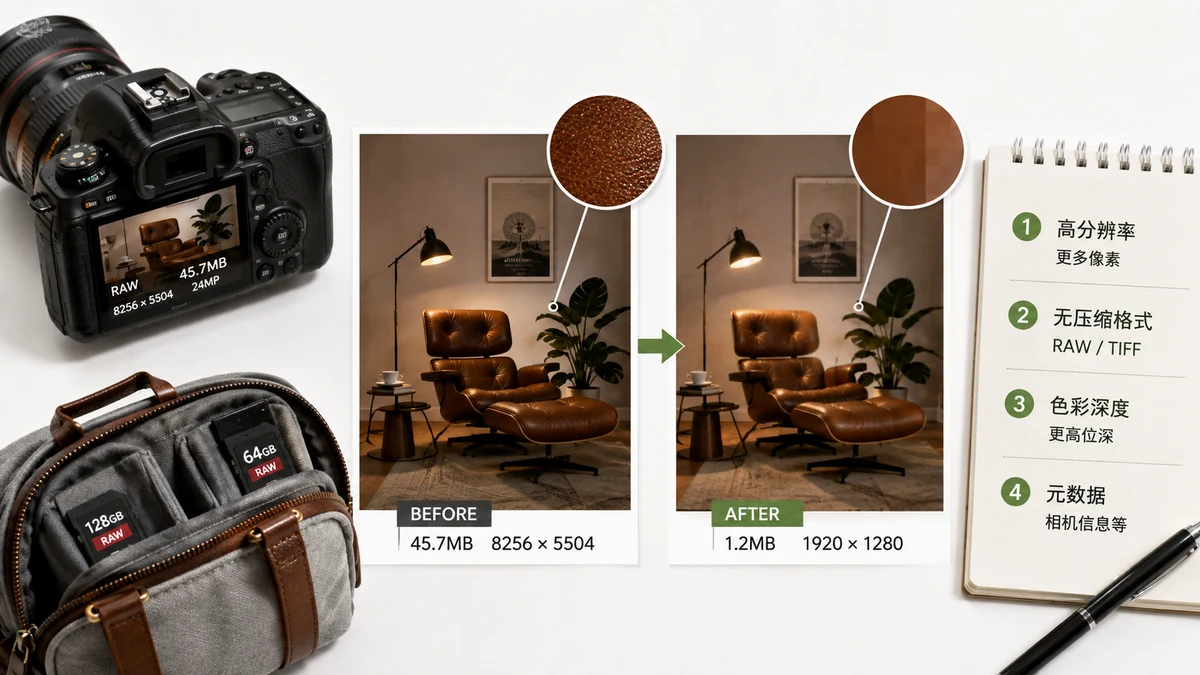
A single photo from a recent iPhone or Galaxy can land somewhere between 3 MB and 12 MB. Snap forty of them at a birthday party and you have burned through half a gigabyte before the cake is cut. If your storage keeps filling up or an email bounces because the attachment is too big, the file size is the reason, and it is not your fault.
Why phone photos got so heavy
Three things are working against you at once.
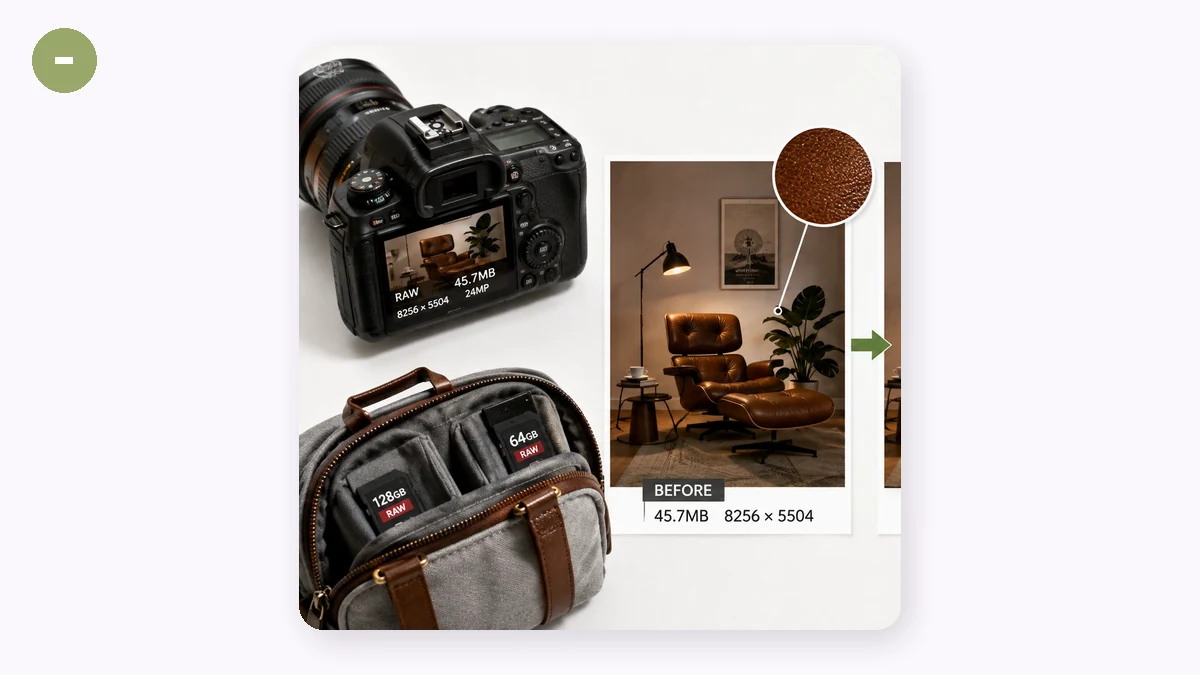
Sensor resolution keeps climbing. A 48-megapixel or 200-megapixel sensor writes far more pixels per shot than the 8- or 12-megapixel cameras of a few years ago. More pixels means more data. A 12 MP image is roughly 12 million color values; a 48 MP one is four times that before any compression.
HDR and computational photography add layers. Your phone often captures several exposures and merges them, then applies noise reduction and sharpening. The richer the tonal detail, the harder it is to compress, so the saved file grows.
The format matters. JPEG is compact but lossy. Apple's HEIC and Google's newer formats squeeze better, but the moment you share a photo it frequently gets converted back to a large JPEG or even a PNG, which balloons the size. PNG in particular is meant for graphics with flat color, not photographs, and it can make a phone snapshot two or three times larger than it needs to be.
So a "large photo" is usually the honest result of a high-resolution sensor plus a format that is not pulling its weight.
The two levers that actually reduce photo size
You only have two real controls, and understanding both is the whole game.
| Lever | What it changes | When to use it |
|---|---|---|
| Compression (quality) | How much detail is thrown away | Almost always; the first thing to try |
| Resolution (dimensions) | How many pixels the image has | When the image is bigger than it will ever be displayed |
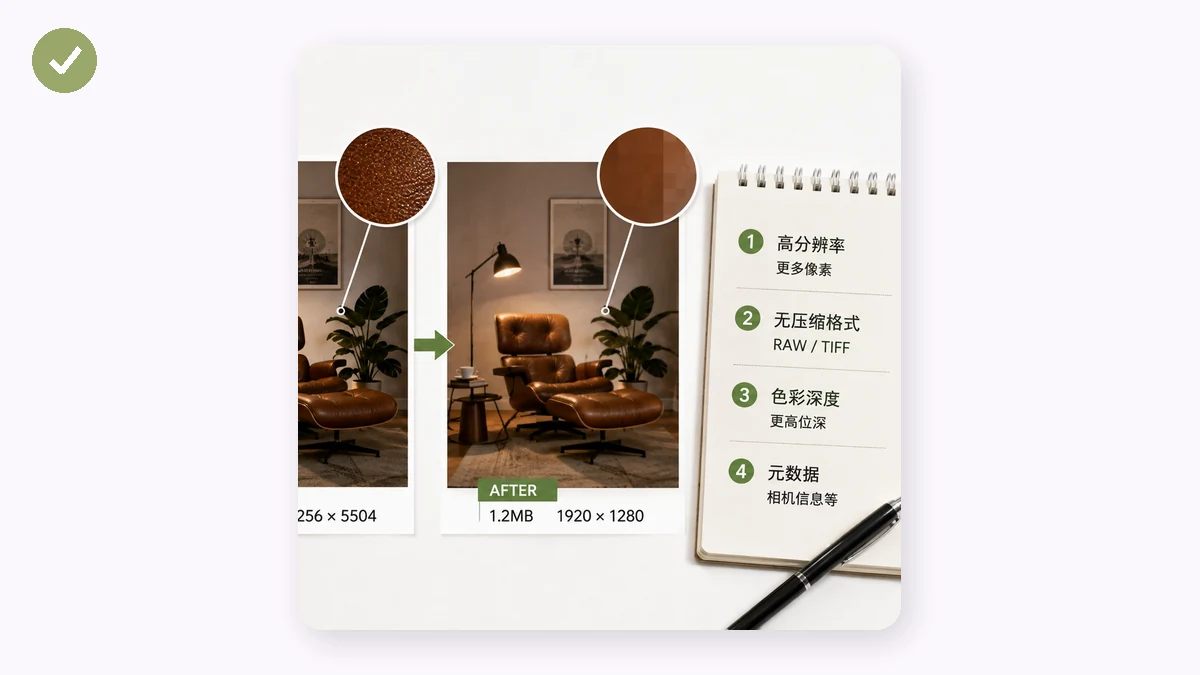
Compression is the gentle option. Dropping a JPEG from maximum quality to about 80% often cuts the file by half with no difference your eye can catch. Resizing is the blunt-but-powerful option: a photo that is 8000 pixels wide does not need to be that big for a website, a document, or a message, and halving each dimension roughly quarters the pixel count.
Most of the time you compress first, and only resize if the file is still too heavy or the dimensions are genuinely excessive.
Shrinking a photo, step by step
Here is a workflow that keeps quality high while getting the file down.
- Start with compression. Feed the photo into the Image Compressor and let it re-encode the JPEG or WebP at a sensible quality. It will never hand you a file larger than the original, so there is no downside to trying.
- Check the result. If a 9 MB photo is now 2 MB and looks identical, you are done.
- If you need it smaller still, resize. Use the Image Resizer to bring a 6000-pixel image down to, say, 2000 pixels on the long edge. For screen use that is still plenty sharp.
- Compress the resized version once more if you want the absolute minimum.
Everything happens inside your browser using Canvas and WebAssembly. Your photos are never uploaded to a server, which matters when the "large photo" is a passport scan or a picture of your kids. The tools also work offline after your first visit, so you can shrink a folder of vacation shots on a plane.
How small should you go?
- Email or chat: aim for under 1 MB per image. Quality around 75–80% is invisible for casual sharing.
- Websites: resize to the width the layout actually uses (often 1200–2000 px) and compress to WebP. See our guide on making images load faster.
- Printing: stay conservative. Keep the full resolution and use light compression, because print rewards the extra pixels.
- Archiving originals: keep one untouched copy, then compress the copies you share.
If you have dozens of files, batch mode lets you compress a whole set at once and download them as a single ZIP instead of one at a time.
The short answer
Your photos are large because modern sensors capture enormous amounts of detail and the format they end up in is often inefficient. Compress first to shave off the waste, resize when the dimensions outstrip where the image will actually be seen, and keep an original tucked away. Two levers, a couple of clicks, and the storage warnings stop.