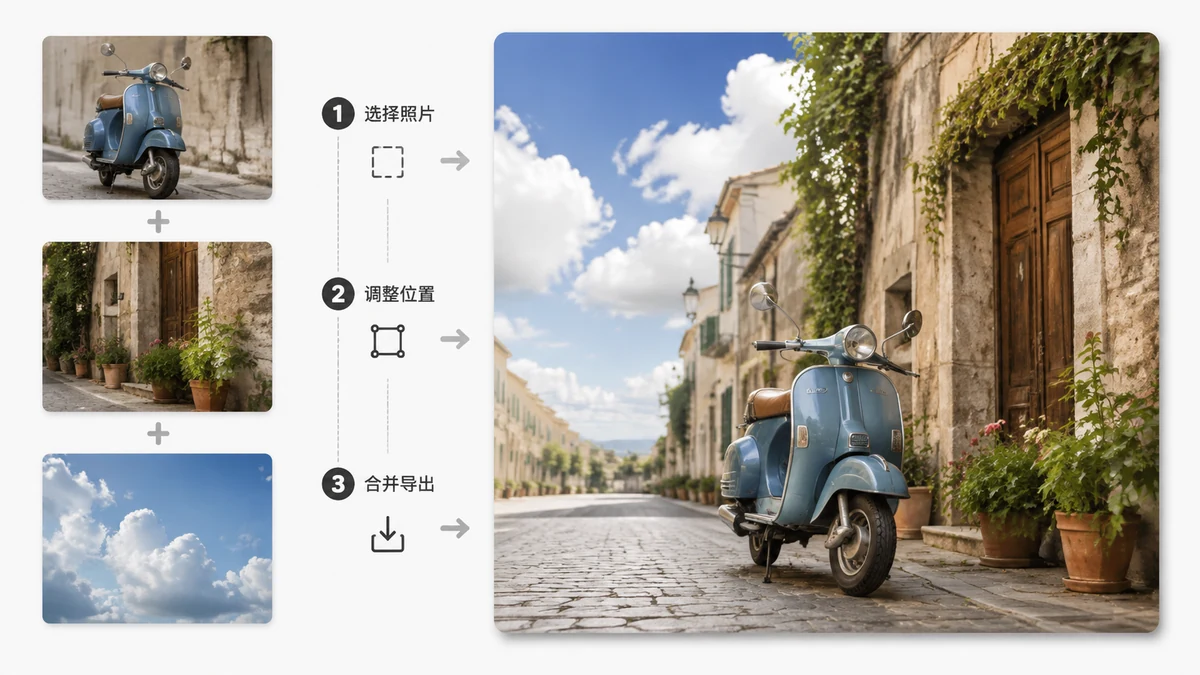
Sometimes several photos need to become one. A before-and-after that only makes sense together. Three product angles a buyer should see at a glance. A handful of trip shots you'd rather post as a single image than a scroll of separates. Merging them isn't a design skill — it's picking the right arrangement and letting the tool do the assembling.
The one real decision is layout. Get that right and the rest is a few clicks.
Pick the layout that matches your photos
Three arrangements cover almost everything, and each has a job it's best at.
| Layout | How photos sit | Best for |
|---|---|---|
| Side by side (horizontal) | In a row, left to right | Before/after, comparisons, a wide banner |
| Stacked (vertical) | In a column, top to bottom | Phone-friendly posts, a tall story, step sequences |
| Grid | Rows and columns | Collections, event recaps, product galleries |
The quick way to choose: what should the viewer do with the photos? Compare two things → side by side. Scroll through a story on a phone → stacked. Take in a set where no single image leads → grid.
Merge them, step by step
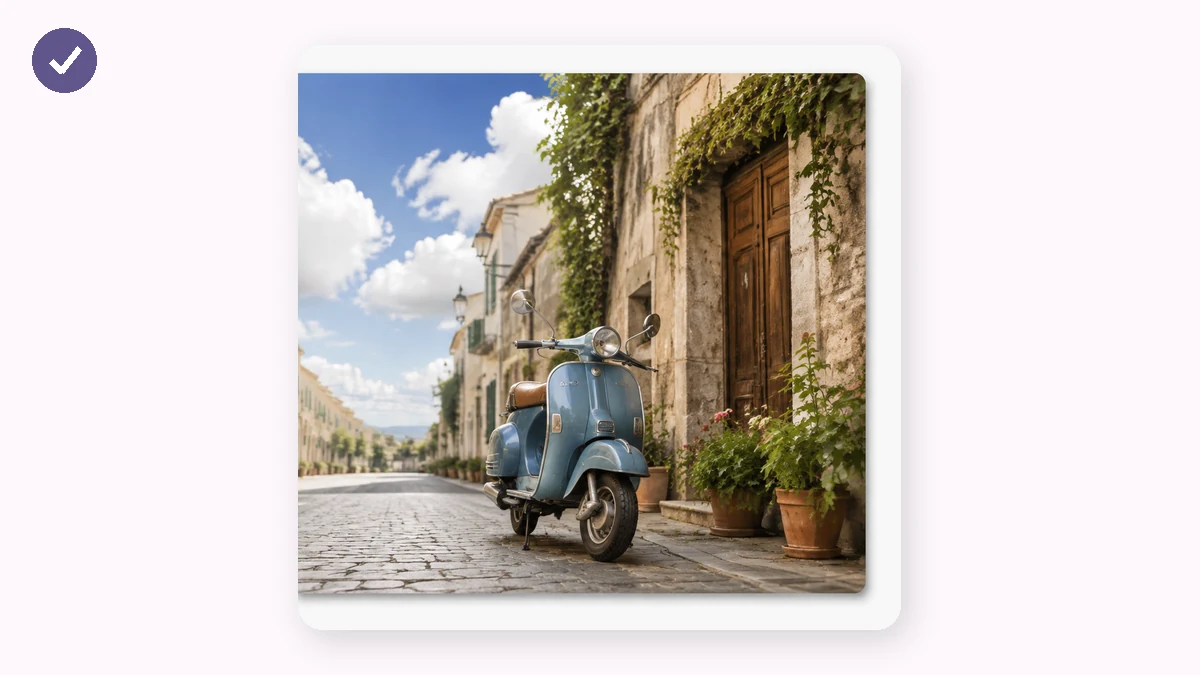
Whatever layout you pick, the flow is the same:
- Open the Collage Maker.
- Add your photos — drag them in or click to browse.
- Choose horizontal, vertical, or grid.
- Download the finished single image.
That's the whole loop. For two photos it's genuinely a ten-second job; for a grid of nine it's not much longer.
What separates a clean merge from a messy one
The tool does the assembly; a few habits make the result look deliberate.
- Group by shape. Portrait and landscape photos crammed into the same tight grid leave awkward gaps. Put similar orientations together, or crop them to match first, and the grid sits flush.
- Don't overstuff. Two or three photos read instantly. Nine can work. Fifteen jammed together is a thumbnail wall nobody can parse. Fewer, larger images almost always beat more, smaller ones.
- Order the way people read. Left-to-right, top-to-bottom. Put the "before" on the left, step one at the top, the strongest shot where the eye lands first.
- Keep the tone consistent. Photos shot in similar light, or edited with the same look, sit together more comfortably than a clash of styles.
None of that is technical. It's mostly grouping like with like and not overfilling the frame.
About quality
Combining photos doesn't degrade them — the tool draws each source image into the merged canvas, so the pixels you put in are the pixels you get out. If you want the merged image sharp, start with sharp inputs; there's no re-compression penalty from the act of combining itself. Export and you've got one clean image at full quality.
Free, private, offline
The Collage Maker merges everything right in your browser. Your photos are combined on your own device using Canvas and never uploaded — which matters when the images are personal, like family shots or something you're not ready to have on a server. There's no watermark on the result and no sign-up.
Because there's no upload round trip, merging large photos is as fast as small ones, and after your first visit the tool works with no internet at all. Combine photos on a plane, on a train, anywhere.
The short version
- Choose a layout — side by side, stacked, or grid, based on what the viewer should do.
- Add and arrange your photos in reading order.
- Keep it uncluttered — group by shape, don't overstuff.
- Download one clean image.
Merging photos comes down to a single good decision — the layout — and now you know how to make it.