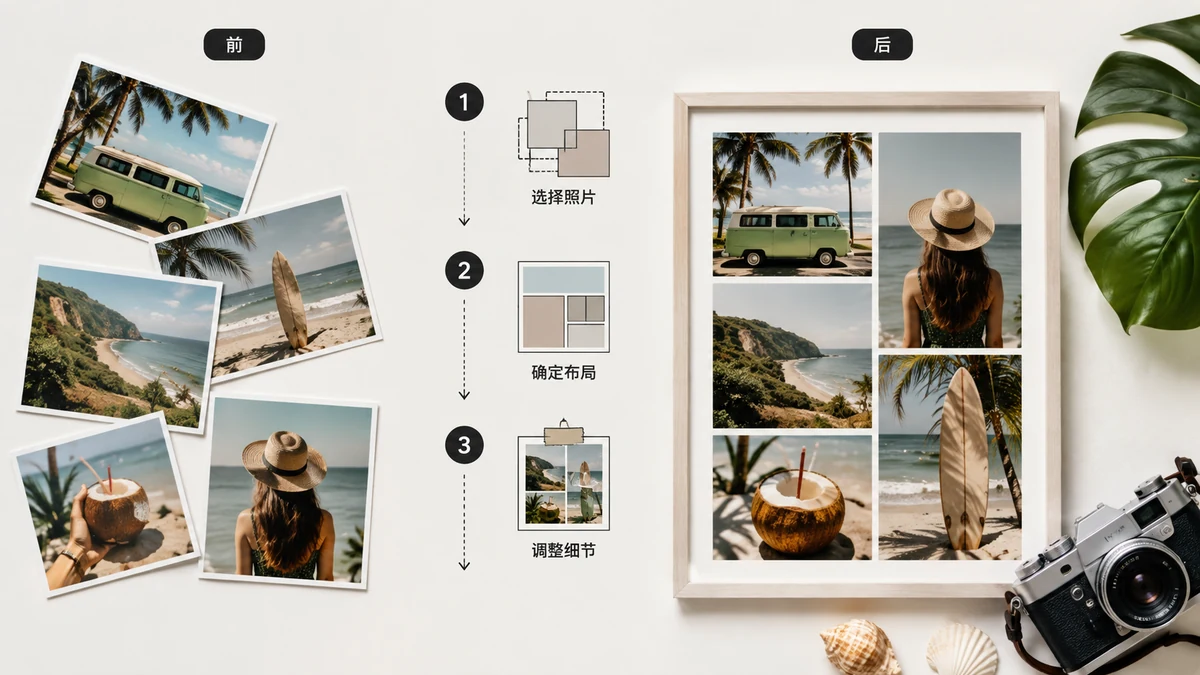
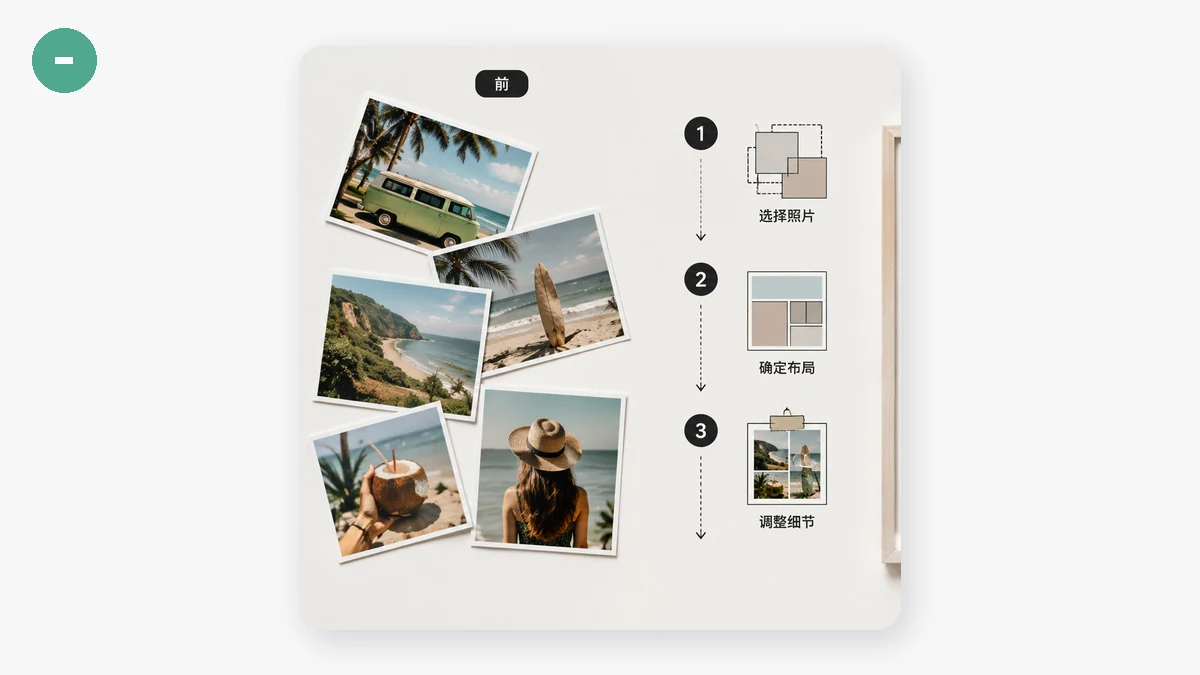
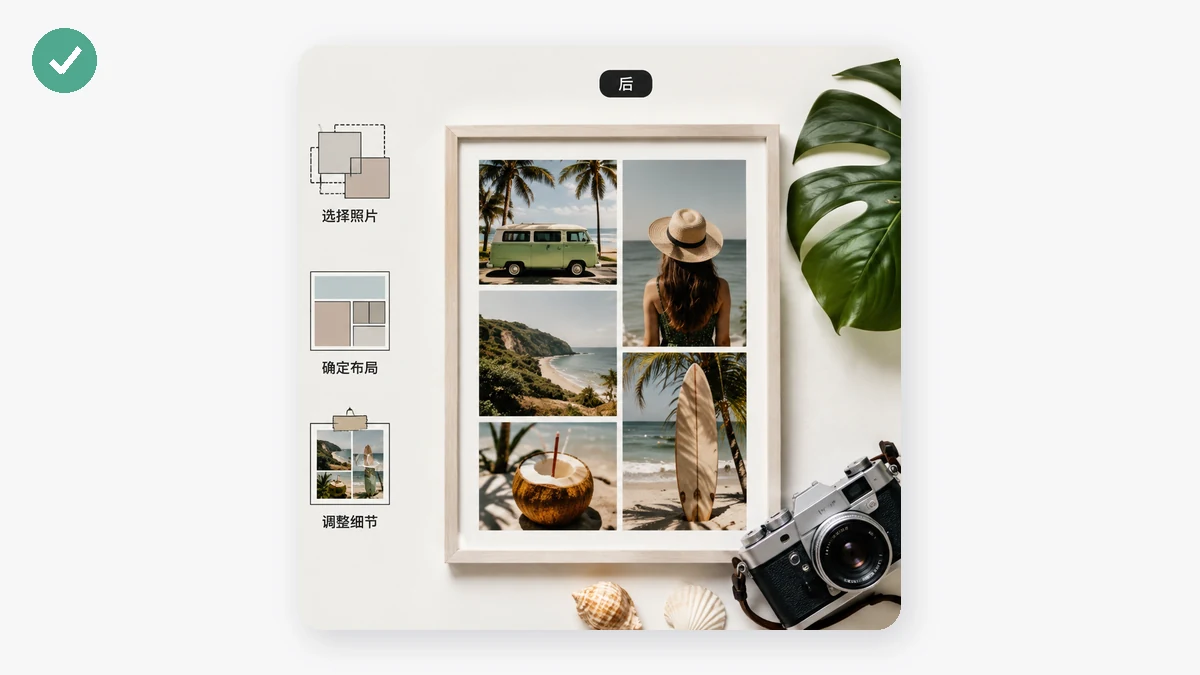
A photo collage is just several images arranged into one. The skill isn't technical — it's choosing the right layout for what you're showing. A before-and-after wants two photos side by side. A product from three angles wants a row. A moodboard or a set of moments wants a grid. Pick the arrangement that fits the story and the rest is a few clicks.
Here's how to think about it and how to build one for free in your browser.
Three layouts, three jobs
Most collages are one of these, and each suits a different purpose.
| Layout | Photos flow | Best for |
|---|---|---|
| Horizontal | Left to right in a row | Before/after, comparisons, a wide banner, a step sequence |
| Vertical | Top to bottom in a column | Pinterest-style pins, a tall story for phones, stacked steps |
| Grid | Rows and columns | Moodboards, event recaps, product galleries, "dump" posts |
Start by asking what the viewer should compare or scan. Two things next to each other? Horizontal. A story you scroll down on a phone? Vertical. A collection where no single image leads? Grid.
Building one, step by step
The flow is the same whatever layout you choose:
- Open the Collage Maker.
- Add your photos — drag them in or click to browse.
- Pick a layout: vertical, horizontal, or grid.
- Download the finished image.
That's the core loop. A few things make the result look intentional rather than thrown together.
What makes a collage look good
The difference between a tidy collage and a messy one is usually one of these:
- Consistent orientation. Mixing portrait and landscape shots in a tight grid leaves awkward gaps. If you can, group photos of similar shape, or crop them to match before you combine.
- A sensible count. Two or three photos read instantly. Nine can work in a grid. Fifteen crammed together becomes a thumbnail wall nobody can parse. Fewer, larger images usually beat more, smaller ones.
- A logical order. Left-to-right and top-to-bottom is how people read. Put the "before" on the left, the first step at the top, the hero shot where the eye lands first.
- Similar tone. Photos shot in the same light or edited with the same look sit together more comfortably than a clash of styles.
None of this requires design skill — it's mostly about grouping like with like and not overstuffing the frame.
Common uses
A few concrete cases where a collage does the work of several separate posts:
- Before and after — a renovation, a haircut, a cleanup, a fitness change. Two photos, horizontal, done.
- Product angles — front, side, detail in a single row so a buyer sees everything at once.
- Event recap — a grid of the best shots from a trip or party in one shareable image.
- Steps and tutorials — a vertical or grid sequence that walks through a process in order.
- Comparisons — options side by side so the difference is obvious.
Free, private, offline
The Collage Maker runs entirely in your browser. Your photos are combined right on your device using Canvas — nothing is uploaded to any server, which matters when the images are personal. There's no watermark on the result and no sign-up to use it.
Because there's no server round-trip, a collage of large photos assembles as fast as small ones, and after your first visit the tool is cached, so it keeps working with no internet connection at all. Open it on a plane, on a train, anywhere.
The whole thing takes about a minute: add photos, pick horizontal, vertical, or grid, download. The only real decision is the layout — and now you know which one fits.