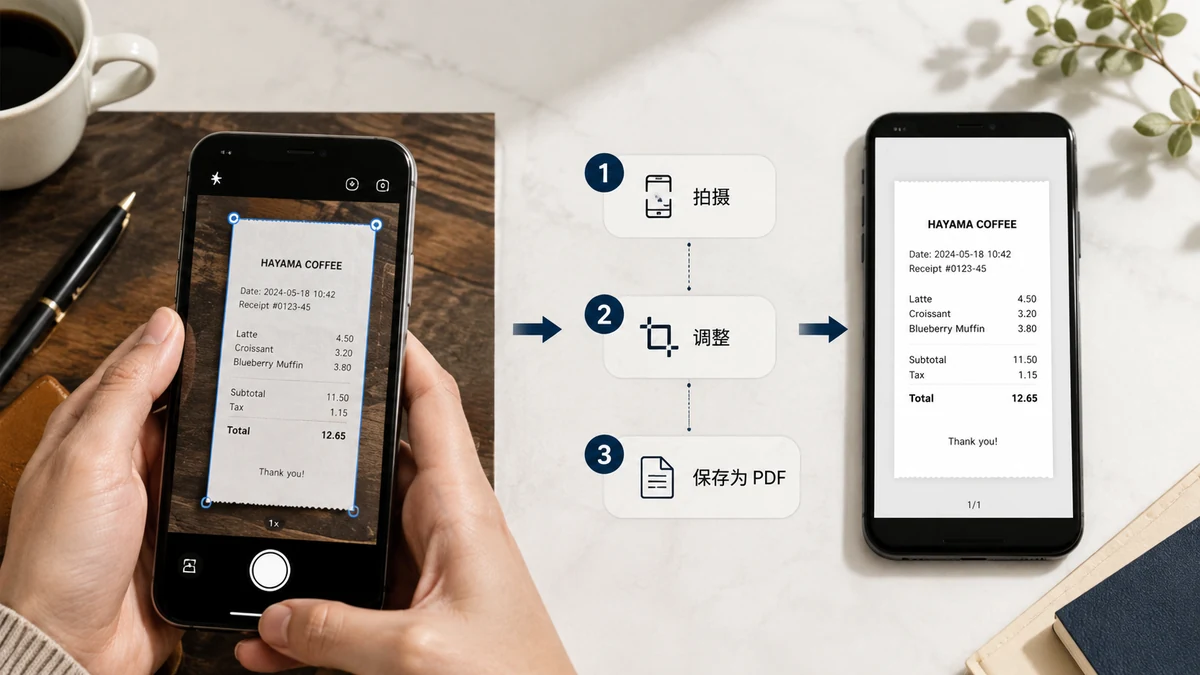
You don't own a scanner and you don't need one. Your phone camera is good enough to turn a paper document into a clean PDF — a lease, a signed form, a receipt, an ID, a stack of handwritten notes. The trick isn't the camera; it's what you do with the photos afterward: crop each one to just the page, put them in order, and combine them into a single PDF.
And because these are often exactly the documents you don't want on a random server — anything with a signature, an account number, or an ID on it — doing it without uploading matters.
Take photos a scanner would be jealous of
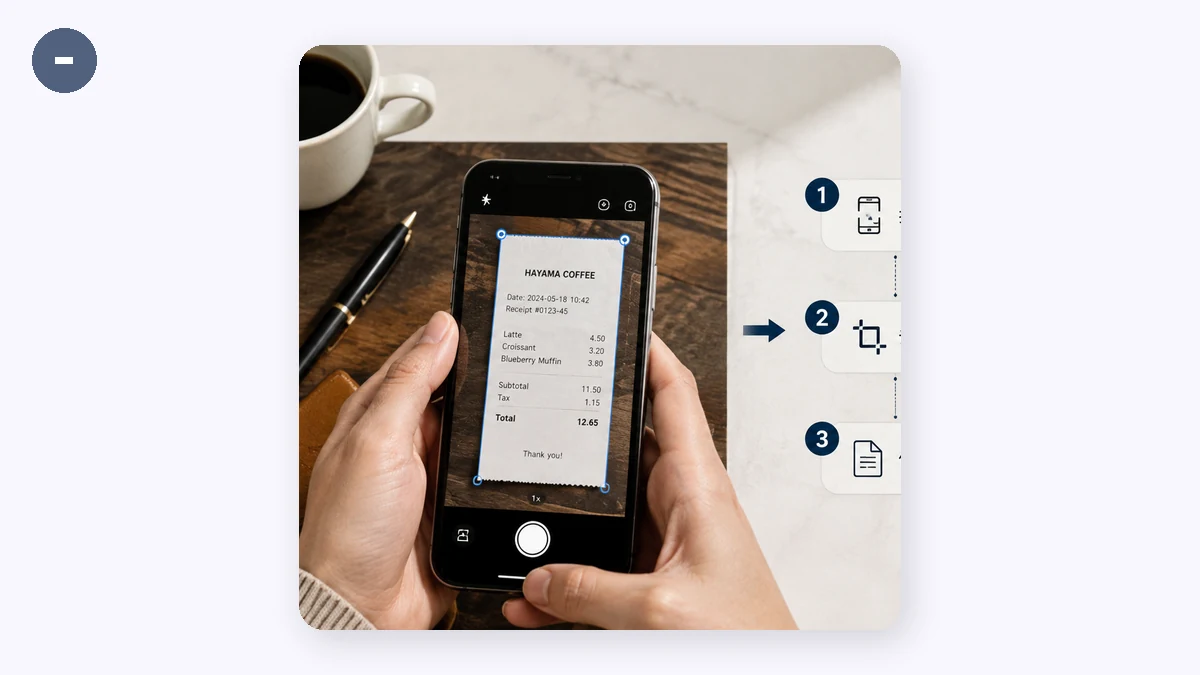
The conversion is easy; the input is where people go wrong. A minute of care shooting saves ten minutes of frustration later.
- Flat, even light. Lay the page on a table, not in your lap. Avoid a hard shadow across the text — soft, even light from a window or a lamp beats direct glare.
- Shoot straight down. Hold the phone parallel to the page, centered, so the page edges stay square instead of tapering like a trapezoid.
- Fill the frame, leave a margin. Get close enough that the page dominates the shot, but keep a little background around all four edges so you have room to crop.
- One page per photo. Don't try to fit two pages in one shot. One page, one photo, one future PDF page.
Crop each page to just the paper
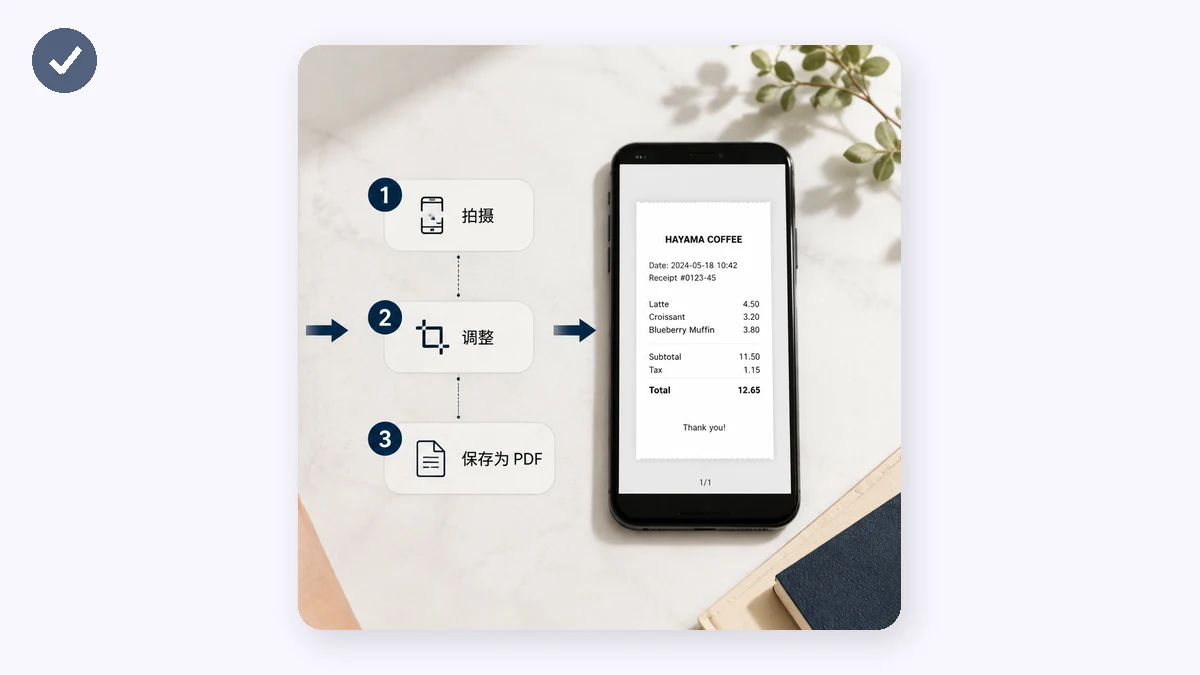
This is the step that turns "photos of documents" into something that reads like a scan. Each shot has a tabletop, a bit of floor, maybe your thumb at the edge. Crop it down to the page itself.
Cropping does two things: it removes the distracting background so every page looks like a clean sheet, and it makes the pages consistent — same subject, edge to edge — so the finished PDF looks uniform instead of like a photo album. Run each image through the Crop tool before you assemble anything.
Combine, order, export
Now you have a set of cropped page images. Turning them into a document is the easy part:
- Open the Image to PDF tool.
- Add your cropped page photos.
- Choose a page size — A4 or Letter for something you'll print or send.
- Pick portrait (nearly always, for documents).
- Drag the pages into the right order — page 1 first, then 2, then 3.
- Export the PDF.
The reordering step is where a stack of photos becomes an actual document. If you shot the pages out of sequence, fix it here by dragging, not by re-shooting.
Why "private" isn't just a nice word here
Most free "scan to PDF" apps and websites upload your images to their servers to do the conversion. Think about what you're usually scanning: a signed contract, a passport, a bank statement, a medical form. Those are the last things you want sitting in some company's storage, tied to whatever data policy they happen to have.
Both tools here run entirely in your browser. Your photos are cropped and combined on your own device and never leave it. There's no upload, no account, and no watermark on the PDF. After your first visit they're cached, so you can scan a document to PDF on your phone with no signal at all — in a waiting room, on a plane, at a counter with dead Wi-Fi.
The quick version
- Shoot each page flat, straight down, in even light — one page per photo.
- Crop each photo down to just the page.
- Combine them in the Image to PDF tool.
- Order the pages by dragging.
- Export — one clean, private PDF.
No scanner, no app to install, and nothing sensitive handed to a stranger's server. Just your phone, a steady hand, and two browser tools.