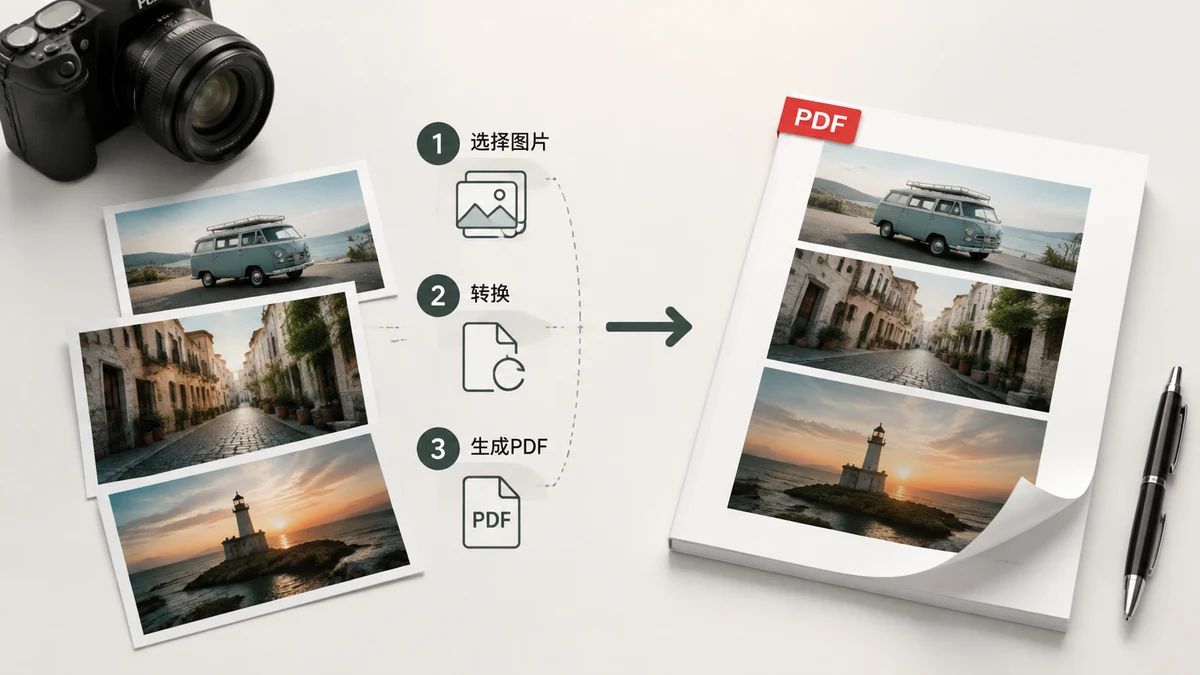
There are a lot of moments where a picture needs to become a PDF. You've photographed a signed form and the other side wants "a PDF, not a photo." You've got twelve receipt images and one file would be tidier than an email with twelve attachments. You've scanned pages that belong together as a document. The task is always the same underneath: take one or more images and wrap them in a single, portable PDF that opens the same way on every device.
Here's how to do it, and the small choices that make the result look right.
Why PDF instead of just sending the image
A JPG or PNG is a fine picture, but it's not a document. PDF adds three things people quietly expect:
- One file for many pages. Ten images become one attachment instead of ten. Nobody has to download them in order or worry about missing page 7.
- Consistent presentation. A PDF page has a defined size and layout, so it prints and displays the same everywhere. A loose photo can open at odd zoom levels or get resized by email.
- It reads as "official." Forms, invoices, and applications are expected in PDF. Sending a raw phone photo of a document looks unfinished, even when the content is identical.
If someone asked for "a PDF," they usually mean all of the above, not just a different file extension.
The three choices that matter
Converting is fast; making it look intentional comes down to three settings.
Page size. A4 or US Letter for anything you might print or send officially. Match the standard your recipient uses — A4 in most of the world, Letter in the US and Canada — so it prints without odd margins.
Orientation. Portrait for documents and tall photos; landscape for wide shots and screenshots. Getting this right stops a wide image from being shrunk into a thin strip on a tall page.
Order. When you're combining several images, the order is the document. Page 1 should be page 1. A good converter lets you drag to reorder before you export, so you're not stuck with whatever order the files happened to load in.
Doing it, step by step
The flow is short:
- Open the Image to PDF tool.
- Add your images — a single JPG, a stack of PNGs, or a mix.
- Set page size and orientation.
- Drag the pages into the order you want.
- Export the PDF.
One image or forty, the steps are the same. For a single photo you can skip the reordering; for a multi-page document, that drag step is where you make it read correctly.
JPG, PNG — does the source format matter?
Not really. Both JPG and PNG convert cleanly to PDF. Use whichever you have. If your images are large photos and file size matters, JPG originals tend to produce a smaller PDF than the same content as PNG, because JPG is already compressed. For scanned text or screenshots, either is fine. Don't convert PNG to JPG first just to make a PDF — go straight from what you've got.
Free, private, offline
The Image to PDF tool builds the PDF right in your browser. Your images — which are often exactly the things you don't want floating around, like a signed contract or an ID scan — are never uploaded to a server. Everything happens on your device, there's no watermark on the output, and no sign-up.
Because there's no upload, combining twenty large photos is as quick as your device can assemble them, and after your first visit the tool works with no internet at all. That's genuinely useful when you're turning a form into a PDF on your phone somewhere with no signal.
The whole job is under a minute: add images, set the page, order them, export. Then you have the single clean PDF the other side was actually asking for.