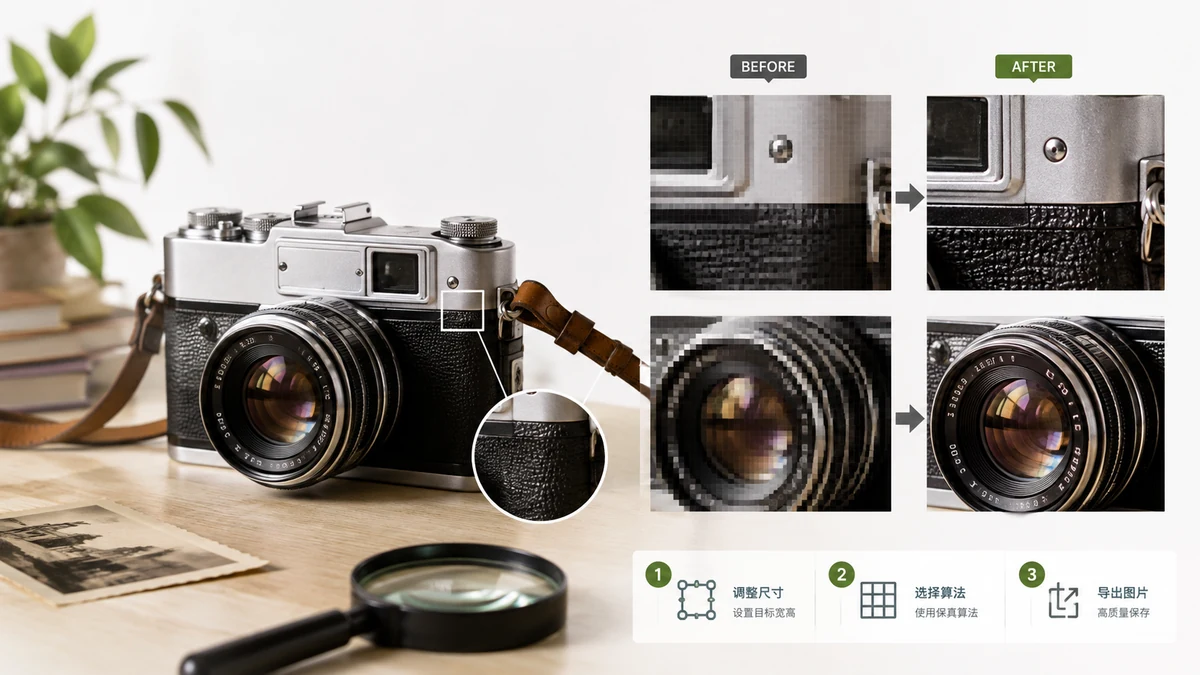
The honest answer up front: you can resize an image down with almost no visible loss, but you cannot resize up and gain real detail. Those are two different operations with different limits, and knowing which one you are doing saves a lot of frustration. Here is what actually happens to the pixels.
Downscaling: this stays sharp
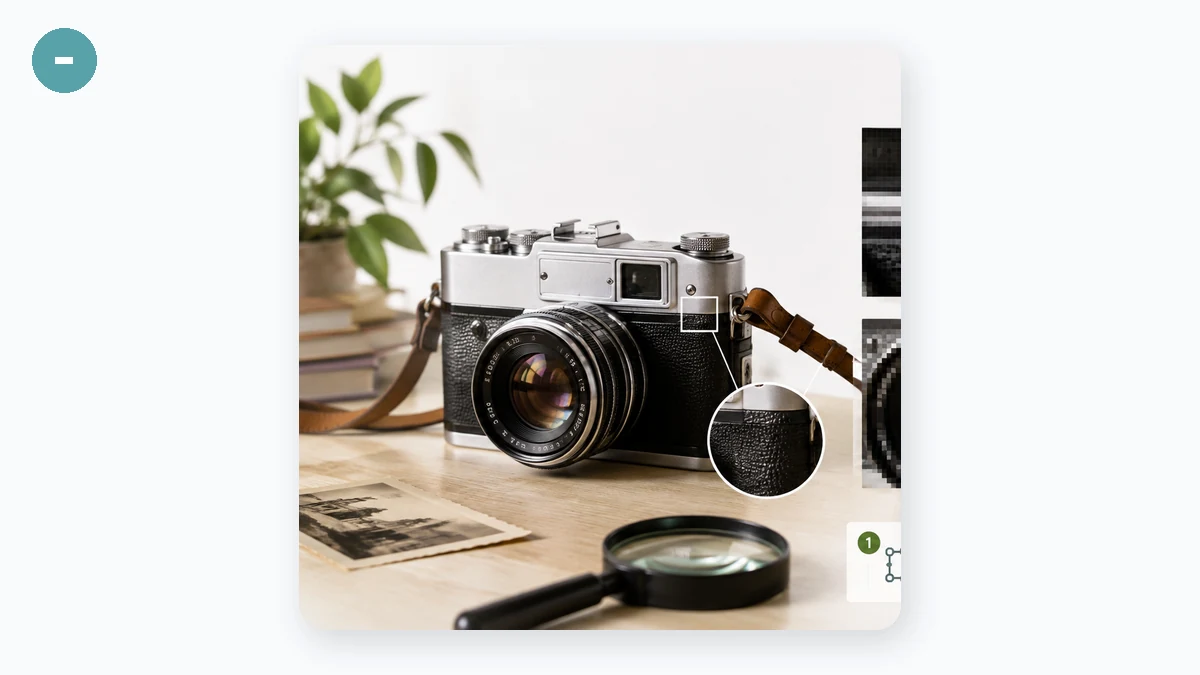
Making an image smaller is the friendly direction. You are throwing away pixels you do not need, and a good resizer averages neighboring pixels as it shrinks so edges stay smooth. A 6000px camera photo scaled to 1500px for the web looks crisp — often crisper than the original at that size, because fine noise gets averaged out.
Two things protect quality when downscaling:
- High-quality resampling. Good tools use smooth interpolation instead of just dropping pixels, which avoids the jagged, aliased look.
- Right export format. Save photos as JPEG or WebP at high quality; save graphics, logos, and screenshots with sharp edges as PNG. Using JPEG on a screenshot smears the text; using PNG on a photo just makes a huge file.
For the web, resize to the size you will actually display. A 4000px image shown in a 800px slot wastes bandwidth and, ironically, can look worse after the browser rescales it on the fly. Resize it to 800px yourself and it looks better and loads faster.
Upscaling: manage your expectations
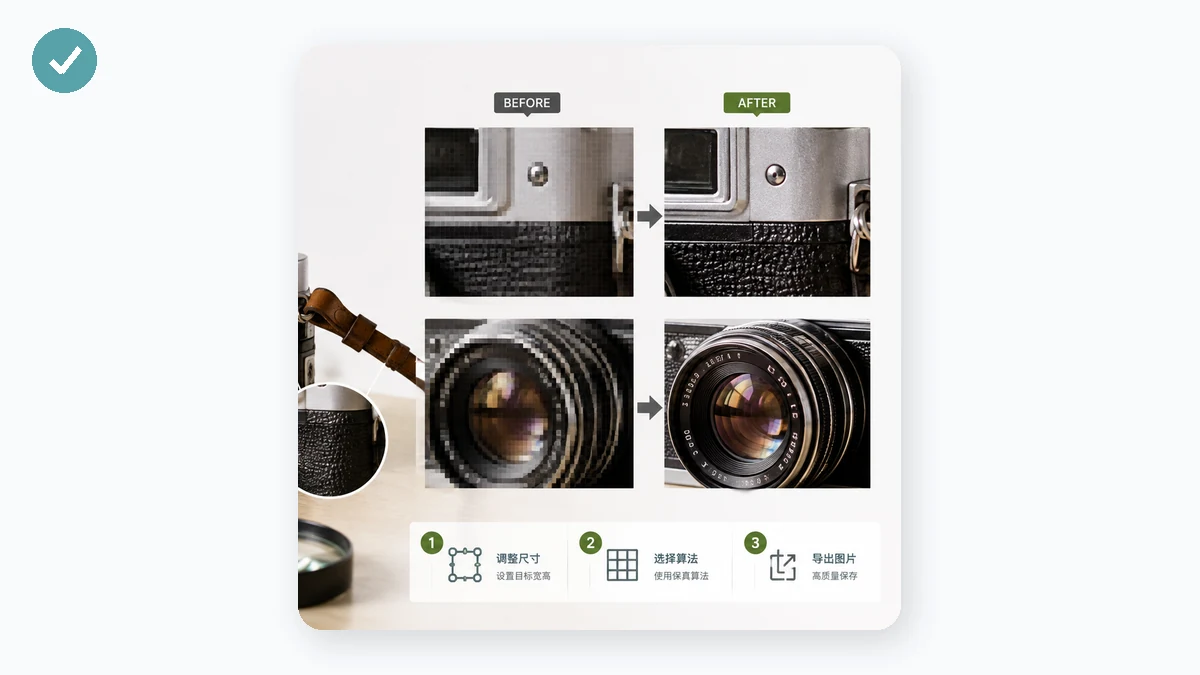
Making an image bigger is where "without losing quality" runs into physics. The extra pixels have to be invented, because the detail was never captured. A basic upscale interpolates between existing pixels — the image gets larger but softer, and edges blur. It does not add sharpness that was not there.
| You want to go | Result |
|---|---|
| Large → small | Sharp, safe, recommended |
| Small → slightly larger | Acceptable, mild softening |
| Small → much larger | Soft, blurry, detail is invented |
A modest upscale (say 1.5×) can be fine for a background where nobody inspects closely. A 4× upscale of a tiny thumbnail will always look mushy no matter the tool. If you need a large sharp image, the real fix is to start from a larger source — re-export from the original, or find a higher-resolution copy — not to upscale a small one.
Resize it cleanly in the browser
The Resize tool lets you set new dimensions by pixels or percentage, with an aspect-lock toggle so the image keeps its proportions and never stretches. It uses high-quality downscaling, so shrinking a photo stays sharp. Everything runs in your browser on Canvas — the photo never uploads, there is no wait, and no watermark on the result.
The short rules
- Resizing down: go ahead, keep aspect lock on, export as JPEG/WebP for photos or PNG for graphics.
- Resizing up a little: acceptable, expect slight softening.
- Resizing up a lot: it will look soft — find a bigger original instead.
- Always match the export size to where the image will be shown.
Know which direction you are going and the result is predictable. It is free, needs no account, and keeps working offline after your first visit.