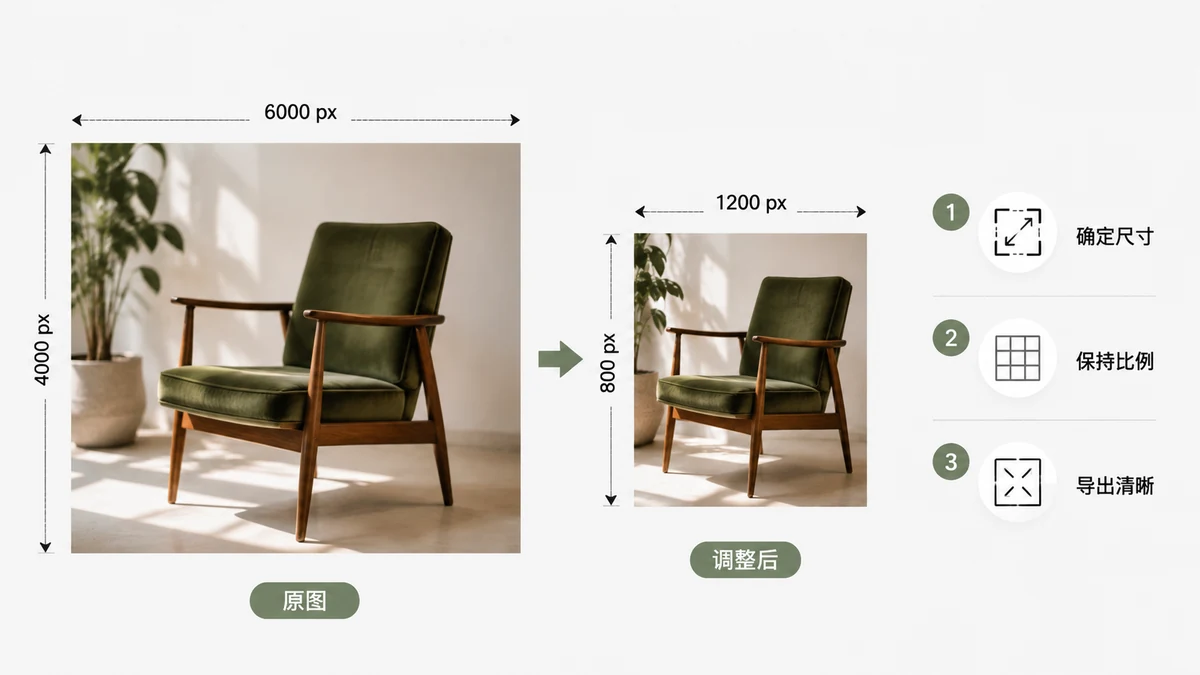
Resizing an image sounds like it should be one click, and often it is. The reason people end up with soft, stretched, or pixelated results is almost always one of three mistakes: they upscale a small image, they ignore the aspect ratio, or they use a tool that skips the smoothing step. Get those right and resizing is boring in the best way — the picture just gets smaller and stays sharp.
Here's the whole thing, start to finish.
Pick your unit: pixels or percent
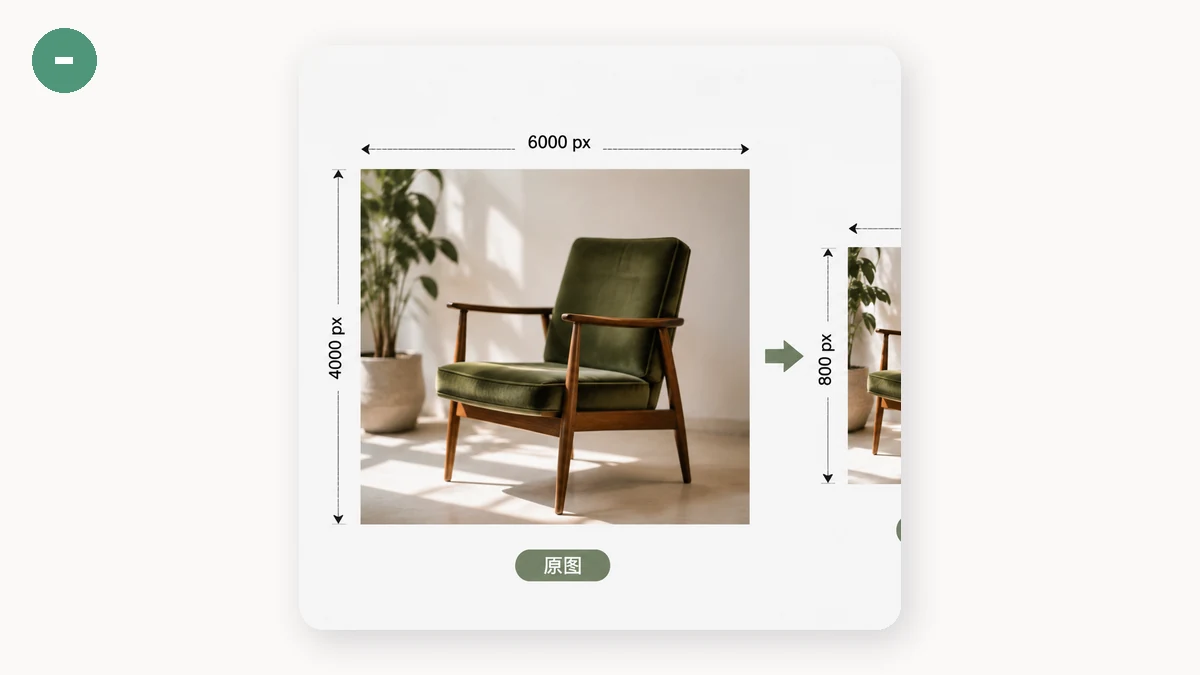
There are two honest ways to describe a new size, and they suit different jobs.
- Pixels — use this when a target has a hard requirement. An email header that must be 600 px wide, a forum avatar that must be 256×256, a product photo the marketplace caps at 2000 px. You type the exact number and you're done.
- Percent — use this when you just want smaller and the exact figure doesn't matter. "Make it 50%" halves both dimensions and cuts the pixel count to a quarter, which is a fast way to shed weight from a photo that's simply too big for the web.
If you're unsure, percent is the safer default for shrinking a general photo, and pixels is the right call the moment someone hands you a spec.
Keep the aspect ratio locked
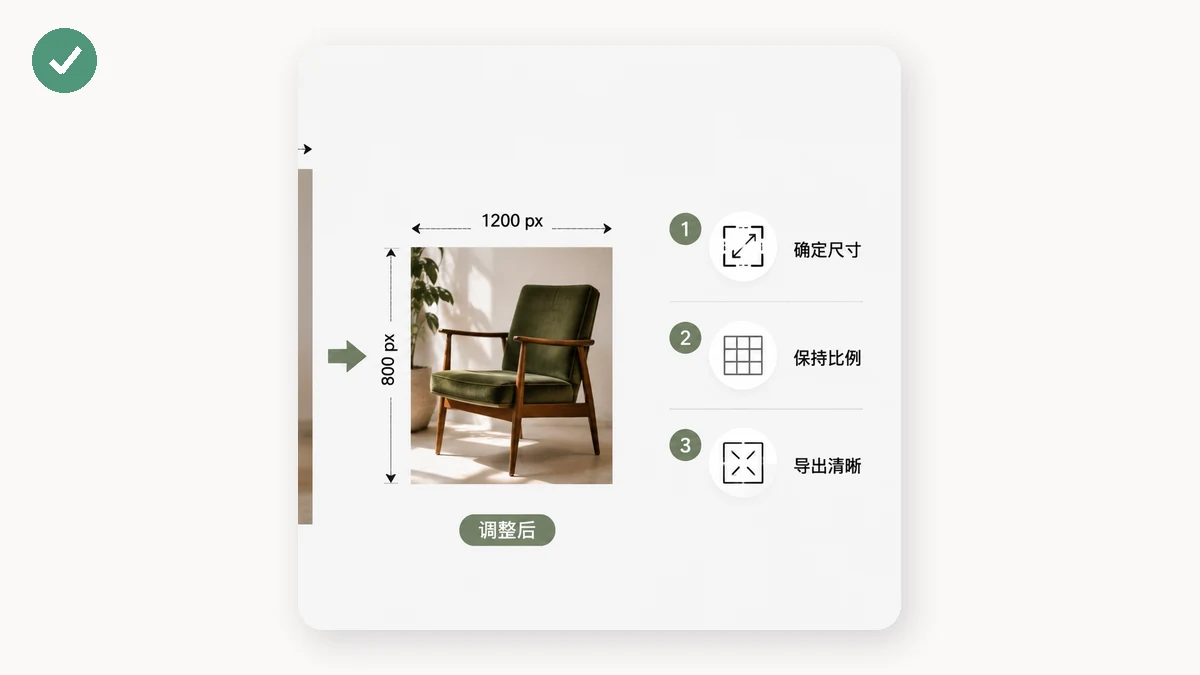
The single most common way to ruin an image is to change its width and height independently. A face gets stretched wide, a logo goes squat, a landscape looks like a funhouse mirror. The fix is a setting every good resizer has: aspect-ratio lock. With it on, you type one dimension and the other follows automatically, preserving the original proportions.
You only want to unlock the ratio when you're deliberately reshaping — squashing a banner into a specific box, for instance — and even then you usually crop instead. If your goal is "same picture, smaller," keep the lock on.
Downscaling is great. Upscaling is a trap.
This is the part most people learn the hard way. Making an image smaller throws away pixels, and there's plenty of detail to spare, so a good downscale looks crisp. Making an image larger asks the software to invent pixels that were never captured, and no amount of cleverness brings back detail that isn't there. The result is soft edges and mushy texture.
| What you're doing | Result | Verdict |
|---|---|---|
| 4000 px → 1200 px (downscale) | Sharp, smaller file | Do it freely |
| 1200 px → 1200 px (no change) | Identical | Fine |
| 600 px → 2000 px (upscale) | Blurry, blocky | Avoid — find a bigger original |
If you genuinely need a bigger version, the real answer is to go back to the source and export at a higher resolution, not to stretch what you have.
One thing that matters even when you downscale correctly: the tool needs to smooth as it shrinks. Cheap resizers that skip this produce jagged, aliased edges. A high-quality downscale samples neighboring pixels so lines and text stay clean.
Resize it in your browser
tools.faxianai.com's Image Resizer does all of the above: pixels or percent, a lock toggle for aspect ratio, and high-quality smoothing on the way down so photos and text stay sharp. Drop an image in, type your target, and download.
Because the whole thing runs on your own machine using Canvas — nothing is uploaded — a huge photo resizes as fast as a tiny one, and there's no file-size cap from a server. After your first visit the tool is cached, so it keeps working with no connection at all.
A quick checklist
Before you export, run through this:
- Unit — pixels for a hard spec, percent for general shrinking.
- Aspect ratio — locked, unless you have a specific reason not to.
- Direction — down, not up; go back to the source if you need bigger.
- Check at 100% — open the result and glance at faces and text edges.
That's it. Resizing done right is unglamorous: the image gets smaller, keeps its shape, and stays sharp. If yours came out blurry, it was almost certainly an upscale or a stretched ratio — both fixable in about ten seconds.