
You transferred photos from your iPhone to your Windows PC, double-clicked one, and Windows shrugged: a blank thumbnail, an error, or an app that won't touch the file. The extension is .HEIC, and out of the box a lot of Windows setups can't read it. Nothing is wrong with the photo — it's a format gap, and there are a few clean ways around it.
Why Windows chokes on HEIC
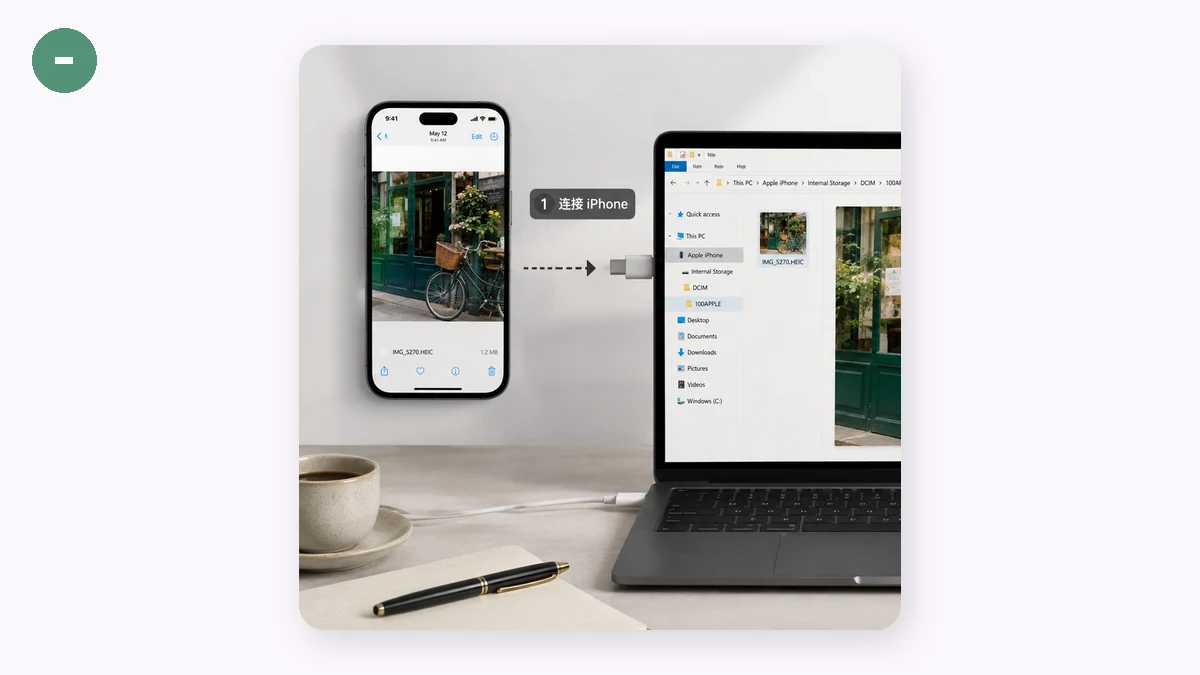
Apple switched iPhones to HEIC to save storage: it stores a photo in roughly half the space of a JPG at similar quality. Windows added HEIC support later and, on many machines, only through codecs that aren't installed by default. So depending on your Windows version and setup, HEIC files may show as broken thumbnails, refuse to open in the Photos app, or get rejected by editors and upload forms that only understand older formats. It's not corruption. The bytes are fine; your PC just doesn't have the decoder handy.
Option 1: Install the HEIF codec
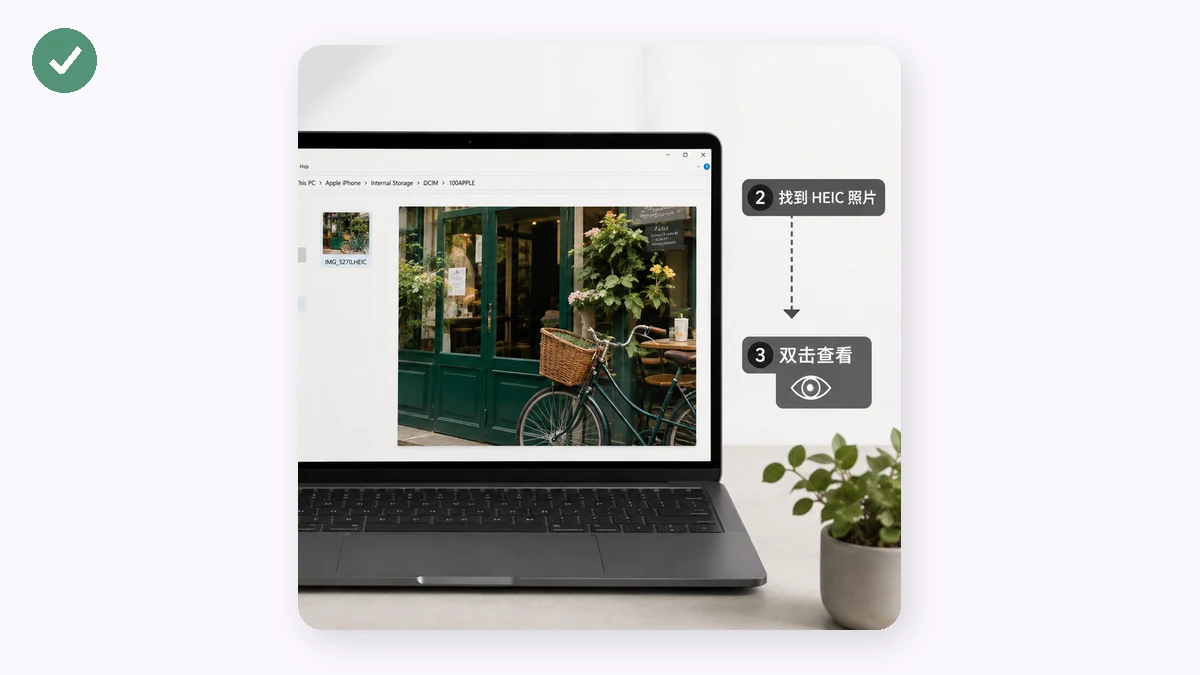
Microsoft offers HEIF Image Extensions through the Microsoft Store. Install it and the built-in Photos app can usually display HEIC files. This works if you only need to view the odd photo. The downsides: on some systems the codec has been a paid add-on, it only helps apps that hook into Windows' imaging, and it does nothing for the website or editor that still refuses HEIC. You've made your PC read the file, but the rest of your workflow hasn't changed.
Option 2: Convert to JPG (the more useful fix)
If you actually need to use the photos — email them, upload them, edit them, share them — converting to JPG solves the problem everywhere at once, not just inside one app. JPG is the format every browser, editor, and form already reads. Once a photo is JPG, "will this open?" stops being a question.
The catch is how you convert. Plenty of websites will do it, but they upload your photo to their server first. An iPhone photo usually carries EXIF metadata including the GPS location where it was taken; sending your family pictures to an anonymous conversion service to change a file extension is a poor trade. A browser-based converter avoids that entirely by doing the work on your own PC.
Converting on your own PC, step by step
- Open the converter in any modern browser on your Windows machine.
- Drag in your HEIC or HEIF files — a single photo or a batch of them.
- Pick JPG and set the quality slider (mid-to-high looks identical to the original for normal photos).
- Convert and download — one file at a time, or the whole batch as a single ZIP.
The conversion runs locally with a WebAssembly build of libheif, so the photos never leave your computer. There's no account and no upload of your images.
The honest bit about offline
The decoder library is about 1.3MB and your browser fetches it once on your first visit — that request carries the code, not your photos. After that first load it's cached and the tool runs fully offline, so you can convert an entire folder with Wi-Fi off. Accurate summary: no upload, offline-capable after the first load.
Which option should you pick?
If you just want to glance at a few HEIC photos, the Store codec is enough. If you need those photos to work in email, on websites, in editors, or on other people's computers — convert them to JPG. And if the photos are personal, do the conversion in your browser so they stay on your PC the whole time. One note on limits: the converter reads HEIC and HEIF only, which is exactly the gap you're trying to close.