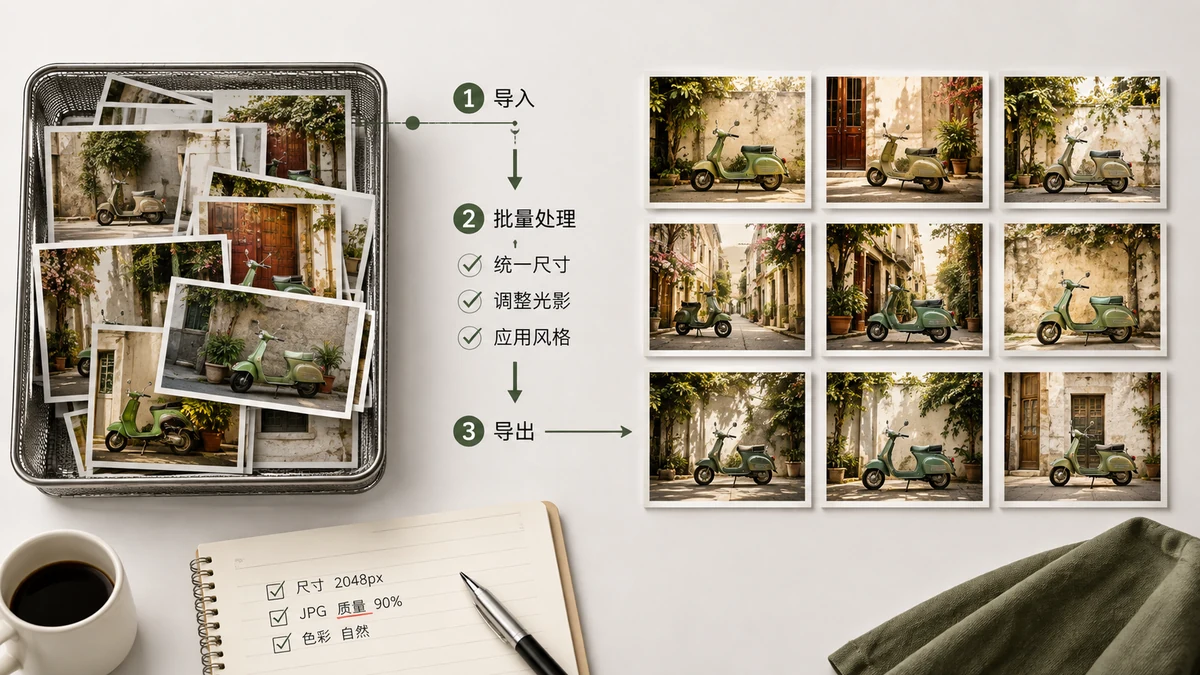
If you find yourself opening images one by one to do the same edit forty times, stop. Batch processing does the identical operation to an entire folder at once and hands you the results in a single download. For product photos, blog galleries, or a phone's camera roll, it turns an afternoon into a couple of minutes.
Here is how to run each common batch job, and how to chain them for the best result.
What batch processing is good for
Any task where you want the same change applied to many files:
- Compress a whole gallery so every image is web-ready.
- Convert a folder of PNGs to WebP for a faster site.
- Resize hundreds of product photos to one consistent width.
- Watermark a set of images with the same logo or text.
The unifying idea is one setting, many files, one ZIP out.
Batch compress
This is the most common job. Point the Image Compressor at a folder, choose a quality (75–85% is a safe default for photos), and let it re-encode every file. PNGs get color quantization, JPEG and WebP get quality compression, and no output is ever larger than its original. When it finishes, download everything as a single ZIP instead of clicking save forty times.
Practical tips:
- Keep a copy of the originals before you batch-compress, in case you want to revisit.
- If files vary wildly in size, a single quality setting still works — the tool compresses each to that quality, and small files simply stay small.
Batch convert
To modernize a folder's format, run it through the Image Converter. Pick a target — WebP is the reliable default, AVIF for the smallest files — and every image comes out re-encoded. When you target AVIF, the converter falls back to WebP for any file where AVIF is not a good fit, so you never end up with a broken or bloated result.
A common workflow: a client sends you 200 PNG screenshots for a help center. Convert the whole folder to WebP and the page weight drops by more than half with no visible change.
Batch resize
To make every image the same width — essential for tidy product grids or consistent blog thumbnails — use the Image Resizer. Set a target width (or a percentage) with the aspect ratio locked, and each image scales proportionally. A folder of mixed-size camera shots becomes a uniform set of 1200-pixel images ready to drop into a template.
Chaining operations for the best result
For the smallest, cleanest files, combine the steps in order:
- Resize the batch to your display width. Doing this first means every later step works on less data.
- Convert to WebP or AVIF.
- Compress at 75–85% quality to remove the last of the waste.
Run in that sequence and a folder of 5 MB camera photos can become a set of 100–150 KB WebP files that look identical on screen. For a 40-image gallery that is the difference between a page that crawls and one that snaps into view.
Why do it in the browser
Every batch runs locally using Canvas and WebAssembly. Your images are never uploaded, which matters when you are processing client work, unreleased product shots, or personal photos. Nothing sits on someone else's server, and after your first visit the tools keep working offline — so you can process a whole shoot on a laptop with no connection.
There are no per-file limits, no watermarks stamped on your output, no sign-up, and no queue. Drop the folder, pick the setting, download the ZIP. Once you have batched a hundred images at once, editing them one at a time starts to feel absurd.